Baked Corn on the Cob With Herb Butter
As an Amazon Associate I earn from qualifying purchases.
This baked corn on the cob recipe features ears of corn roasted in delicious herb butter so every corn kernel is tender, juicy, and flavorful.
This baked corn on the cob recipe is a simple way to make a tender and flavorful version of corn roasted in the oven. Your oven doesn’t have to get as hot, and for goodness sakes, there is no standing over, beside, or even remotely near an open fire in the middle of summer. Sounds good right?
If you’re new around here, let me tell you… I love corn and I know corn. I’ve been shucking it since I was old enough to hold an ear, picking it and growing it most of my childhood, and we won’t even get into how much I have eaten in my life. I dearly love the stuff. Always have, always will.
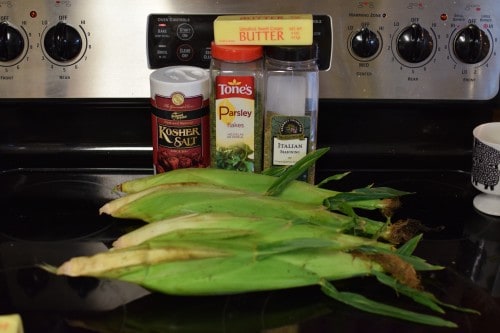
The beauty of this baked corn on the cob recipe is that it really doesn’t take any time to prep it and get it in the oven. All those yummy dried herbs (we’re talking Italian seasoning and parsley) and that bit of kosher salt mix up with the softened butter and your fresh ear of corn basically takes a steam bath in it while you do other things.
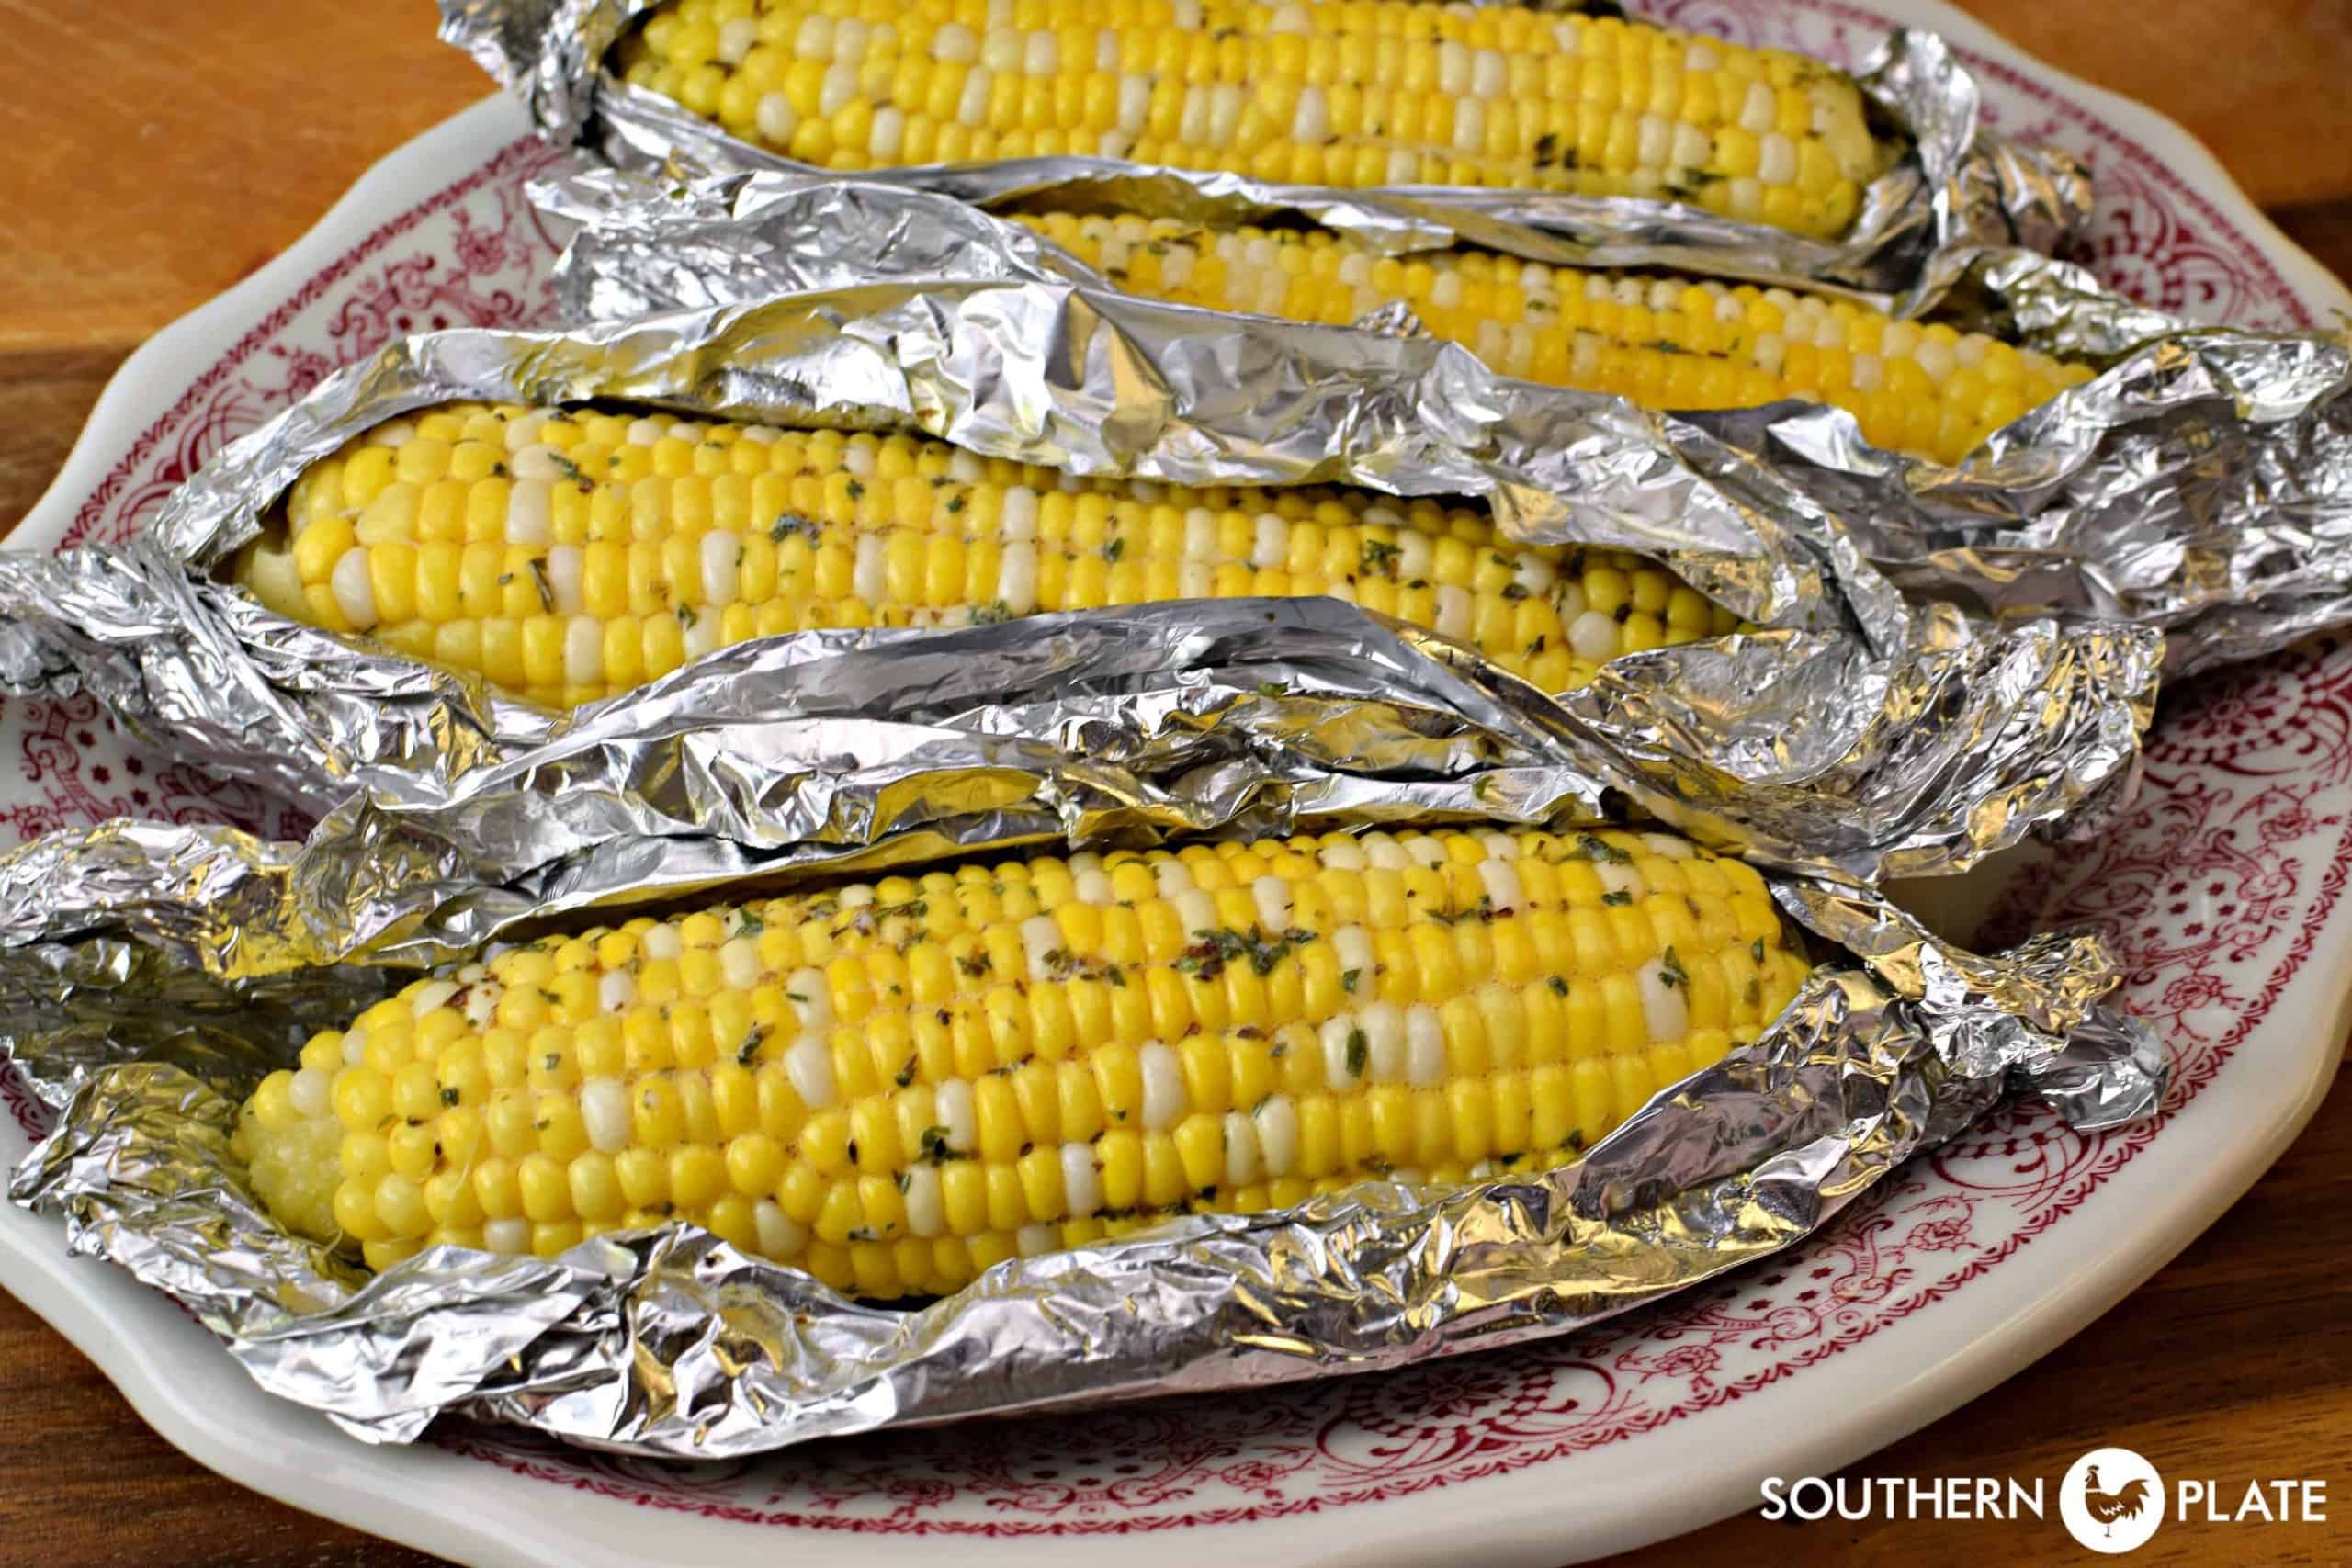
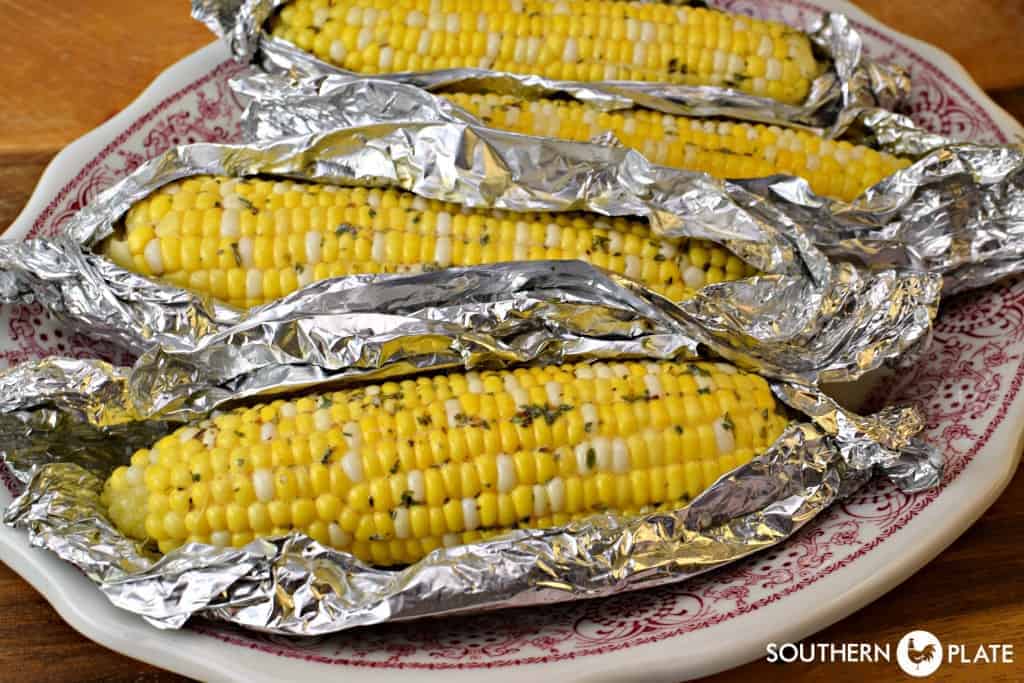
I like to serve my corn in the foil that it was baked in, just barely popping open the top like you would a baked potato. Because all those yummy juices will then rest happily in the bottom, just waiting on you to dip it, like a little herb butter bath. If that doesn’t convince you to try this oven roasted corn recipe, I don’t know what will!
Recipe Ingredients
- Fresh corn
- Kosher salt
- Dried parsley
- Italian seasoning
- Stick of butter (can be salted or unsalted butter, whatever you’ve got).
How to Make Baked Corn on the Cob
First, you need to soften your butter a bit.
The best way to do this is at room temp or out in the sun for a few minutes. I have found that if I nuke that stuff for one minute at 10 percent power it works pretty well, too.
Try not to melt it, though. If you end up melting it anyway, stick it in the freezer for a few minutes.
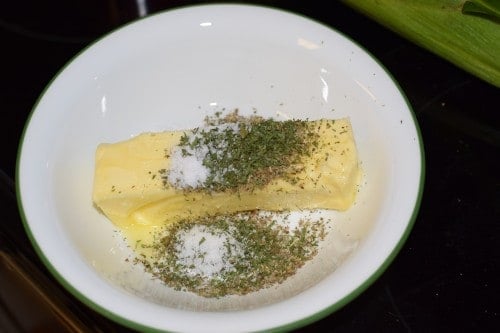
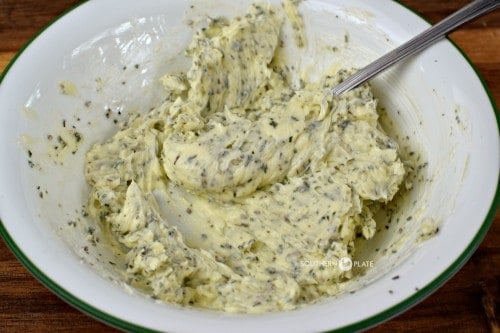
Next, place your seasonings and salt on top of the softened butter in a medium bowl.
Mash all that stuff together with a fork until it’s really well mixed like this.
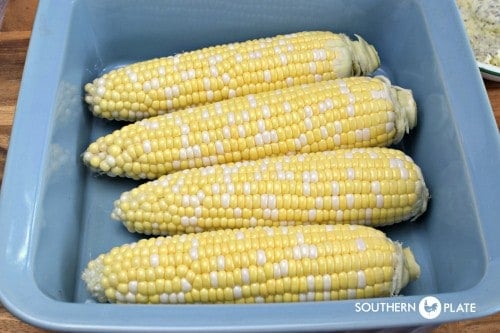
Oh, look! Our corn magically shucked itself following the directions in this post.
Hot Dawg! I need to write a post about folding laundry and see if the same thing will happen…
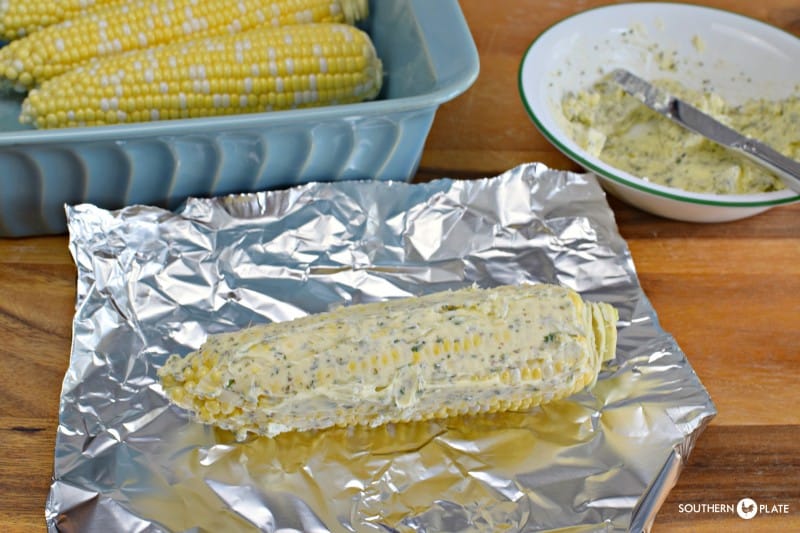
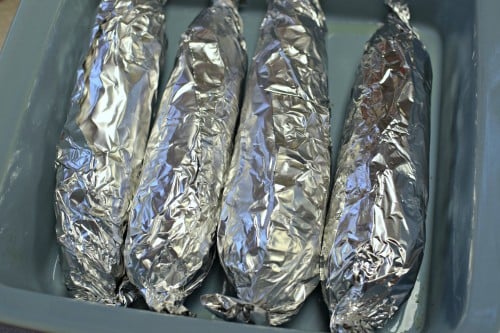
Take a knife and smear each ear all over with the herb butter. Then wrap each one individually in foil.
Place each one in a baking dish with the seam side up.
Roast corn in a 350-degree oven for 30 minutes.
Let the baked corn on the cobs sit for five minutes once you remove them from the oven and then peel back just enough foil to make the corn accessible.
Serve them in foil so folks can dip their ears in all of that wonderful melted butter!
And by ears, I mean ears of corn. Things ain’t got that crazy just yet!
Storage
- Store roasted corn on the cob leftovers in an airtight container or wrapped in aluminum foil for up to 5 days. Reheat them in the microwave or the oven.
Recipe Notes
- Feel free to substitute the butter for olive oil.
- If you prefer a charred texture like you’d get from grilled corn on the cob, after the baking time, open each foil package, turn on your oven’s broiler, and broil them for 2 to 3 minutes.
- Sprinkle the corn with parmesan cheese before serving.
Recipe FAQs
Can I use frozen corn?
You can use frozen corn for this if you like. Do whatever makes it easiest for you.
What type of corn should I use?
You can use white corn, yellow corn, or sweet corn, the choice is yours!
How do you shuck corn?
Check out my fresh fried corn post for a step-by-step guide on how to remove the corn husks and silk each corn cob.
Can I bake my corn on the cob in different seasonings?
If you don’t like the seasonings I’m using, you can absolutely use any seasonings you like in their place. Here are some suggestions:
- Plain seasoned salt would be great in this.
- Substitute the dried parsley for chopped fresh parsley.
- Substitute the Italian seasoning for just one dried or fresh herb, like basil, rosemary, marjoram, or thyme.
- Use garlic powder or minced garlic to make garlic butter.
- Add paprika, smoked paprika, cayenne pepper, chili powder, or crushed red pepper flakes for heat.
- Substitute the kosher salt for garlic salt for added flavor.
Basically, you could pretty much open up your spice cabinet and see what falls out and you will still end up with delicious corn.
Can I microwave corn on the cob?
Yes, you can cook corn on the cob in the microwave. You’ll want to cook them with the husk still intact for 4 minutes on high. Because cooking times vary depending on your microwave, after 4 minutes peel the husk back slightly to check if the kernels feel tender. Add 2 minutes of cooking time for each additional ear of corn (e.g. 6 minutes for 2 ears of corn).
What do you serve with baked corn on the cob?
Baked corn on the cob is a great summer side dish to enjoy with a main meal like pulled pork, grilled chicken tenders, sloppy joe burgers, beef ribs, and fried chicken. Serve it at your next BBQ or potluck alongside other great sides too, like mac and cheese and hush puppies.
You may also like these easy corn recipes:
Slow Cooker Creamed Corn Recipe
Southern Dressing With Cornbread
Ingredients
- 4-5 fresh ears of corn, shucked
- 1/2 cup softened butter
- 1 teaspoon dried parsley
- 1 teaspoon dried Italian seasoning
- 1/2-1 teaspoon kosher salt*
Instructions
- In a medium bowl, mash butter, parsley, Italian seasoning, and salt together with a fork until well blended.1/2 cup softened butter, 1 teaspoon dried parsley, 1 teaspoon dried Italian seasoning, 1/2-1 teaspoon kosher salt*
- Spread this over each ear of corn until covered and then wrap them individually in foil.4-5 fresh ears of corn, shucked
- Place ears seam side up in a baking dish and bake at 350 for 30 minutes.
- Allow them to sit for five minutes before carefully opening just the top. Serve in the foil.
Notes
Nutrition
Treat everyone with politeness, even those who are rude to you — not because they are nice, but because you are.
~Author Unknown


I had a friend who taught me how to cook what he called “Country Corn.” It was very like this, except he soaked the ears in ice water as soon as we got them out of the field, then we’d half shuck them so the shucks were still attached, then add the butter/spice mix to the kernels, like you do, then fold the shucks back over the corn. We did this a lot camping, because we always had ice and water, but we didn’t always remember to bring the tin foil :O The ice water soaked the shucks so they didn’t burn when we put them on the grill, as well as stopping the sugars from converting into starch. Really tasty- I bet your version would be too if we were cooking in the kitchen 🙂
I’ve never cooked ears of corn on the oven. This sounds great.
Ok. I love corn on the cob. Just the way it is..hot and sweet and juicy..i don’t usually put butter on it unless it is not very good corn. But this does sound really yummy and I like the method you are using…also the woman who is going to put it in her crockpot.. It’s been so cool here in WA state that turning on the oven has been welcome, but when it gets hot it would be nice to not use the oven, I like the butter seasoning for some other fresh veggies too. As always I love this blog! Happy June!
My grandkids would love this (so would Grandpa)! The seasoned butter would be yummy on other veggies, too.
This looks delicious! I’m going to try cooking it on the grill! Thanks!
OHHHH. Corn my favorite veggie. Want to try this, but I think I’ll try using a slow cooker so I’m not heating up the kitchen. There’s just my husband and myself so I won’t be making a big batch.
This looks amazing! I can’t wait to give it a try. My father passed in 2015 but I know he would have loved this.