No Bake Peanut Butter Bars
As an Amazon Associate I earn from qualifying purchases.
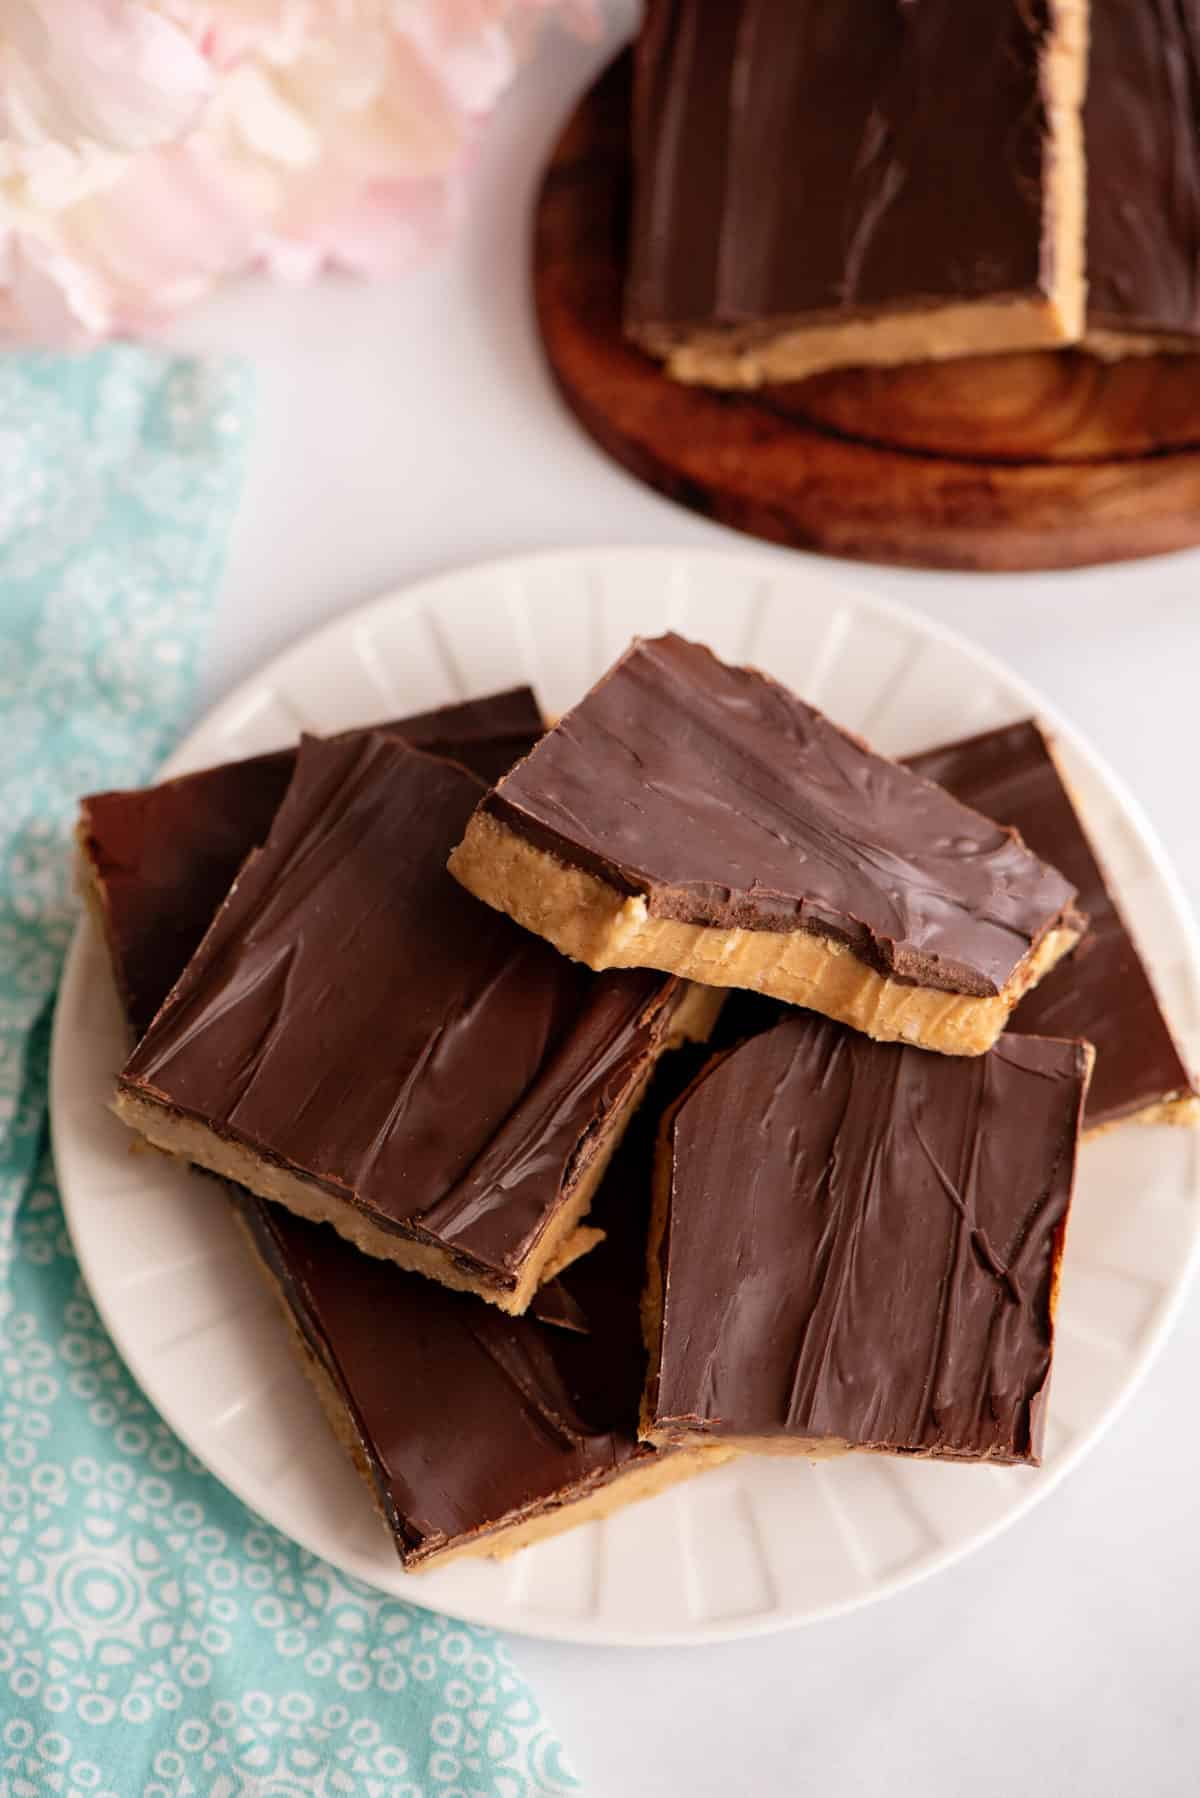
Using just 5 ingredients, these easy no bake peanut butter bars are a rich and decadent treat that taste exactly like homemade Reese’s peanut butter cups!
These no bake peanut butter bars are an old-school cafeteria recipe from back in the days when the lunch ladies would come in at the break of dawn and set to making the day’s meals from scratch. These ladies were our mothers away from home, always there to make sure we got enough to eat! Peanut butter treats were usually in abundance since peanut butter was a government commodity, provided in large quantities to lunchrooms.
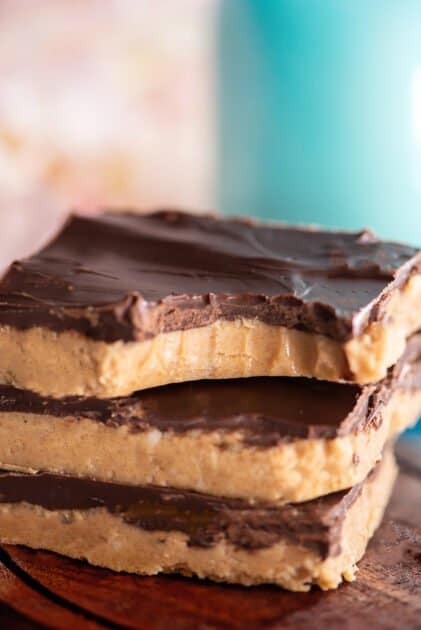
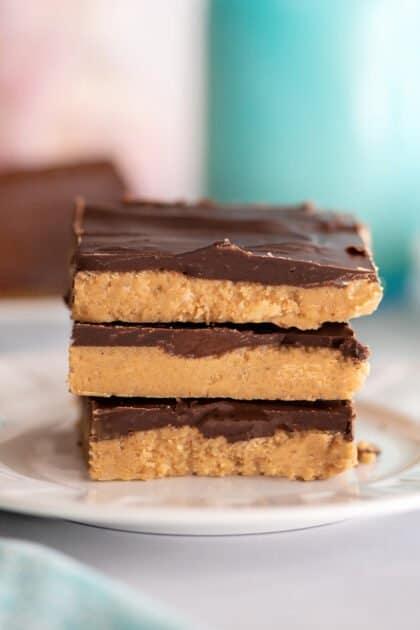
This is a great homemade dessert recipe that uses only 5 ingredients, requires no baking, and ends up tasting like what a Reese’s peanut butter cup aspires to be. It features a rich and thick peanut butter layer that’s boosted with sugar, vanilla extract, and butter flavors. Then it’s topped with a decadent chocolate layer. This recipe results in treats that are fudgy, creamy, and will disappear in an instant!
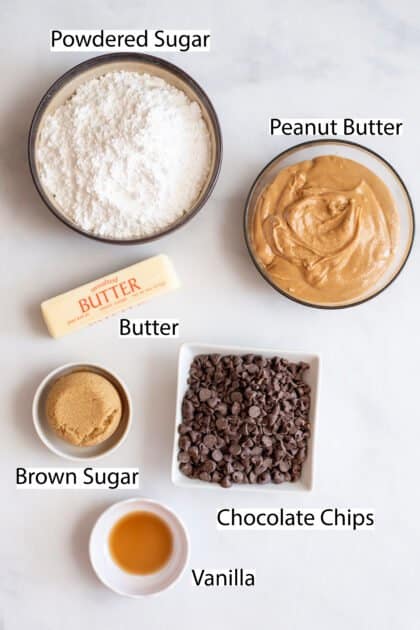
Recipe Ingredients
- Creamy peanut butter
- Confectioner’s sugar
- Brown sugar
- Unsalted butter
- Semi-sweet chocolate chips
You don’t have to have a whole tub of peanut butter like I have pictured here so don’t worry about that. My family just happens to think peanut butter is the best thing since… well, peanut butter, so I tend to buy it in large quantities.
How To Make No Bake Peanut Butter Bars
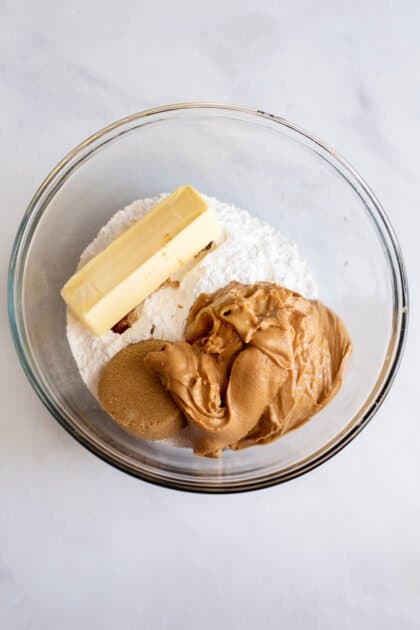
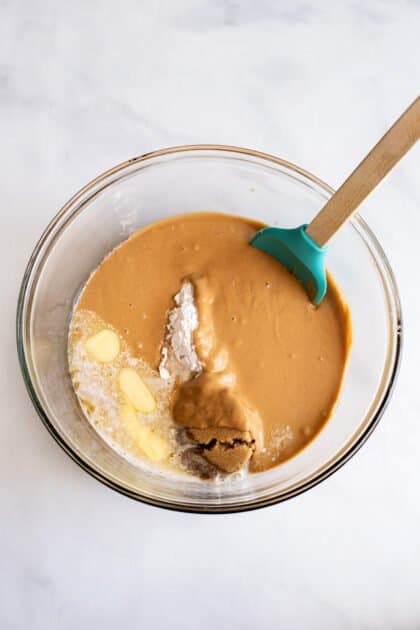
Place all ingredients into a large bowl.
Microwave until the butter and peanut butter are both melted. This will take about a minute or so.
NOTE: Check it after 45 seconds and make sure though because microwaves vary so greatly.
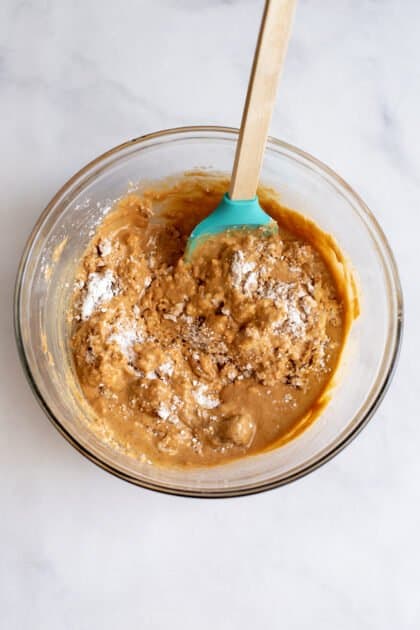
This is our melted “stuff”.
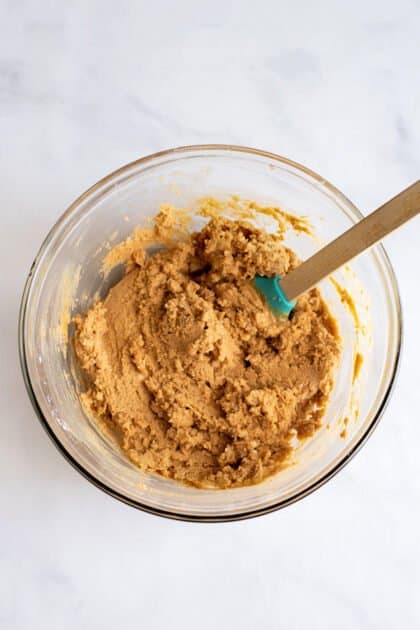
Now take a spoon and give it a really good stir.
NOTE: At first this peanut butter bar mixture will seem like a big old mess, but after several stirs, it will all come together and leave the sides of the bowl.
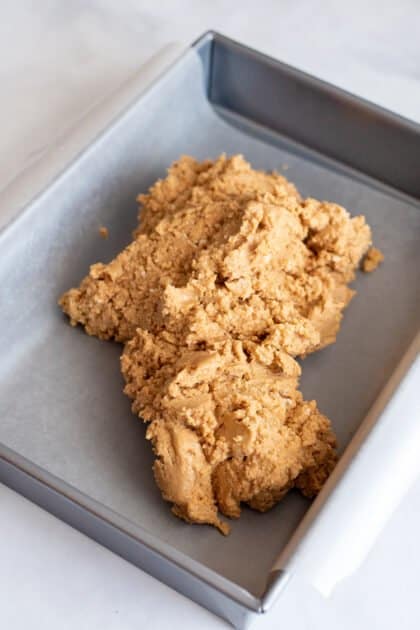
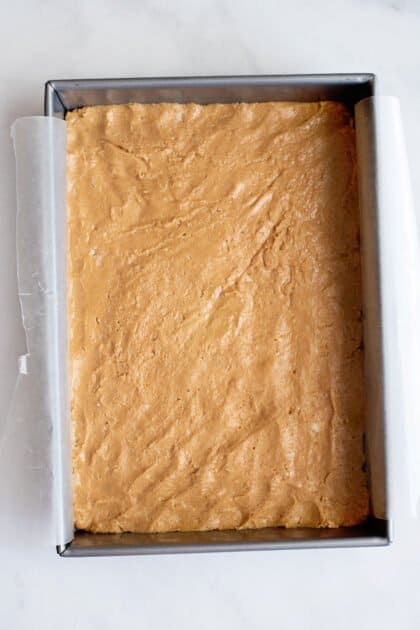
Now transfer your peanut butter mixture into the bottom of a 9×13 pan.
Pat it out into the pan with your hands.
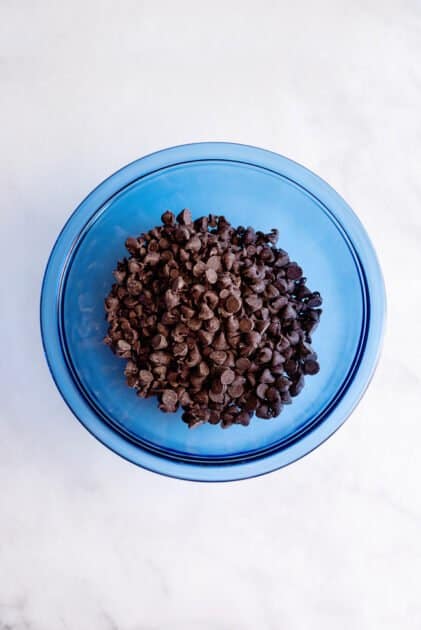
Time to crank up that microwave again! Pour the entire package of chocolate chips into a bowl and microwave them at 30-second intervals, stirring in between each, until completely melted.
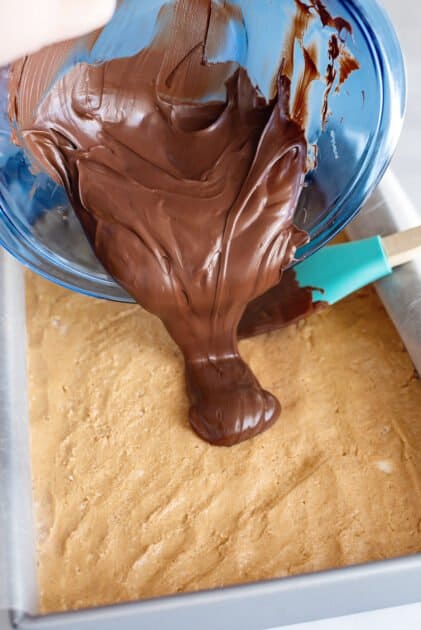
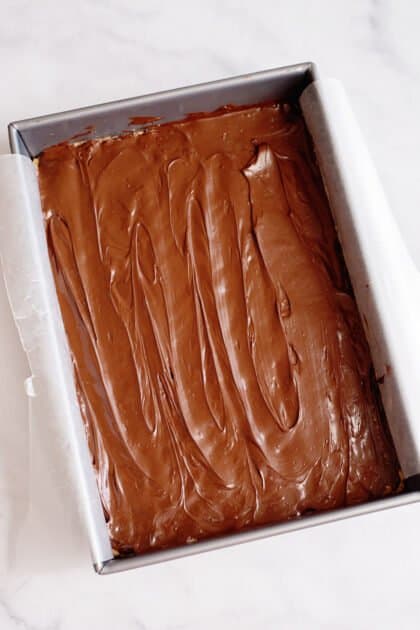
Pour the melted chocolate chips over your peanut butter mixture.
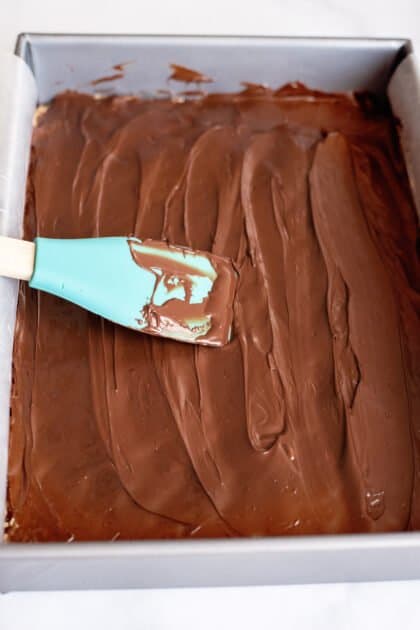
Spread it all around until the top is evenly covered.
Now the hard part: waiting for these no bake peanut butter bars to harden.
TIP: You can do this at room temperature or you can do like me and place it in the fridge for about half an hour or so.
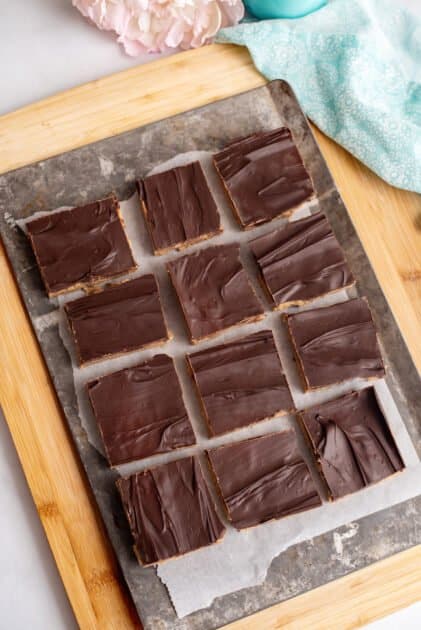
Cut into bars and serve.
Enjoy!
Storage
- Leftovers can be stored in your cookie jar on the counter or in the refrigerator, whatever cranks your tractor. They will last up to 1 week.
- These no bake dessert bars also freeze beautifully for up to 3 months. Thaw overnight in the fridge before serving.
Recipe Notes
- You can add a cup of graham cracker crumbs to your peanut butter layer for added flavor.
- I don’t recommend using crunchy peanut butter, natural peanut butter, or any natural nut butter like in this recipe. They just don’t have the same consistency as processed smooth peanut butter like Jif and Skippy.
- If you like, you can use an 8×8 baking pan or a 9×9 pan. The cooling time will be the same.
- While I prefer , feel free to top your bars with melted .
- To make the chocolate peanut butter bars easy to remove from the pan, line it with parchment paper you can lift and remove with ease.
You may also like these bar recipes:
Lemon Bars Recipe and Video Tutorial
And here are some peanut butter recipes you might like:
3 Ingredient Peanut Butter Cookies
Peanut Butter Brownies with Peanut Butter Fudge Icing
Refrigerator Peanut Butter & Milk Granola Bars
Ingredients
- 1/2 cup butter
- 1/2 cup packed brown sugar light or dark
- 1 teaspoon vanilla extract
- 2 cups creamy peanut butter
- 2 1/2 cups confectioner's sugar
- 2 cups semi-sweet chocolate chips
Instructions
- Place all of the ingredients (except the milk chocolate chips) in a large microwave-safe bowl. Microwave until the butter and peanut butter are melted (1 to 2 minutes). Time will vary by microwave.1/2 cup butter, 1/2 cup packed brown sugar, 1 teaspoon vanilla extract, 2 cups creamy peanut butter, 2 1/2 cups confectioner's sugar
- Remove from the microwave and use a large spoon to stir all of the ingredients together (except chocolate chips) until they form a ball of dough that leaves the side of the bowl. Pat into a 9x13 pan.
- Pour the chocolate chips into another microwave-safe bowl and microwave at 30-second intervals, stirring after each, until completely melted. Spoon over the top of the peanut butter mixture and spread evenly.2 cups semi-sweet chocolate chips
- Allow the peanut butter bars to cool completely at room temperature until the chocolate hardens again or place in the refrigerator for faster hardening. Cut into squares and serve to some awfully happy people!
Nutrition
Don’t miss a single post – Subscribe by e-mail (It’s FREE!)
“Those who bring sunshine to the lives of others cannot keep it from themselves.”
-J.M. Barrie
Submitted by April. Submit your quote by clicking here.

Hi Christy, I just wanted to clarify, do I add the vanilla extract and powdered sugar before I microwave, or after? The photos suggest before, and the written recipe at the end suggests after. Thanks very much! I love buckeyes so I can’t wait to make these!!
Never mind…I realized from the photos that it HAS to be that all of the ingredients are added at the beginning (except the chocolate) – no need to reply. Thanks!
I am still confused on that? I I put it all in at once and it does not come together like in the photos?? Maybe add the powdered sugar after you microwave?
Step one and two in the instructions offer the information ya need:
1.Place peanut butter, butter, and brown sugar in a large microwave safe bowl. Microwave until butter and peanut butter are melted, one to two minutes (time will vary by microwave).
2.Remove from microwave and use a large spoon to stir all of the ingredients together (except chocolate chips) until they form a ball of dough that leaves the side of the bowl. Pat into a 9×13 pan.
Can you hear the sound of crumpling paper??? It’s my old peanut butter bar recipe. Hands down this one is easier and better tasting!! Thanks, for passing this one on. Love your site, it’s a like having a new best friend!! May God continue to bless you and your family!!!
I am so glad you liked them Debbie!!! Blessings to you and yours as well!!
So happy I found this! I use to love these when I was in school, and found a recipe that I was going to make today that includes graham crackers… I thought it was a little different, so I Goodled one more time for this recipe just as I was finished crushing up the graham crackers, and yours came up! Exactly how it was when I was in school! Thanks!
I am so glad you liked them Theresat!! Aren’t they fabulous?!
No Bake Cafeteria Peanut Butter Bars
To much sugar recipe needs changed to your way. Nothing like I remember in school.
Thanks for letting us all know Ken. 🙂
Although these are fabulous, they would not be allowed in our school, or most I know of. There is a NO peanut rule. There are four kids in our elementary that have severe peanut allergy.
But I do make these at home and we all love them. As a change I add Rice Krispies to the recipe.
I have a peanut allergy that I developed as an adult and as such was able to enjoy these as a child ( pre allergy) What I have found is that you can use soybean butter in place of the peanut butter for a peanut free version. Sunflower seed butter, or almond butter can work as well. However, I have found that the soybean butter tastes the closest to real peanut butter as I remember it. I use a certified peanut free soybean butter so these are safe for my kids to take to school in their lunches since their school recently had to go peanut free due to a large number of peanut allergic students and adult staff. Hope this gives you an option for your kids. My kids love them. We call them mom’s special peanut free peanut butter bars. 🙂 🙂 🙂
Just made the peanut butter bars? In the fridge cooling now. They are delicious since I had to try before refrigerating. I didn’t have semi sweet chips so I used dark chocolate chips and the rest of a good brand melting chocolate I had left from Christmas. When you live 25 minutes (one way) from a grocery store you learn to improvise. Thanks for sharing the recipe.
Yep, some awfully happy children at my house now with chocolate smeared lips!
Thanks!