How To Make Whipped Cream With Evaporated Milk
As an Amazon Associate I earn from qualifying purchases.
Transport yourself to a bygone era and discover the delightful art of creating whipped cream using evaporated milk. This timeless recipe is a testament to simplicity and ease, promising a lusciously airy topping that will elevate any dessert to new heights.
With just a few steps, you’ll unlock the secret to achieving a cloud-like, fluffy texture that perfectly complements your favorite sweet treats. The magic lies in the transformation of humble evaporated milk into a velvety, dreamy concoction that’s bound to leave a lasting impression on your taste buds.
It takes just three simple ingredients to make this easy homemade whipped cream topping: evaporated milk, confectioner’s sugar, and vanilla extract. Yep, we use instead of other alternatives like or . The key is freezing the can of evaporated milk and then beating it with the sugar and vanilla to make the fluffiest whipped cream imaginable. Trust me, once you try this recipe, you’ll be remaking it again and again.
You should also trust me when I say that fresh homemade whipped cream is so much better than the pre-packaged heavy whipping cream version (sorry, Cool Whip).
Skip the frosting or vanilla ice cream and top these desserts with this delicious whipped cream: crockpot apple crisp, no-bake pumpkin cheesecake, easy apple crumble, cherry pineapple dump cake, and pineapple cake and cobbler.
So, without further ado, here is how to make whipped cream with evaporated milk!
Ingredients To Make Homemade Cool Whip
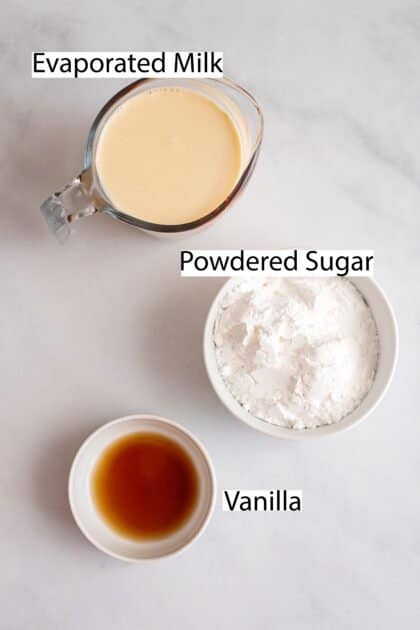
- Can of evaporated milk
- Confectioner’s sugar
- Vanilla extract
Helpful Kitchen Tools
- Electric Mixer (Budget Friendly)
- Electric Mixer (Splurge)
How To Make Whipped Cream With Evaporated Milk
Place the can of evaporated milk in the freezer for 30 minutes (use a timer so you don’t forget!). While that is getting cold, place a mixing bowl and beaters (or whisk attachment) in the refrigerator or freezer as well. If you are using a stand mixer put that mixing bowl and the beaters in the fridge.
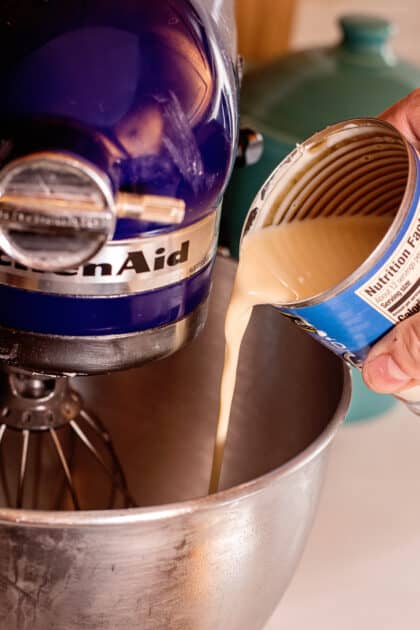
Pour chilled evaporated milk into the mixing bowl and beat at high speed for 1 minute, or until foamy.
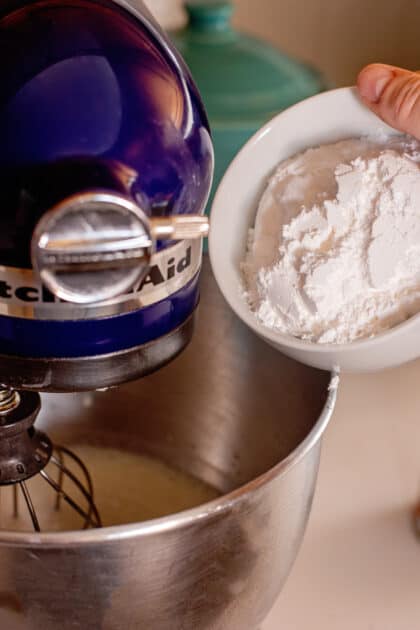
Add sugar…
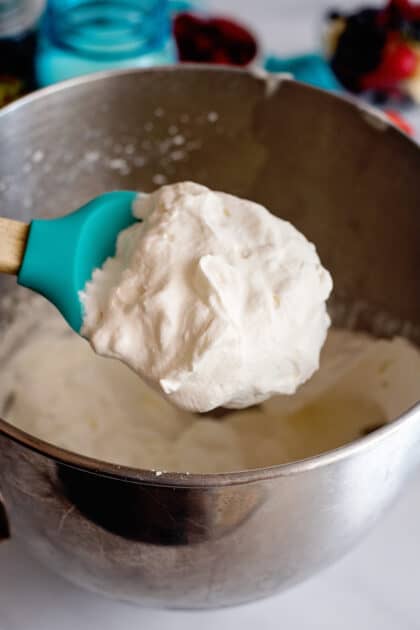
And vanilla to the stand mixer bowl. Beat again for about two minutes, or until thick and creamy.
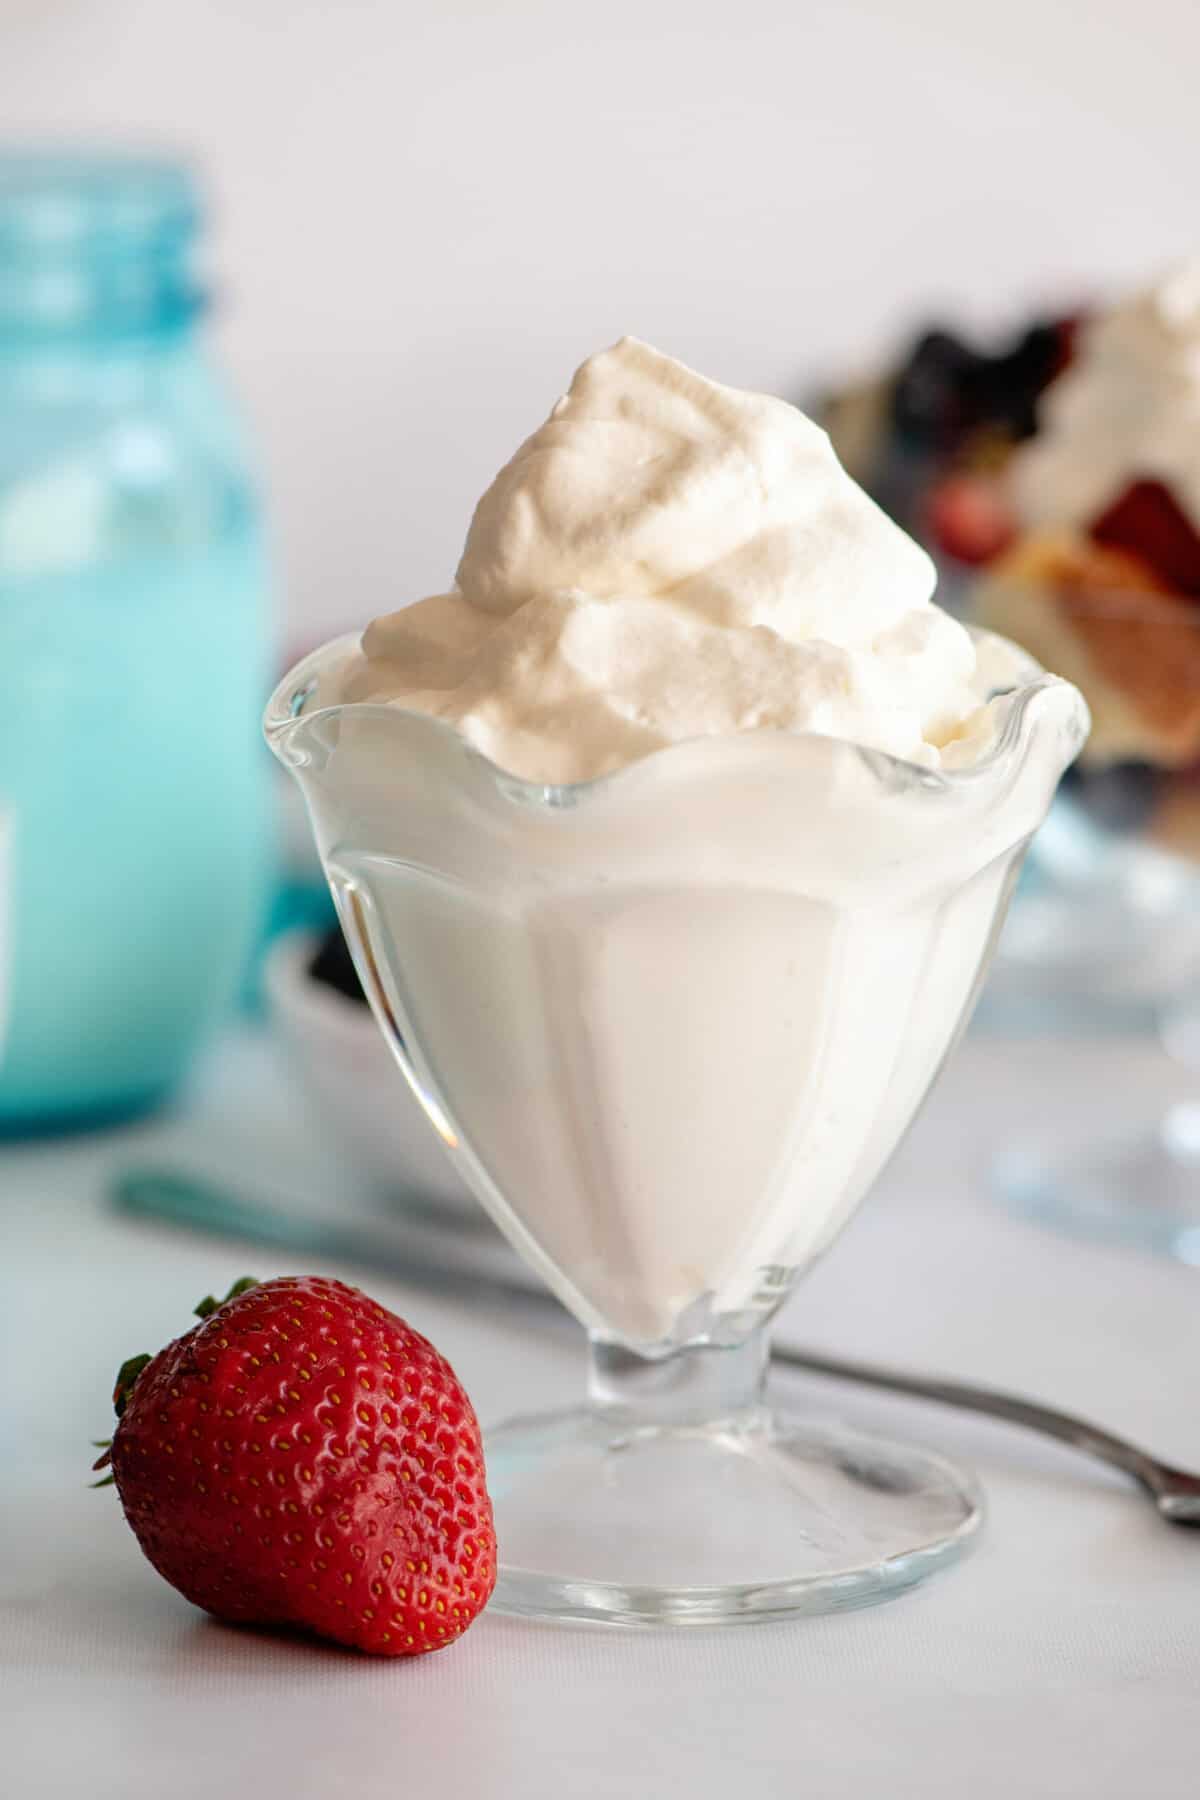
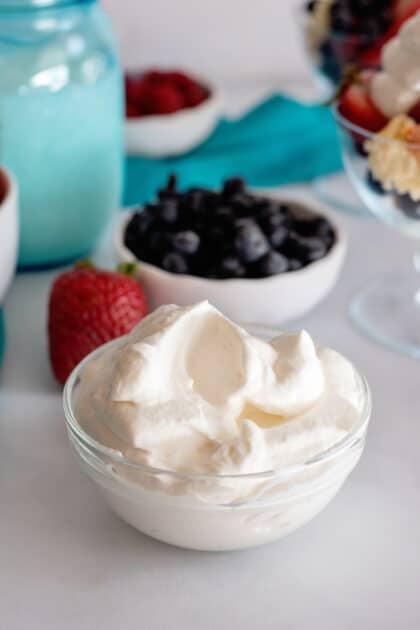
Your homemade whipped cream should look a little bit like this when done.
Serve immediately.
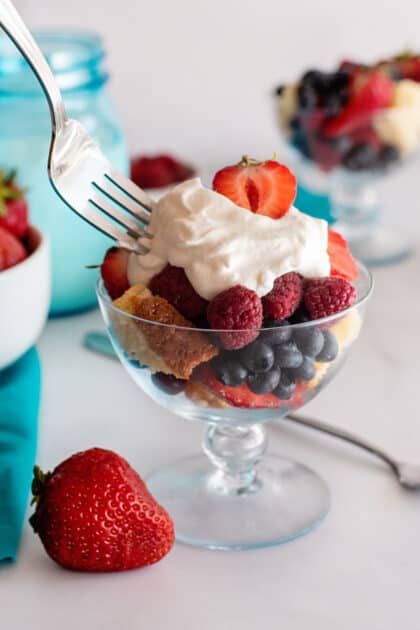
What will you enjoy your whipped cream with?
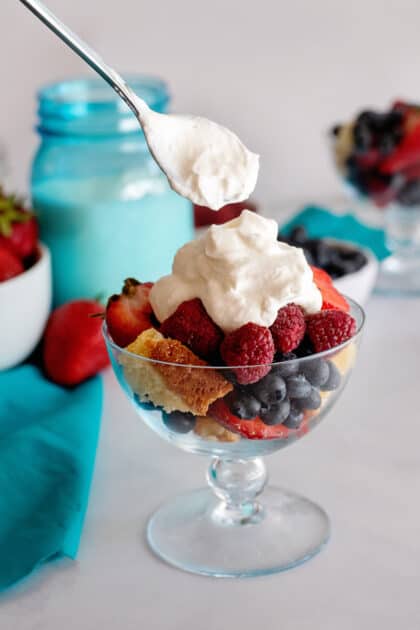
Fresh fruit, a slice of apple pie… take your pick!
How To Store Homemade Whipped Cream
This is one of those things you want to serve immediately and store leftovers for 30 minutes only.
To stabilize the end result and have it last a bit longer in the fridge, you can add 1 teaspoon of flavored Jell-O or unflavored gelatin. Dissolve that in hot water. Chill in the fridge until slightly thickened and then add to chilled evaporated milk and beat away.
Commonly Asked Questions
Can I make the whipped cream flavored?
YES! You can infuse whipped cream with flavors like vanilla, cocoa powder, or extracts like mint or almond. Additionally, you can experiment with different sweeteners and add-ins like chocolate chips, crushed cookies, or fruit purees for unique twists on the classic recipe.
Can I sweeten whipped cream, and if so, what is the best way to do it?
Yes, you can sweeten whipped cream by adding powdered sugar or a liquid sweetener like honey or maple syrup. It’s best to add the sweetener gradually and taste as you go to achieve your desired level of sweetness.
What happens if I over-whip the cream?
Over-whipping cream can result in it becoming grainy or even turning into butter. It’s important to stop whipping once you achieve stiff peaks.
How long does it typically take to whip cream by hand?
It can take anywhere from 2-5 minutes to whip cream by hand, depending on factors like temperature and the consistency you desire.
Can I use other types of cream besides heavy cream to make whipped cream?
Yes, you can also use whipping cream, which has a slightly lower fat content, but it will still yield a creamy result.
Here are even more delicious desserts to top with this homemade whipped cream:
- Easy Crescent Cherry Cream Cheese Cobbler
- Triple Chocolate Brownie Pie
- Old-Fashioned Rhubarb Crisp
- Easy Apple Crumble Recipe
- Caramel Apple Cheesecake (Unbelievably Blissful)
Ingredients
- 12 ounce can of evaporated milk
- 1/2-3/4 cup confectioner's sugar
- 1 teaspoon vanilla
Instructions
- Place the can of evaporated milk in the freezer for 30 minutes (use a timer so you don't forget!). While that is getting cold, place your mixing bowl and beaters (or whisk attachment) in the refrigerator or freezer as well.12 ounce can of evaporated milk
- Pour the chilled evaporated milk into the mixing bowl and beat at high speed for 1 minute, or until foamy. Add sugar and vanilla. Beat again for about two minutes, or until thick and creamy.1/2-3/4 cup confectioner's sugar, 1 teaspoon vanilla
- Serve immediately.
Note: This is great on top of desserts, fruit salads, pies, custards, etc. However, this has to be served as soon as it is made as it won't hold up for more than thirty minutes or so, but check the notes section for how you can make it last a bit longer.
Notes
Nutrition
“There is really no way we can know the heart, the intentions, or the circumstances of someone who might say or do something we find a reason to criticize. Thus the commandment: ‘Judge not.’”
~Thomas S. Monson








Hi Nonstick. The whipped cream will last about an hour longer if you put cream of tartar in it. You only need about 1 tablespoon in the mix. Linda.
Christy I was lucky today. I was rummaging through some of my Grandmother’s old books and found her old cookbook. She had a recipe for what she called “sticky buns”. This recipe is similar to the gooey cinnamon walnut buns of today only hers was smaller and had
rum in them. They were so good. She used them for family get together’s as well as for holidays like Easter, Thanksgiving, and Christmas. Linda
This was how we made “whipped cream”prior to Dream Whip and Cool whip. We would pour a can of evaporated milk in a metal ice cube tray (without the divider) and put it into the freezer section until it was almost completely frozen. My mom used it for our Jello cheesecake (no bake) , and it was delicious.,
I love those metal ice cube trays!! Every once in a while I will see one in an antique store and it takes me straight to my Grandmama’s kitchen!!
This is almost the only whipped cream my mom ever made when we were growing up in the late 50s early 60s. It always worked for her. We didn’t have A/C back then, but she had a big chest freezer and I remember she put the milk in it. I was thinking she left it until it would get a tiny bit of ice crystals around the inside rim. Am I remembering that right, could that have worked? Then she whipped it and sweetened it with powdered sugar. Ashamed to say I was too uninterested back then to learn how she did it, and after I married and had my family I used “store bought” until I started making mine with heavy cream. She was a fantastic cook, and I wish I had paid a lot more attention to how she did things. My husband says he wishes I had too. Then he says “just joking”. Hmmmmmmm
Thank you for posting this. My mother made it when I was growing up and I have looked for a recipe for years!
When my mother made it I remember it having a slightly tangy taste. Will this taste tangy or did my mother slip in some lemon juice or extract?
She was quite fond of lemon anything.
In fact I found this while looking for you lemon jello cake recipe. I’m making two cakes tomorrow to take to a nursing home that I volunteer at.
Thanks again for keeping my memories alive!
hi, my mum always did this, she also added i jello mix dissolved in 1/4 cup hot water, mixed and then put on top fruit jello jello already set. It sets very quickly It was always a favourite. I think she used the half sized can of mil.
Sounds delicious!!
can i use this handmade whipping cream to make my ice cream???