How To Make Homemade Banana Pudding From Scratch
As an Amazon Associate I earn from qualifying purchases.
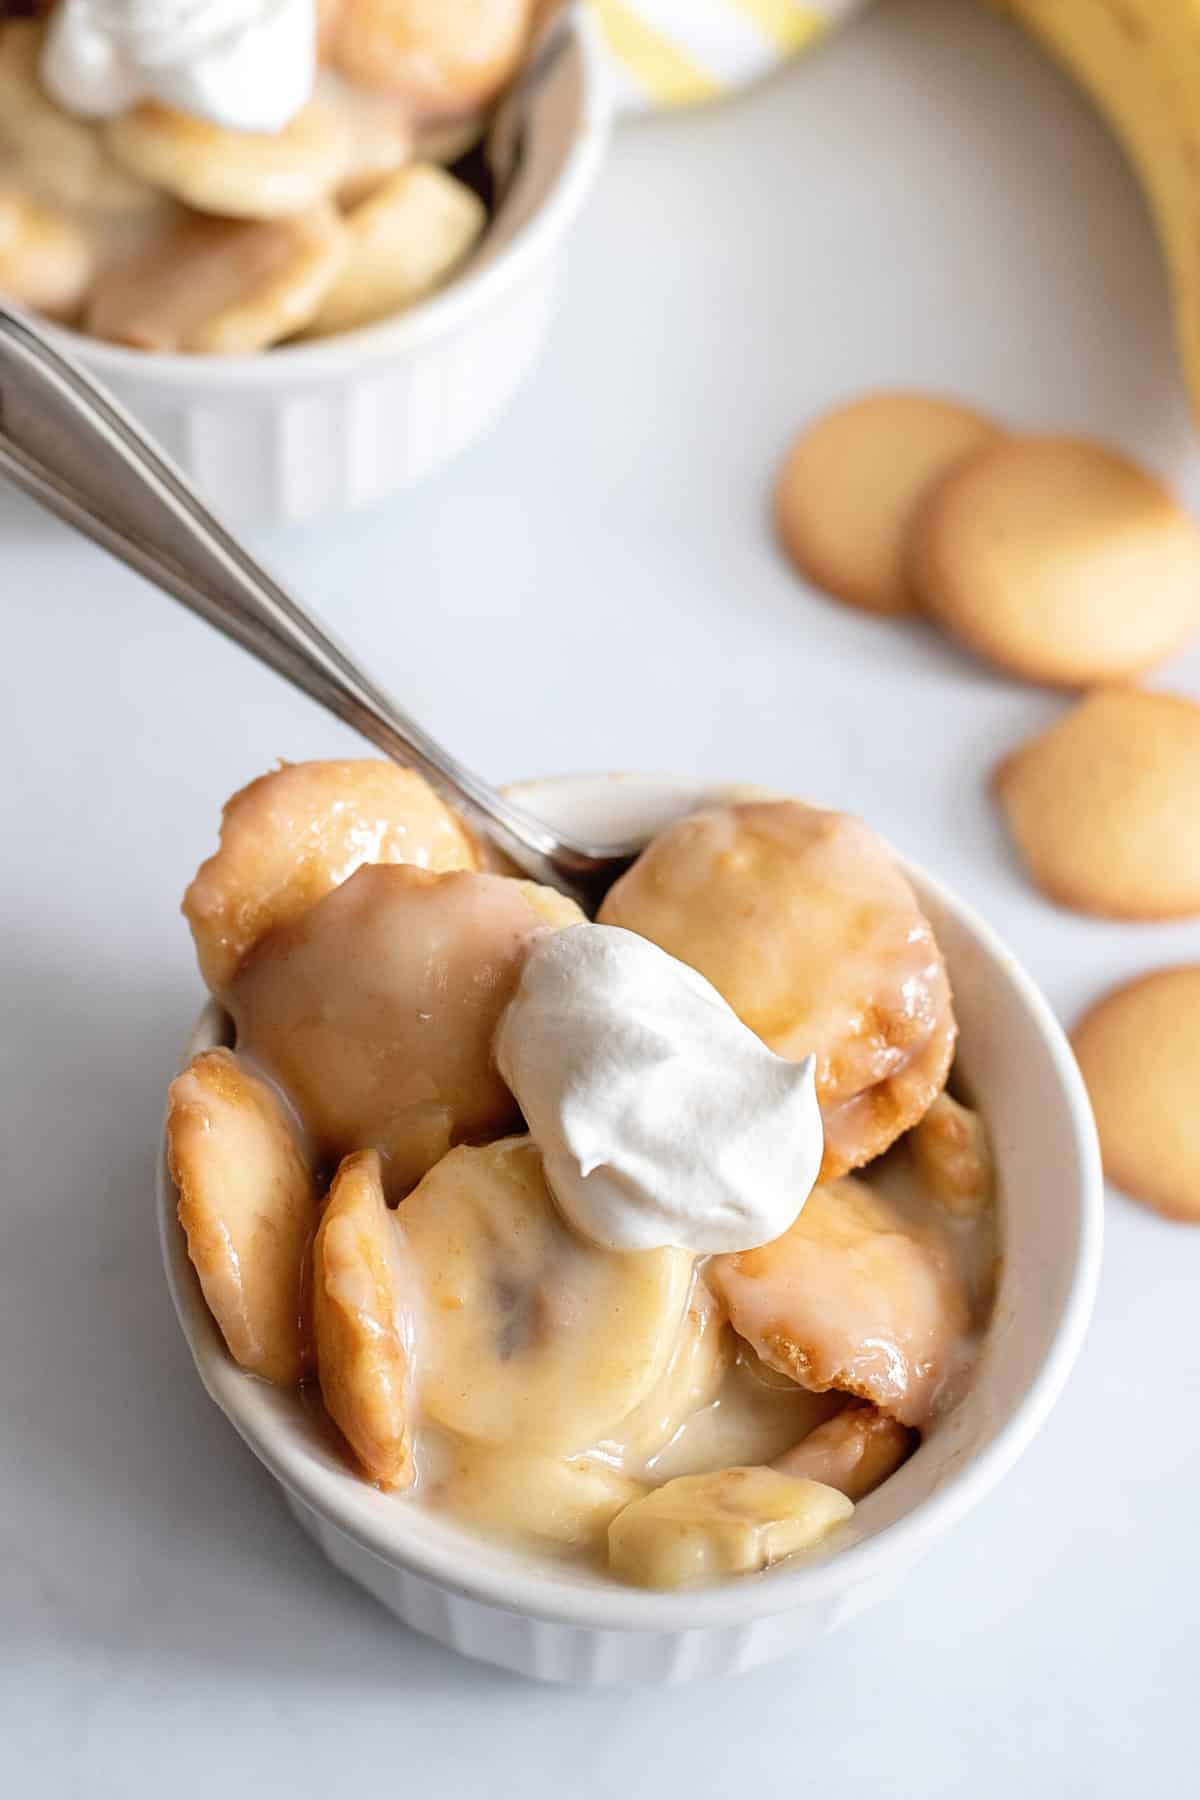
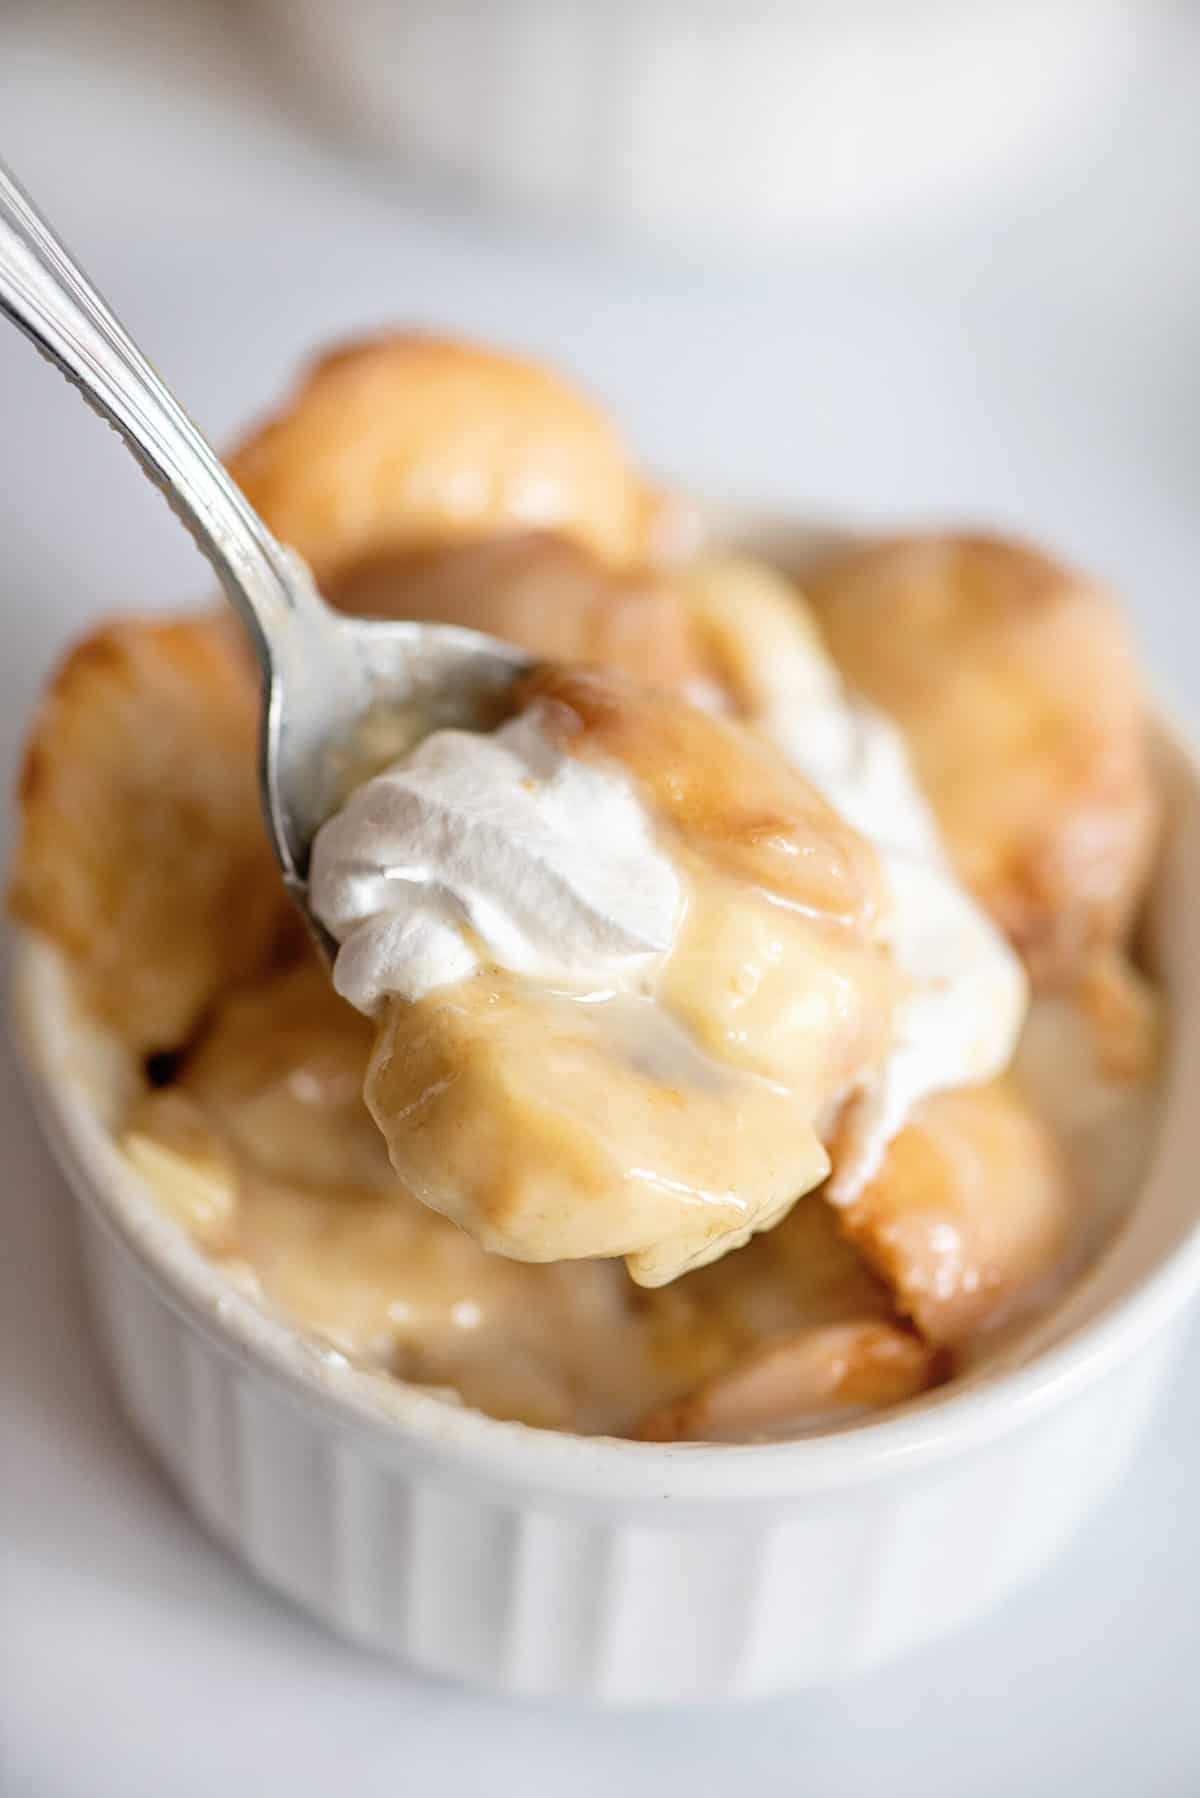
You’ve come to the right place to learn how to make homemade banana pudding. This recipe includes making the creamy vanilla pudding from scratch then serving it over Nilla wafers and fresh-cut bananas for the most delicious classic Southern dessert.
I love and adore old fashioned banana pudding – real Southern banana pudding. By real I mean the kind where you make the homemade pudding from scratch and pour it warm over a bowl of yummy Nilla wafers and fresh-cut bananas. That stuff with boxed pudding mix cannot even come close to how this tastes. If you think you’ve had banana pudding before and it involved an instant vanilla pudding mix… that was not banana pudding! This is banana pudding!
I think homemade pudding is such a classic and underrated dessert. This one, in particular, has it all. It features a sweet, rich, and creamy homemade vanilla pudding made from scratch, which is served on top of fresh banana slices and melt-in-your-mouth Nilla wafers. It’s the ultimate comfort food that I know your whole family will love.
Now, you have to be patient when making this homemade banana pudding recipe from scratch, but believe me when I say it’s worth the wait.
I’d recommend watching my Youtube tutorial below so you can get a nice visual before you get started!
If you’re in the mood for more pudding, here are some more of my favorite pudding dessert recipes: frozen banana pudding cups, vanilla wafer pudding with pineapple, chocolate vanilla wafer pudding, and my banana bread pudding sundae.
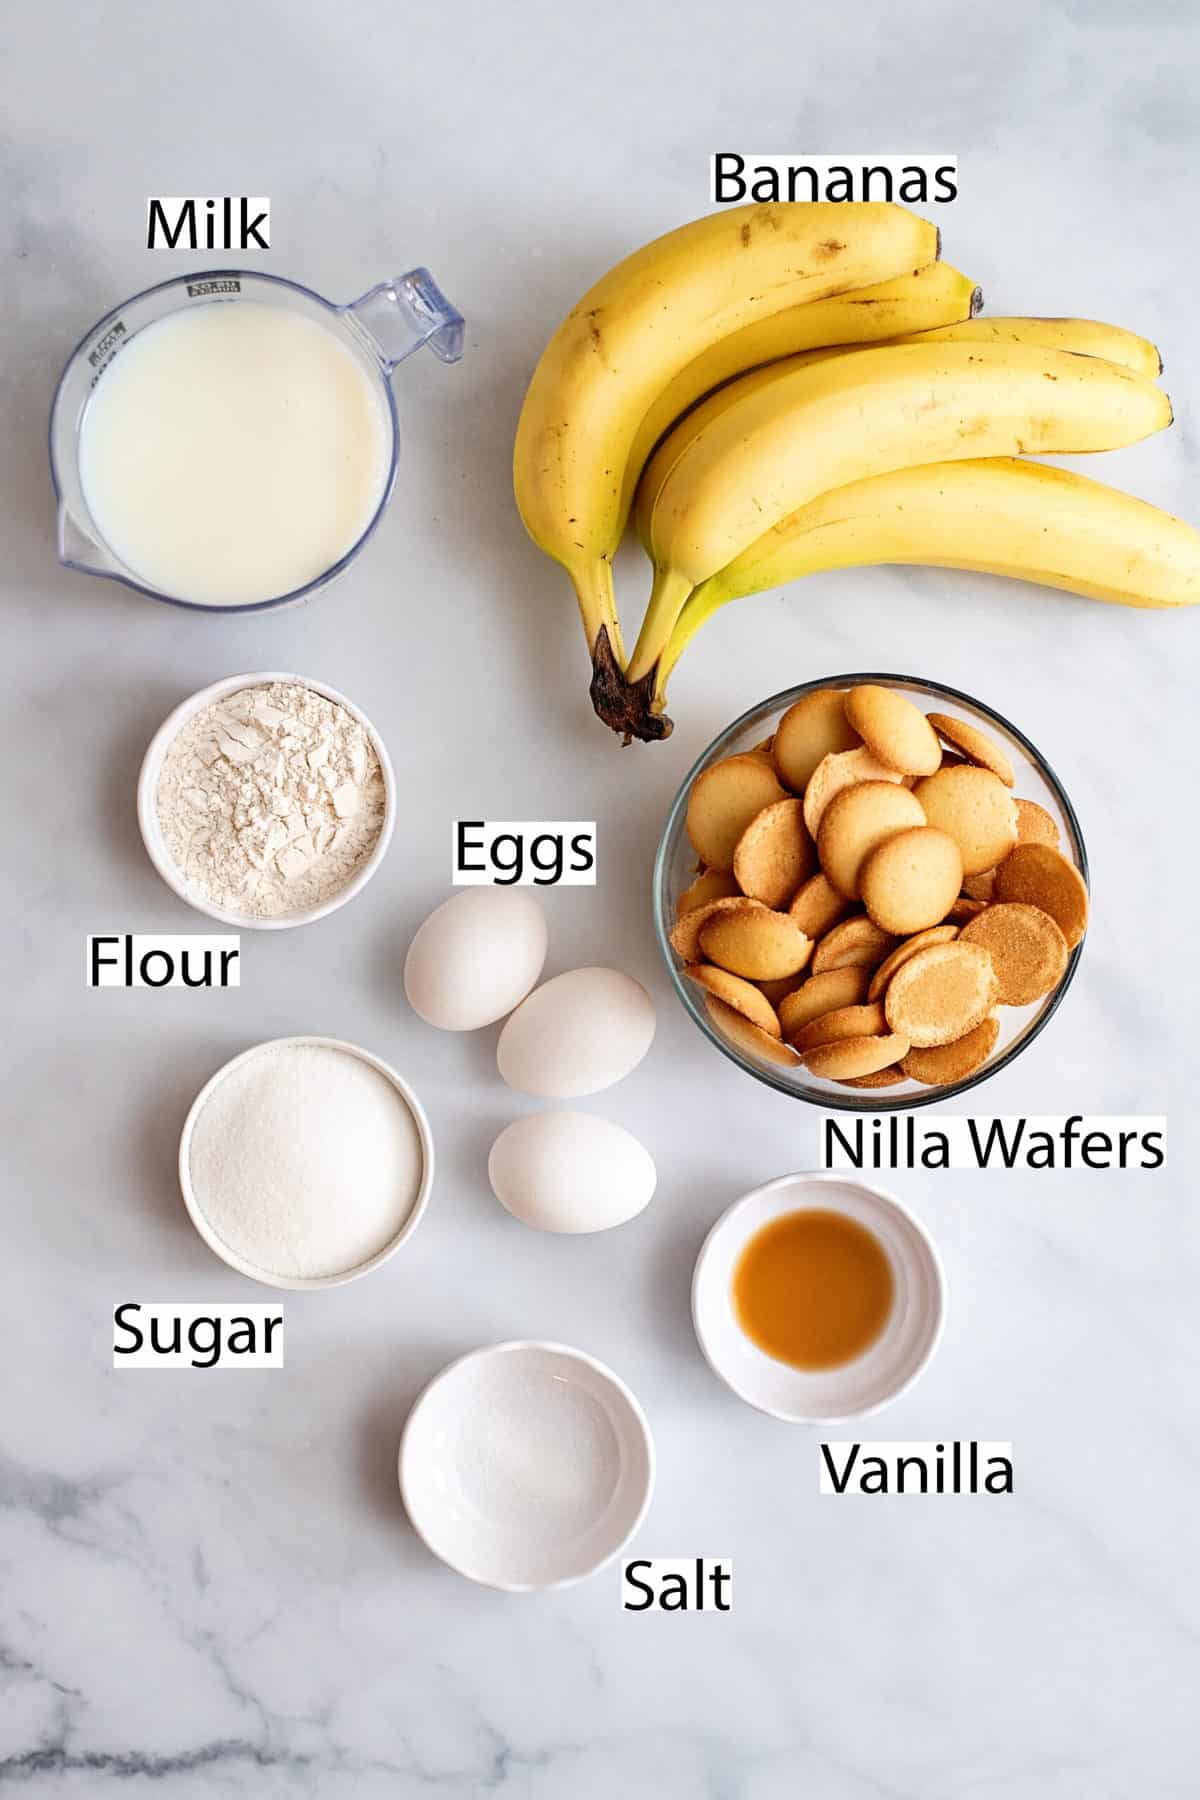
Recipe Ingredients
- 1/2 cup sugar (or swerve)
- 1/3 cup flour
- 3 egg yolks
- 2 cups milk
- 1 box Nilla wafers
- 5 ripe bananas
- 1/2 tsp vanilla extract
- Dash of salt
Helpful Kitchen Tools
How to Make Homemade Banana Pudding From Scratch
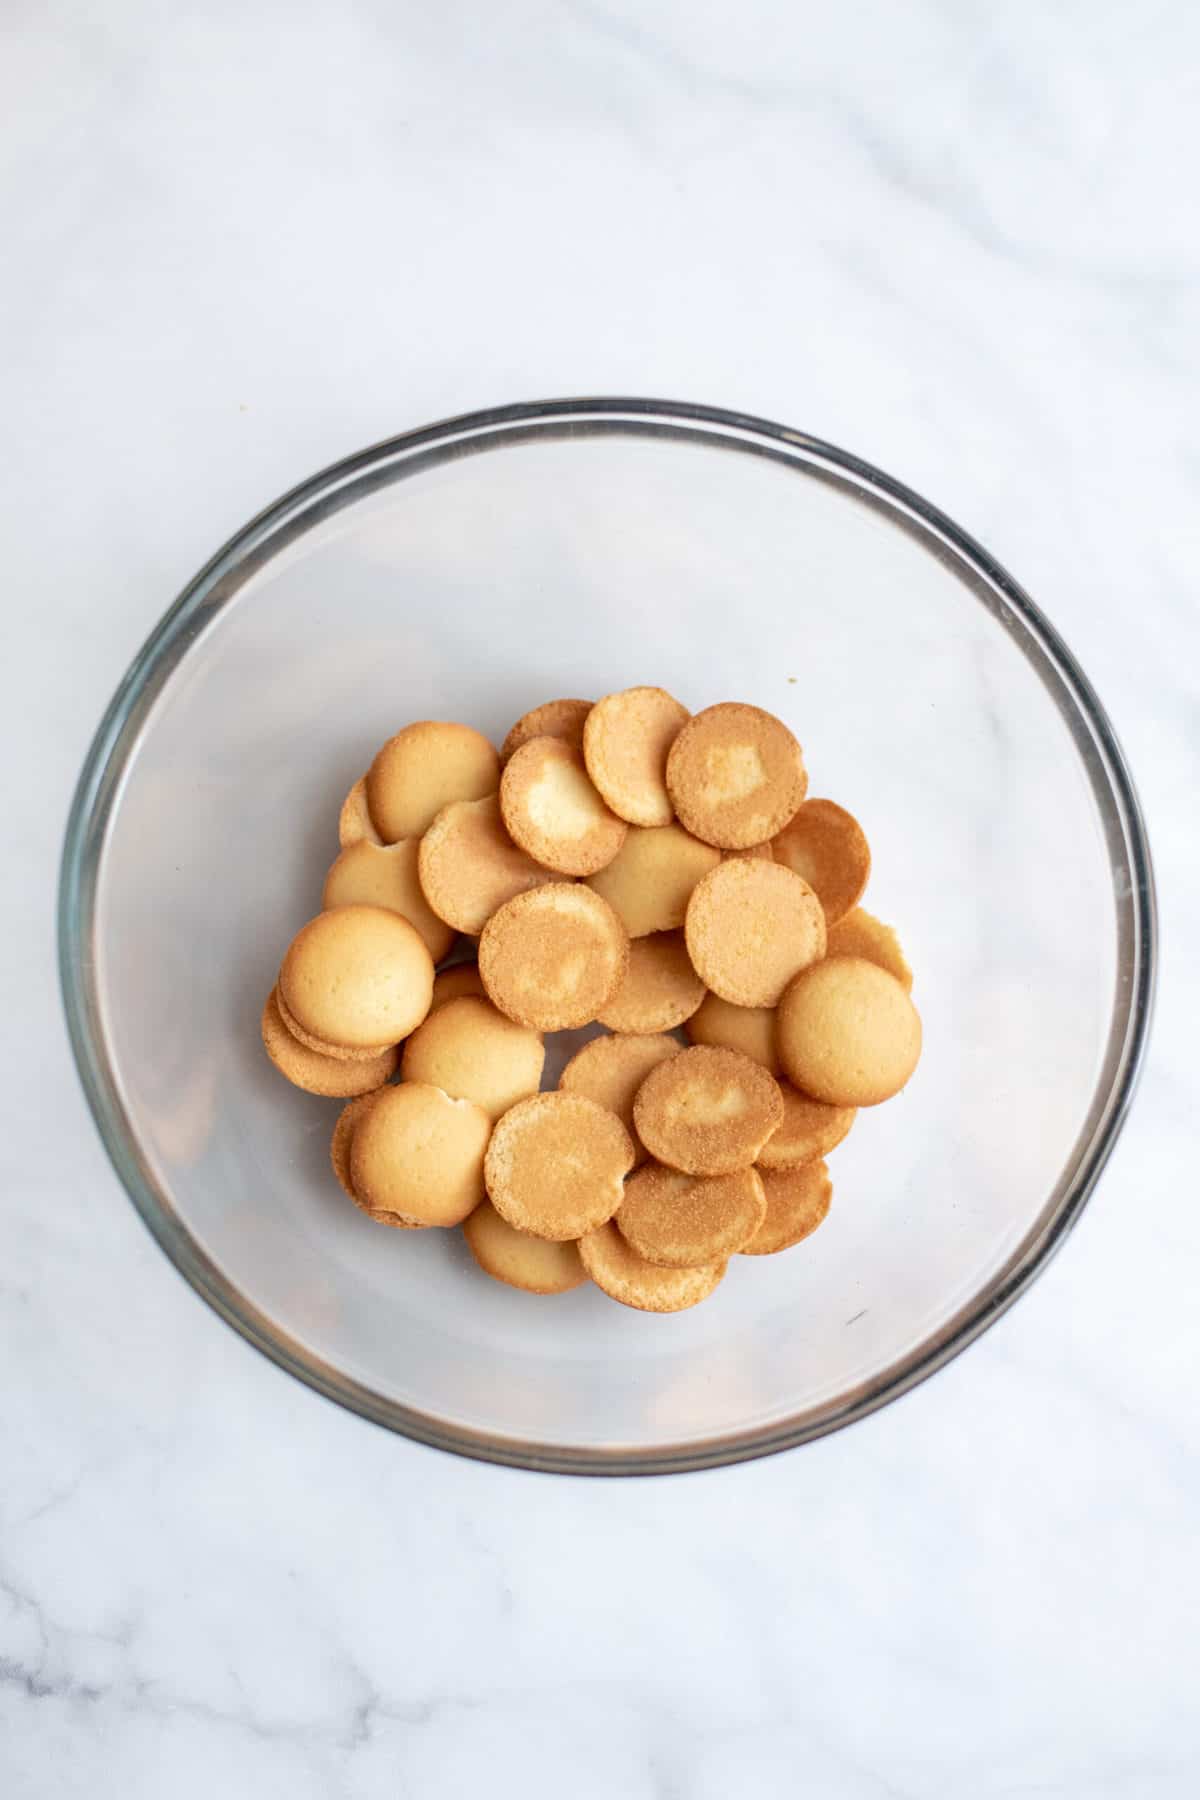
Put a layer of Nilla wafers in the bottom of a medium-sized mixing bowl.
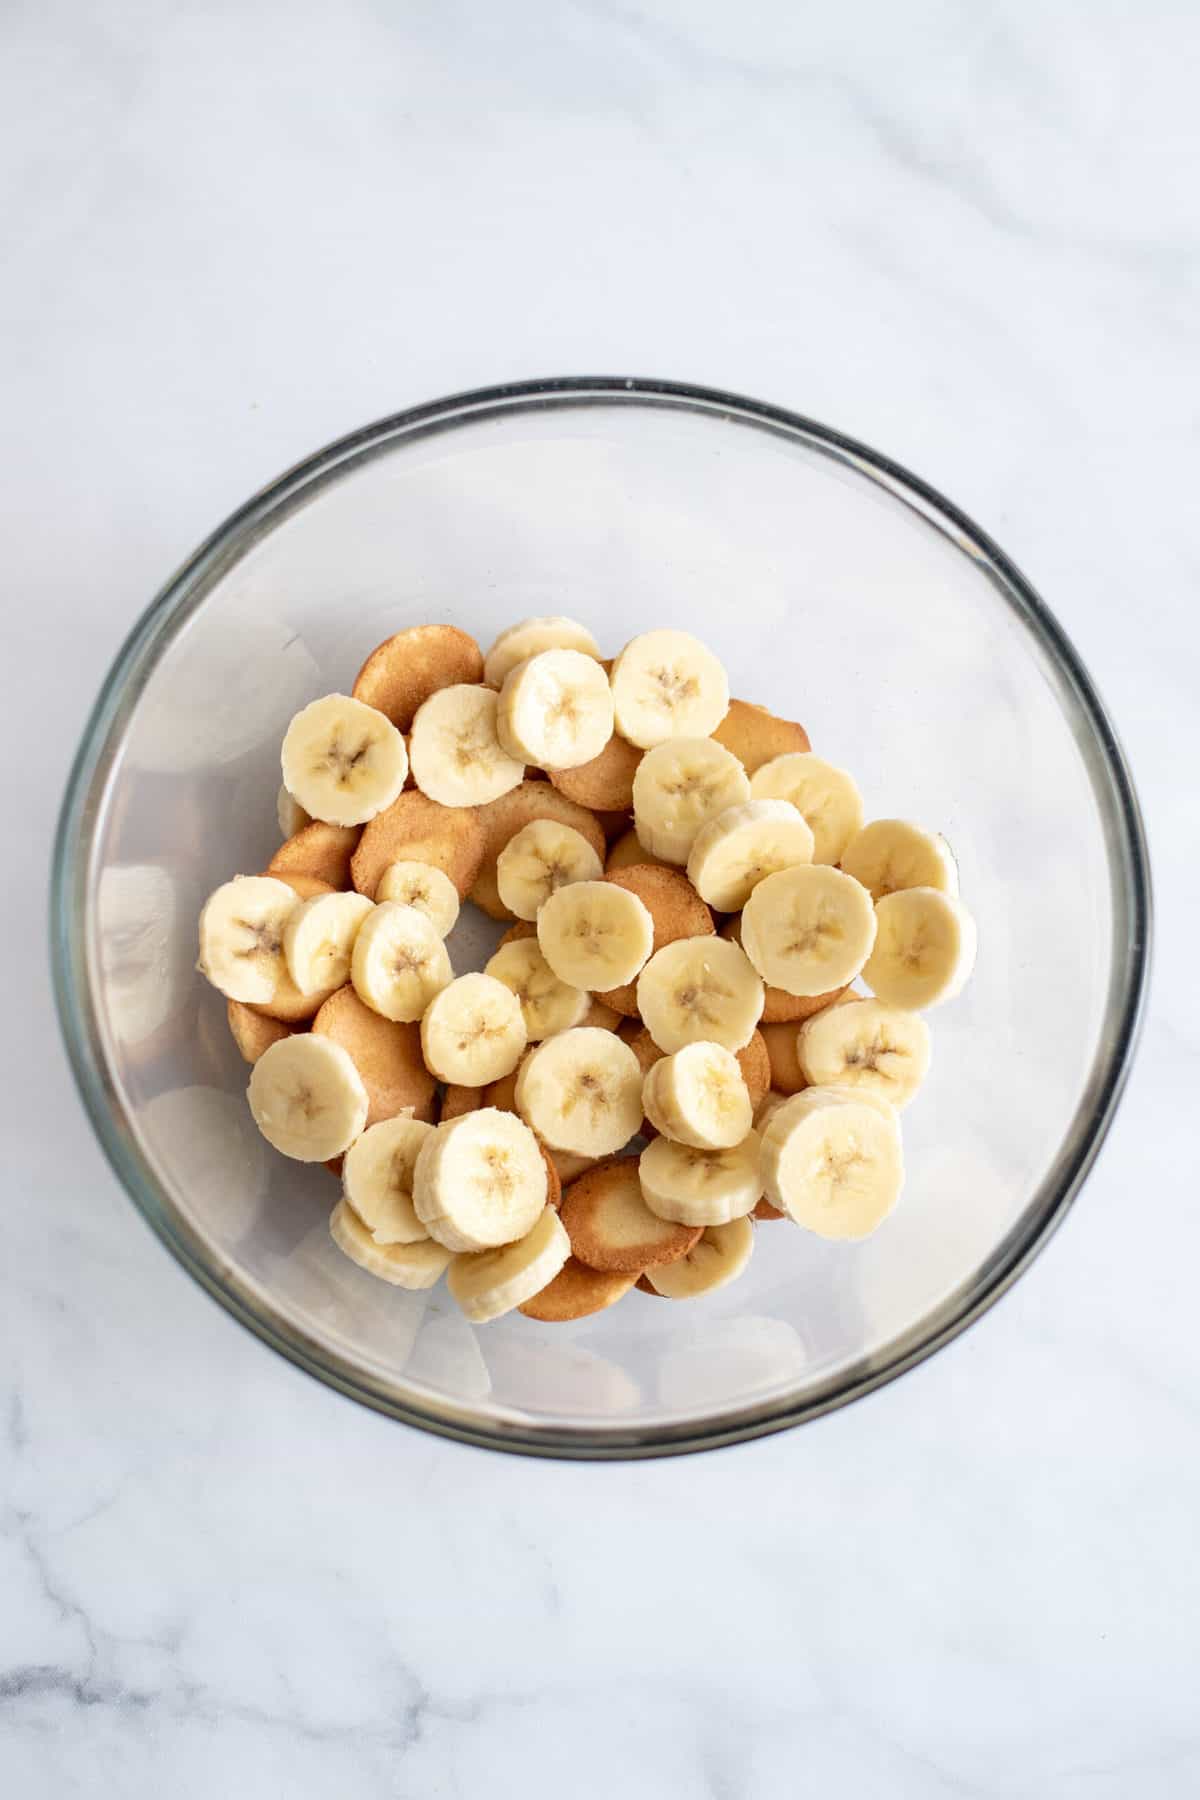
Slice a banana over the top.
Repeat these layers until you’ve used up all your vanilla wafers and bananas. It really is important that you put Nilla wafers first, by the way. These are going to soak up all the yummy pudding that settles at the bottom of your bowl.
Repeat these layers until you’ve used up all your vanilla wafers and bananas. It really is important that you put Nilla wafers first, by the way. These are going to soak up all the yummy pudding that settles at the bottom of your bowl.
If you’re going casual you can use a big glass mixing bowl for this dish or if you want to fancy it up a bit you can use a glass trifle bowl like this. I’d recommend doubling your recipe if you want to do a trifle so that you can fill it to the top. Whatever you do, just be sure to use glass so that you can see all the pretty layers!
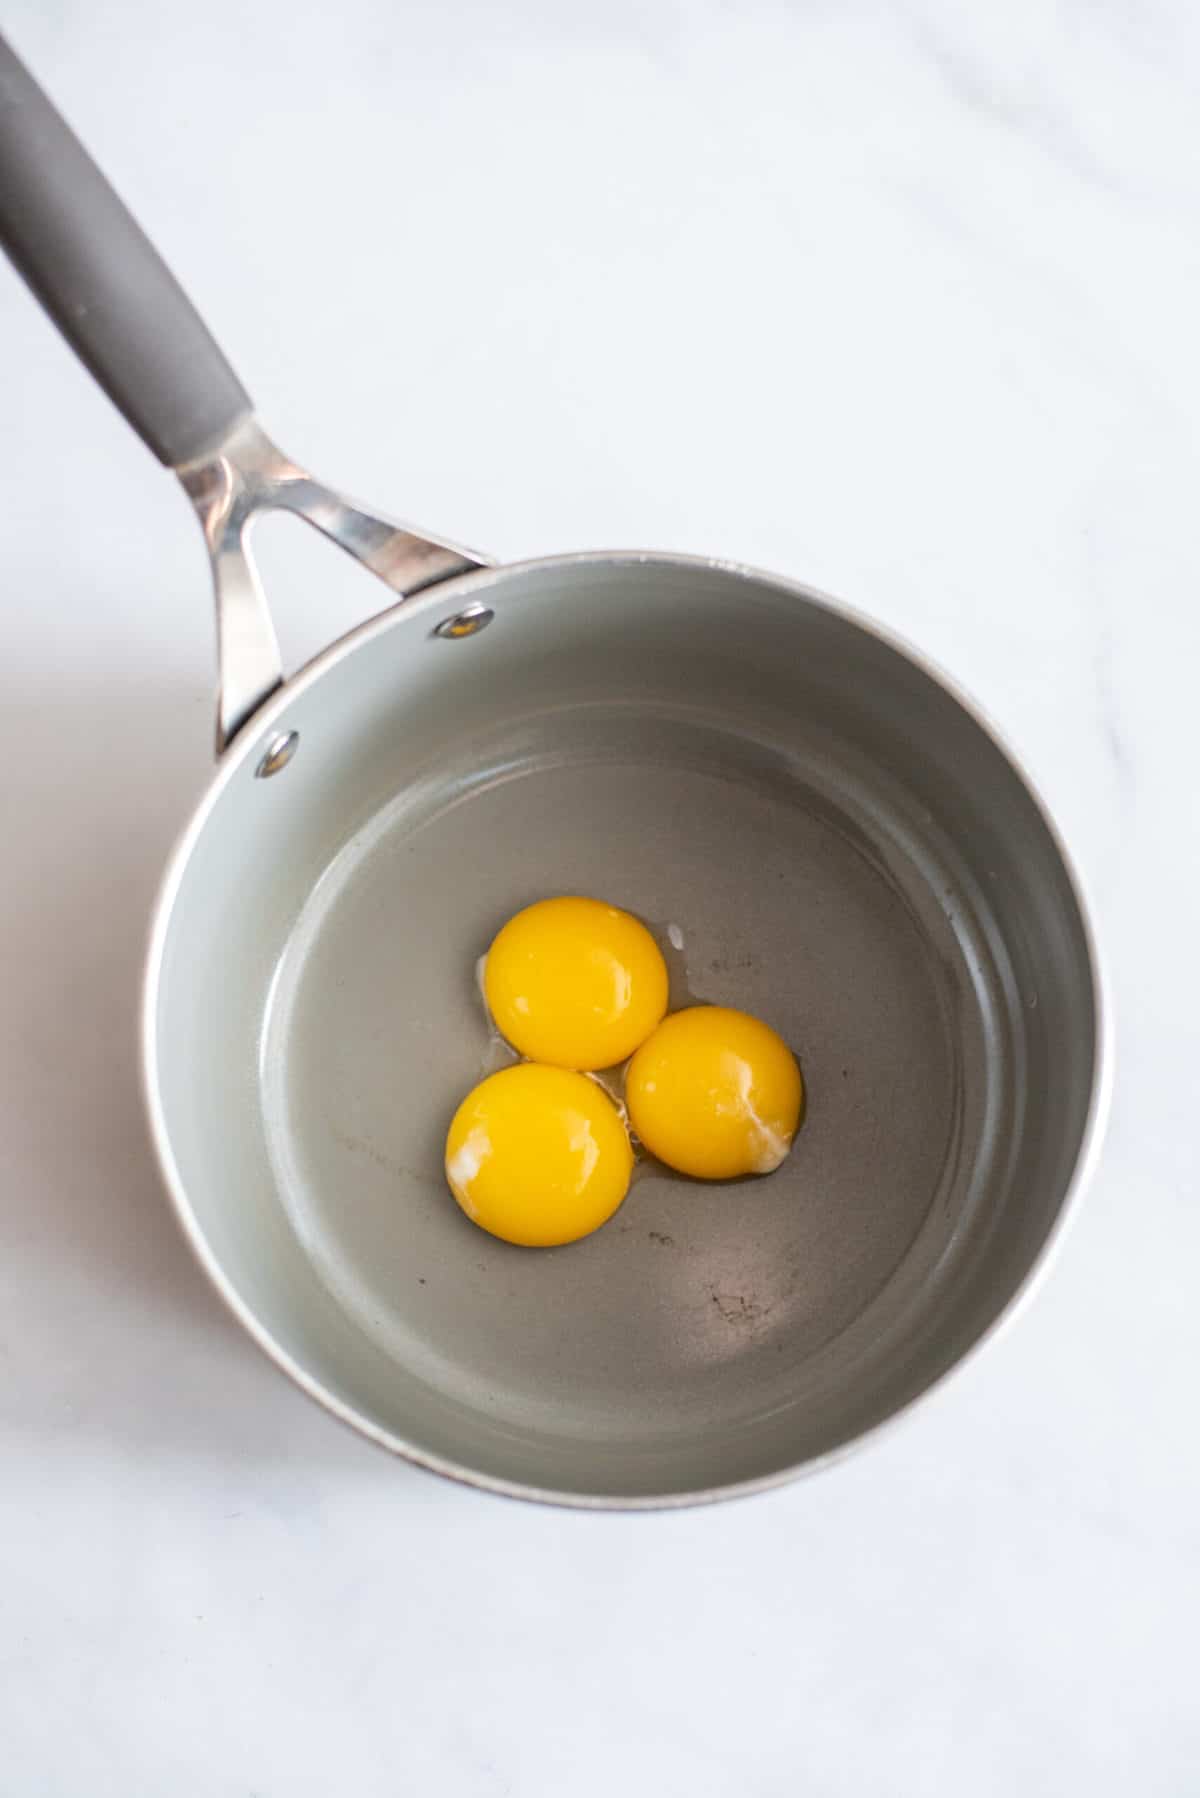
Crack your three eggs and separate the egg whites from the yolks.
Since we aren’t making a meringue, we won’t be using the whites. You can save them for another use or throw them away (which I did because I just care about my banana pudding right now).
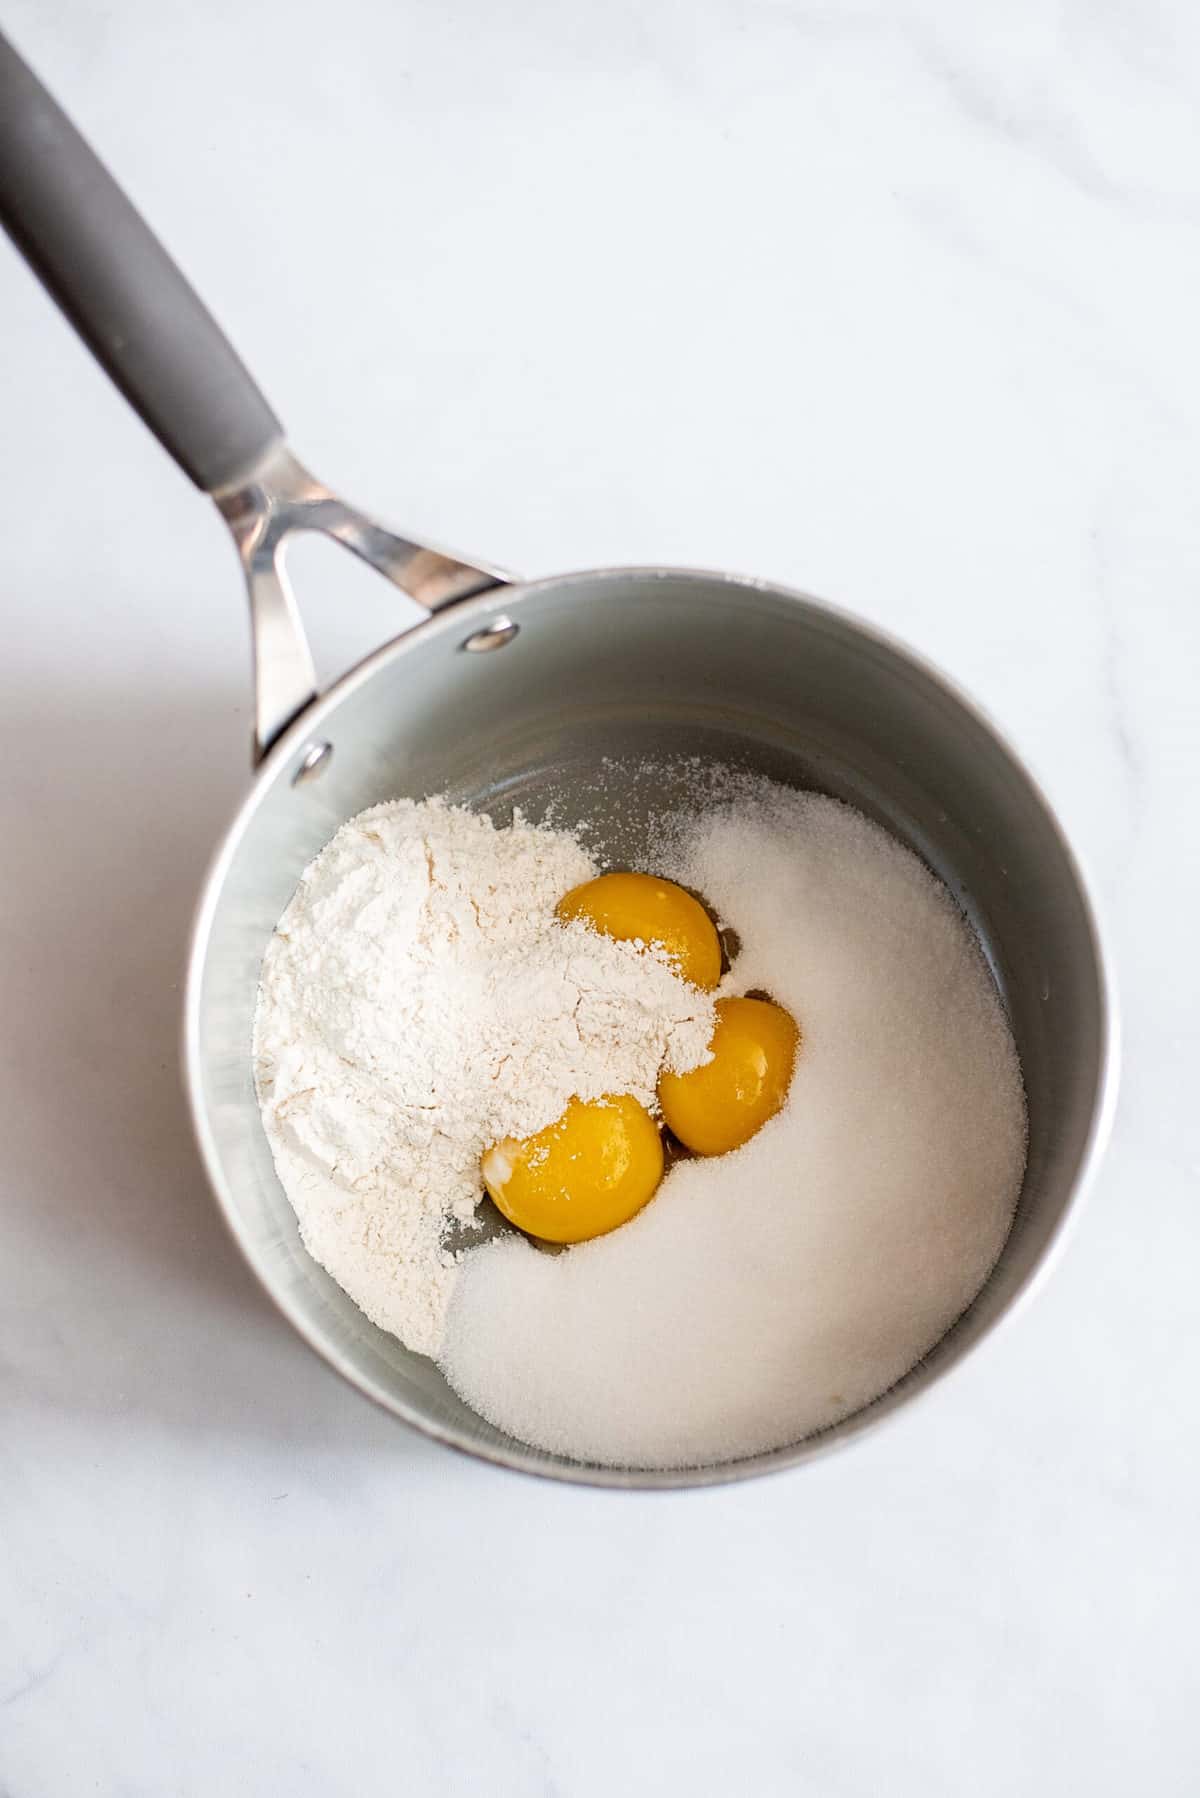
Place flour, sugar (or your favorite sweetener), and a dash of salt in a saucepan.
*Cooking Tip*
You can use a double broiler for this and not have to fret over it so much, but I just like living on the edge. Muhahaha! My trick for substituting Splenda for sugar in this is to always use just a wee bit less than the recipe calls for. If it calls for a cup of sugar, I might do a cup minus two tablespoons of Swerve. To me, that keeps it from tasting artificial.
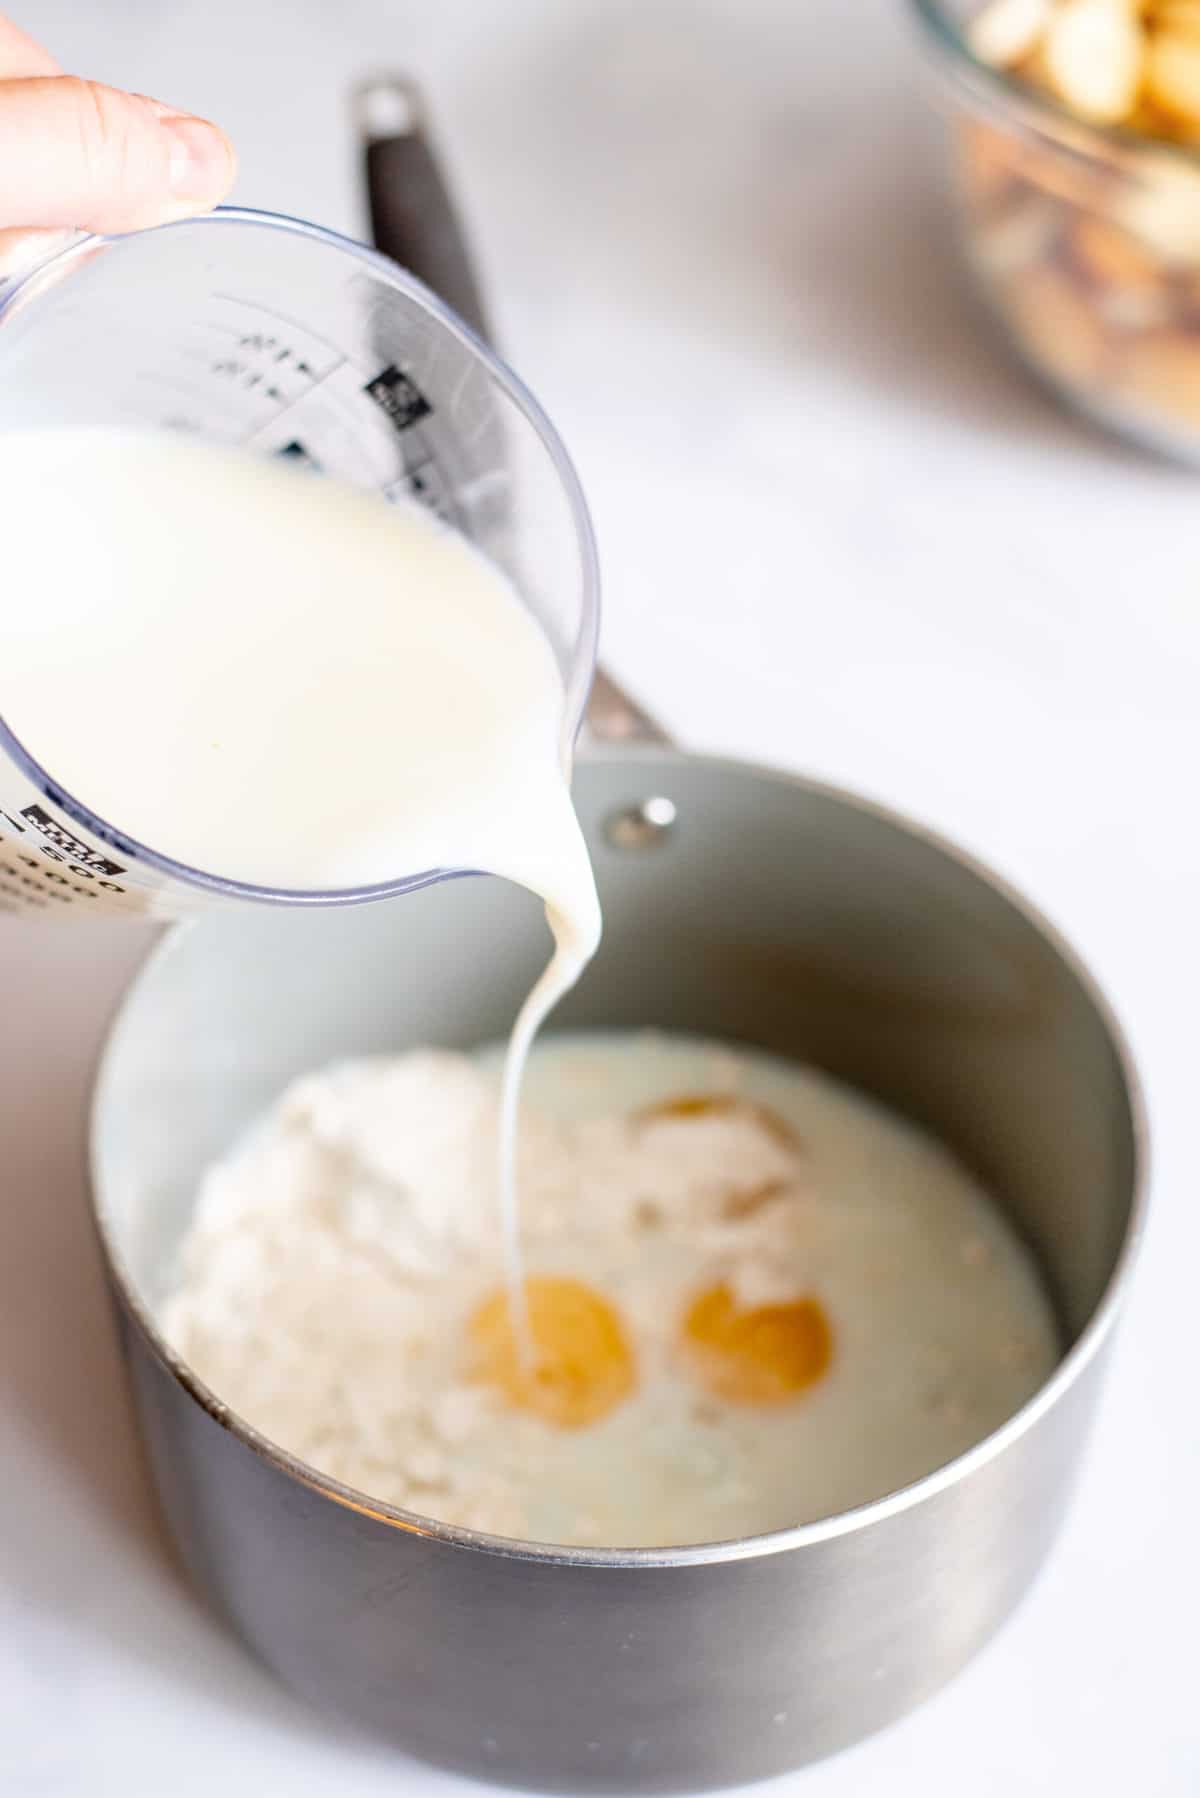
Add milk to the saucepan.
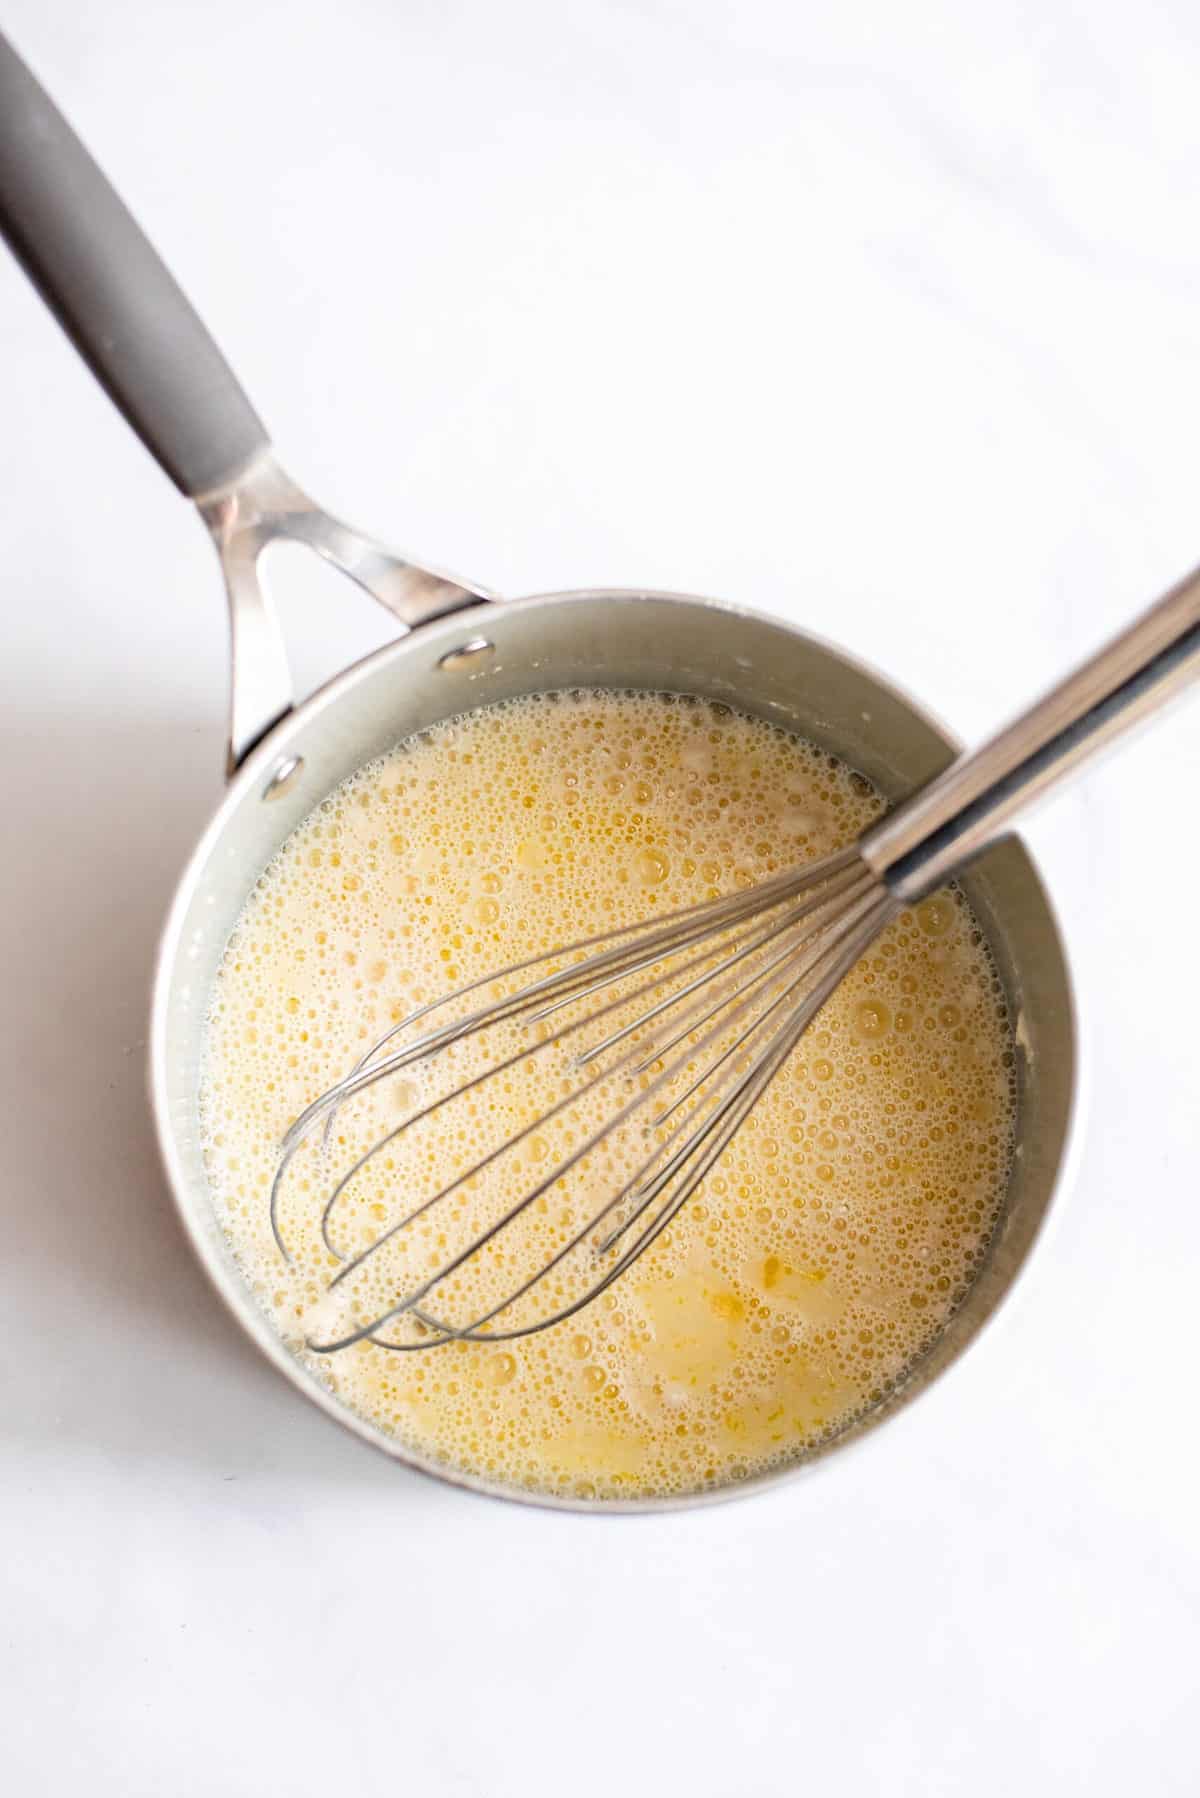
Now settle in and BE PATIENT. You need to stir the pot constantly, scraping the bottom so none of it gets a chance to stick and scorch. This will take about 15 minutes, so I usually get something to read while I stand there and stir because I don’t think I’ve ever “just” done one thing for 15 minutes straight.
Seriously, be patient, keep stirring, don’t turn the heat up past four. This is going to take a long time and do nothing, but then ALL OF A SUDDEN it will be thicker.
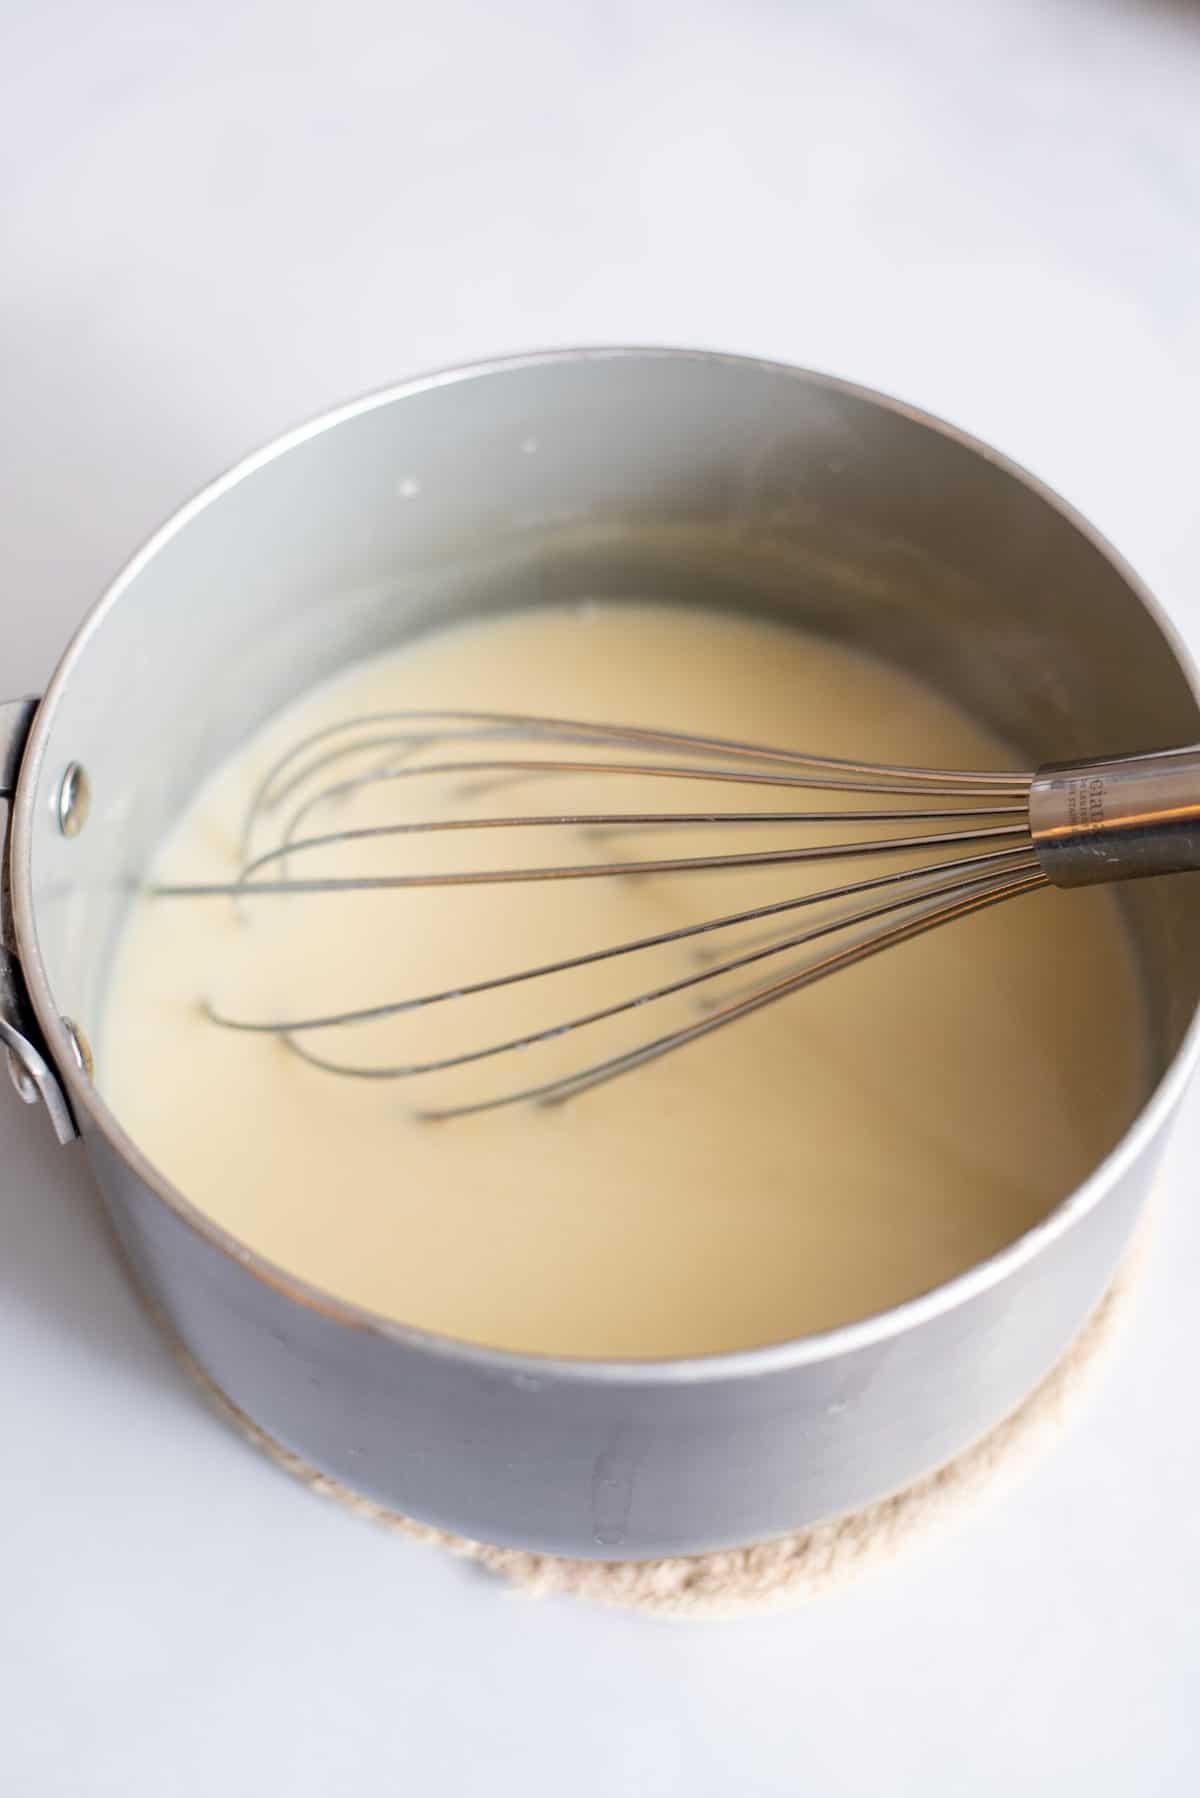
Now, your pudding isn’t going to get super thick, but after about 15 minutes of stirring, it will suddenly get thicker. The consistency will be about what that boxed pudding is right after you mix it before it sets well. TAKE IT OFF THE EYE! Quick! We don’t want it to scorch or keep getting thicker.
Now if you end up with a scorched pudding or lumpy pudding mixture, just use it anyway and pay attention to me when I tell you to slow down next time!
Add a 1/2 teaspoon of vanilla and stir.
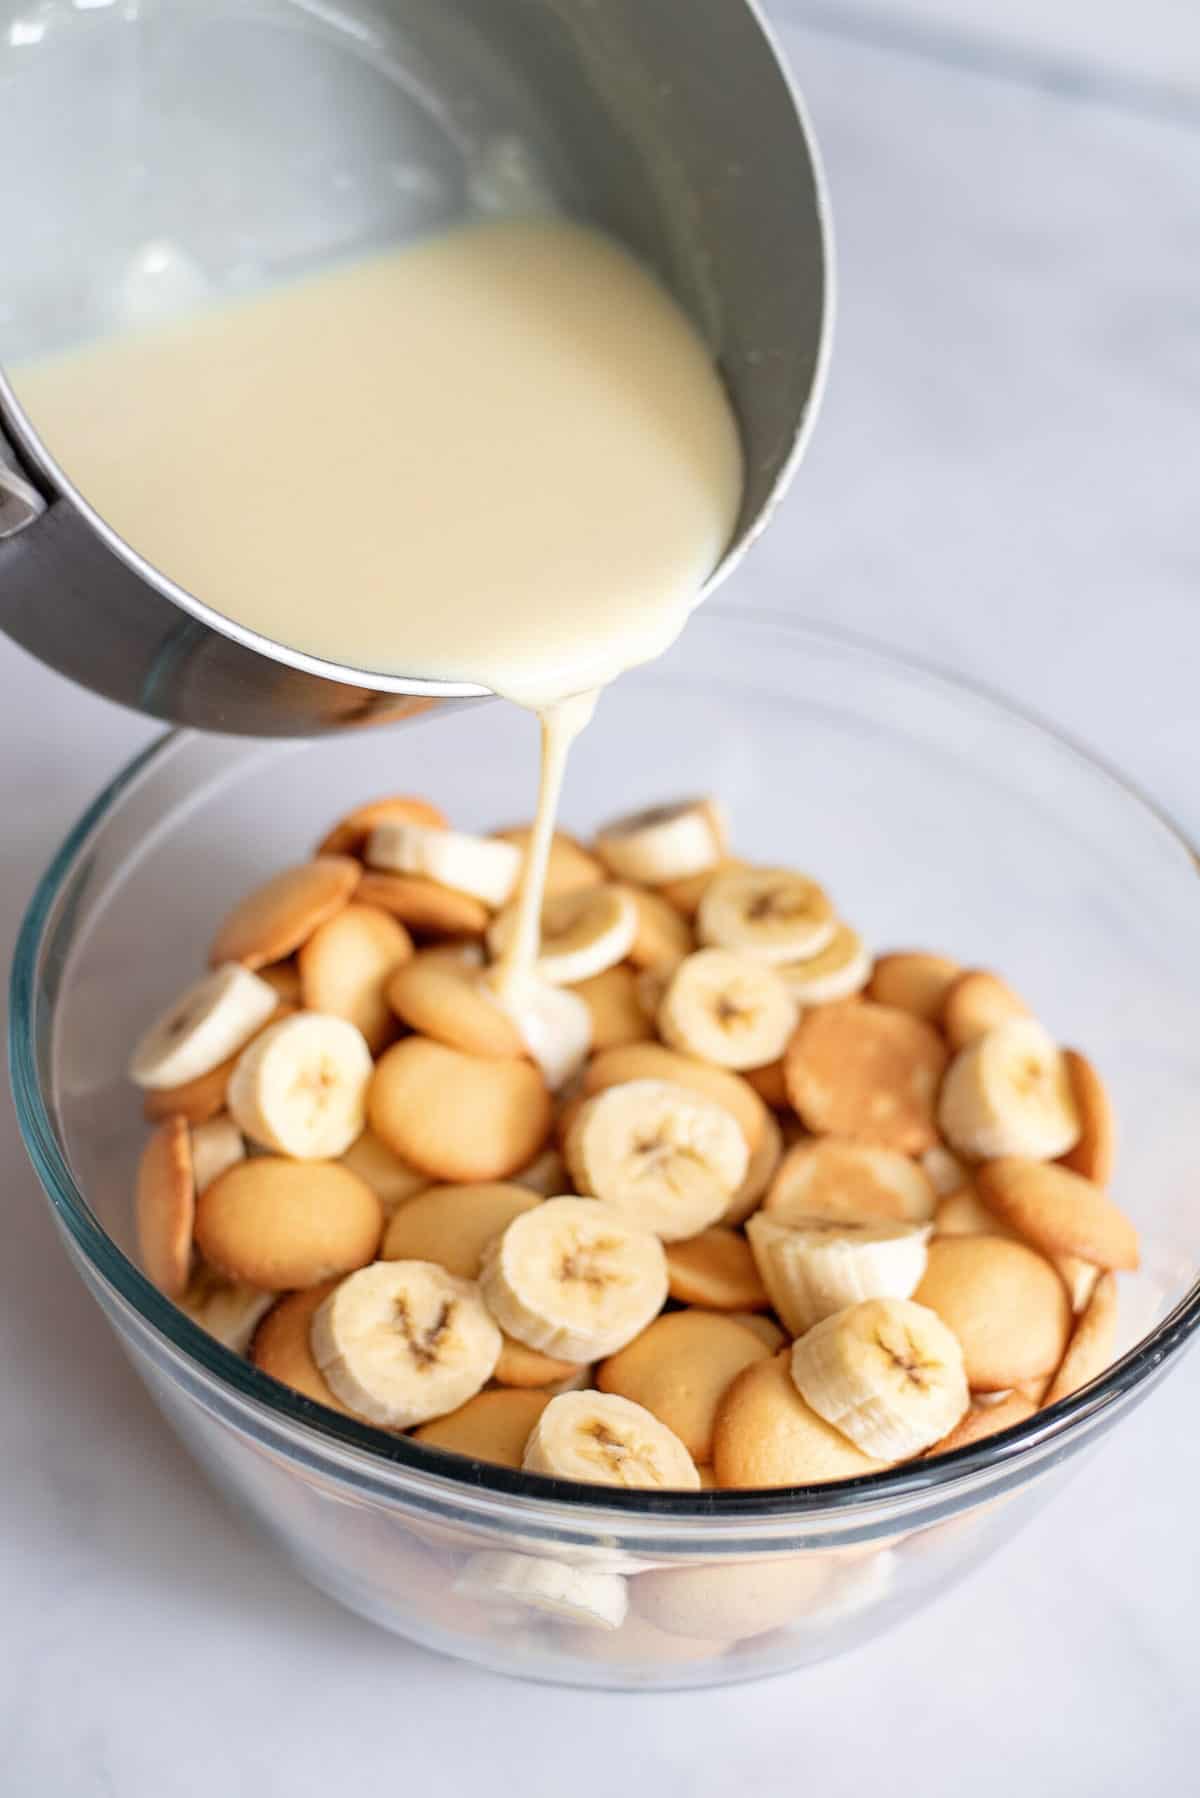
Immediately pour vanilla pudding over your sliced banana and wafers.
Tip
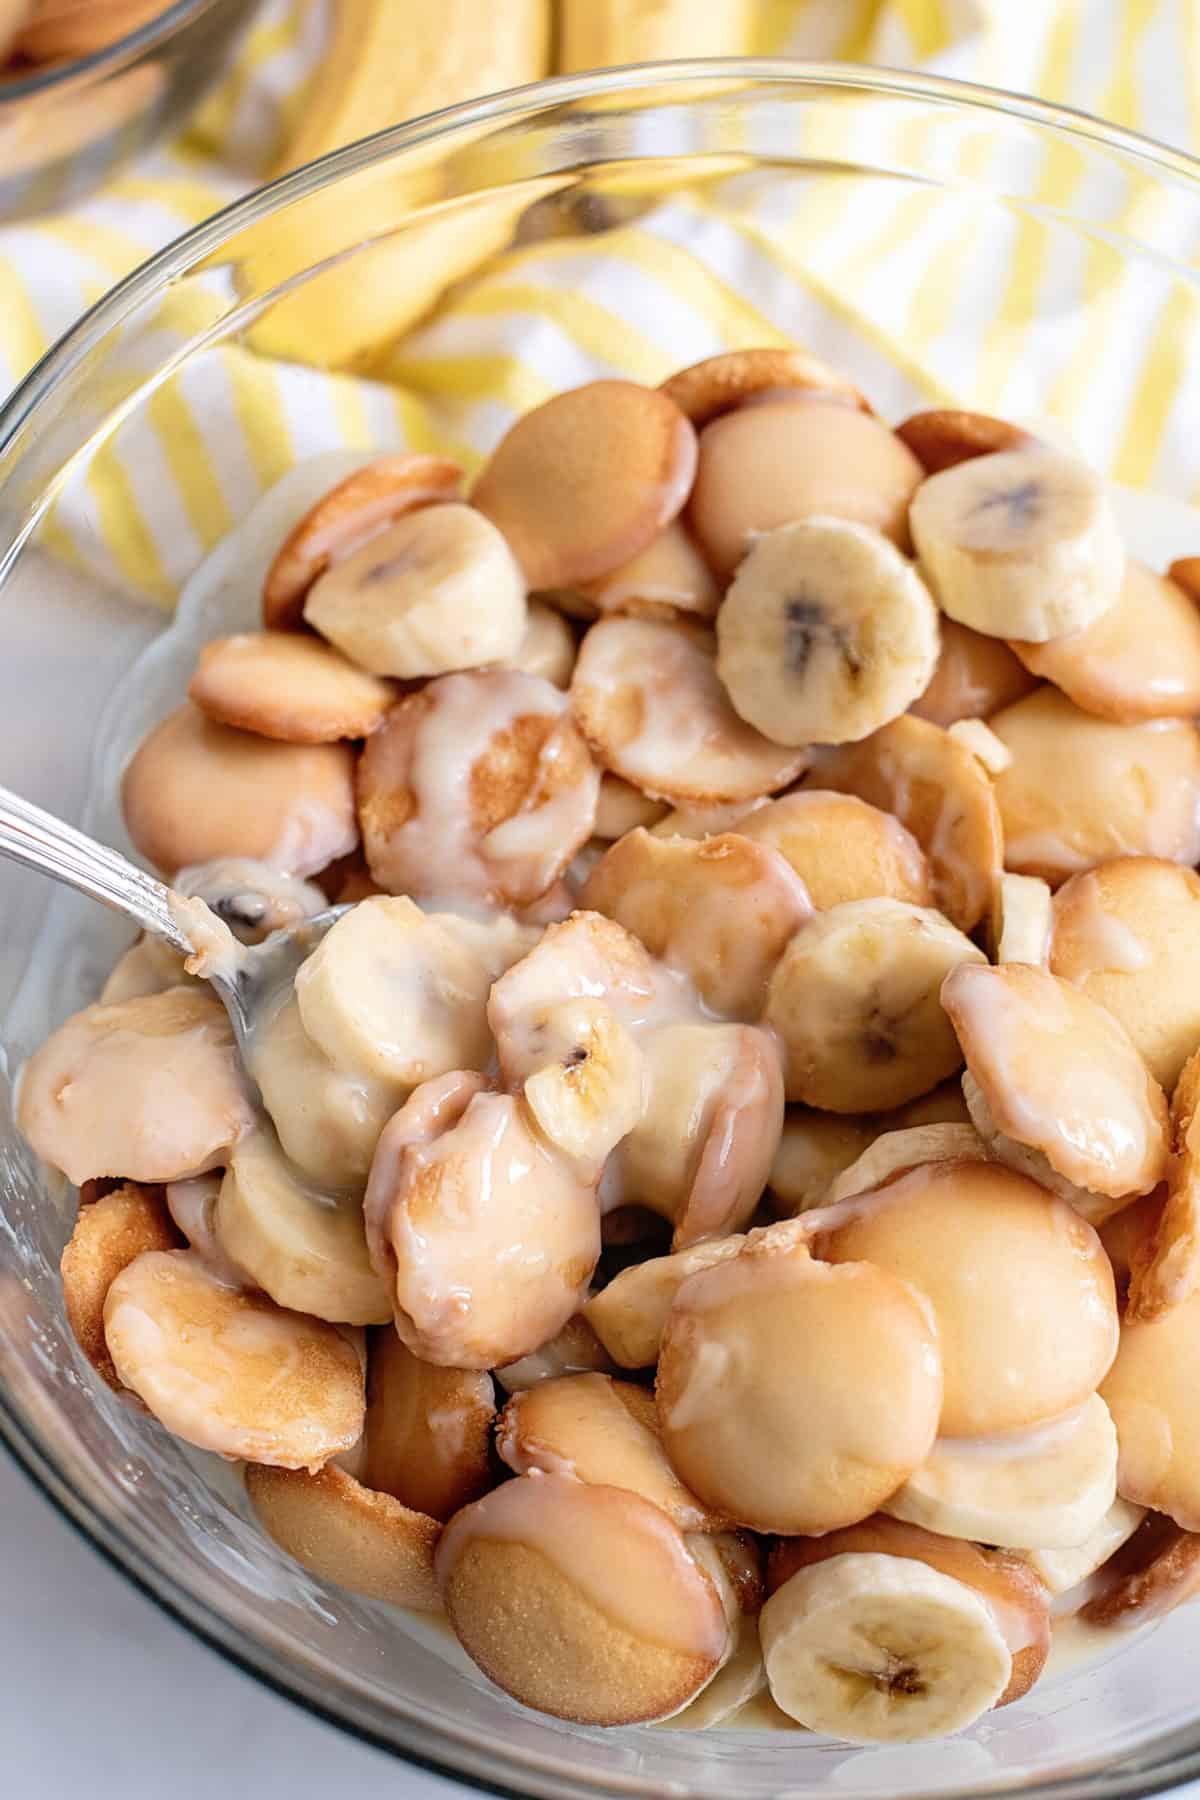
Let this sit for about five minutes so the pudding has time to soak into the wafers.
THIS IS SO GOOD! Eat it warm, then refrigerate leftovers. I prefer to eat the leftovers cold. YUM!
Enjoy!
Storage
Store your leftovers in an airtight container in the fridge for up to four days. I don’t recommend freezing this homemade pudding, as the wafers will be too soggy.
Recipe Notes
- I always insist on Nilla brand wafers. I am not a big brand person (alright, I do have a thing about White Lily flour), but if you’re going to make banana pudding, might as well do it right.
- For my homemade banana pudding, I decided not to do a meringue. I like meringue but know far too many people who don’t. Plus that adds an extra step, which may be a wee bit complicated for someone who has never made it before. If you want to make a meringue and don’t know how, just visit my lemon meringue pie tutorial for complete instructions along with pictures!
- Many recipes opt to refrigerate the and then serve it with some form of , whether that’s or .
- If you’d like to transform this banana pudding recipe into a trifle cake, double the recipe and follow the same instructions. You’ll just be adding more layers to a trifle bowl.
- If you don’t have access to Nilla or another type of vanilla wafer, try graham crackers instead.
Recipe FAQs
How do you keep bananas from turning brown in a banana pudding?
To keep bananas from turning brown, I recommend brushing the banana slices with lemon juice, which slows down any fruit browning process.
How do you serve pudding?
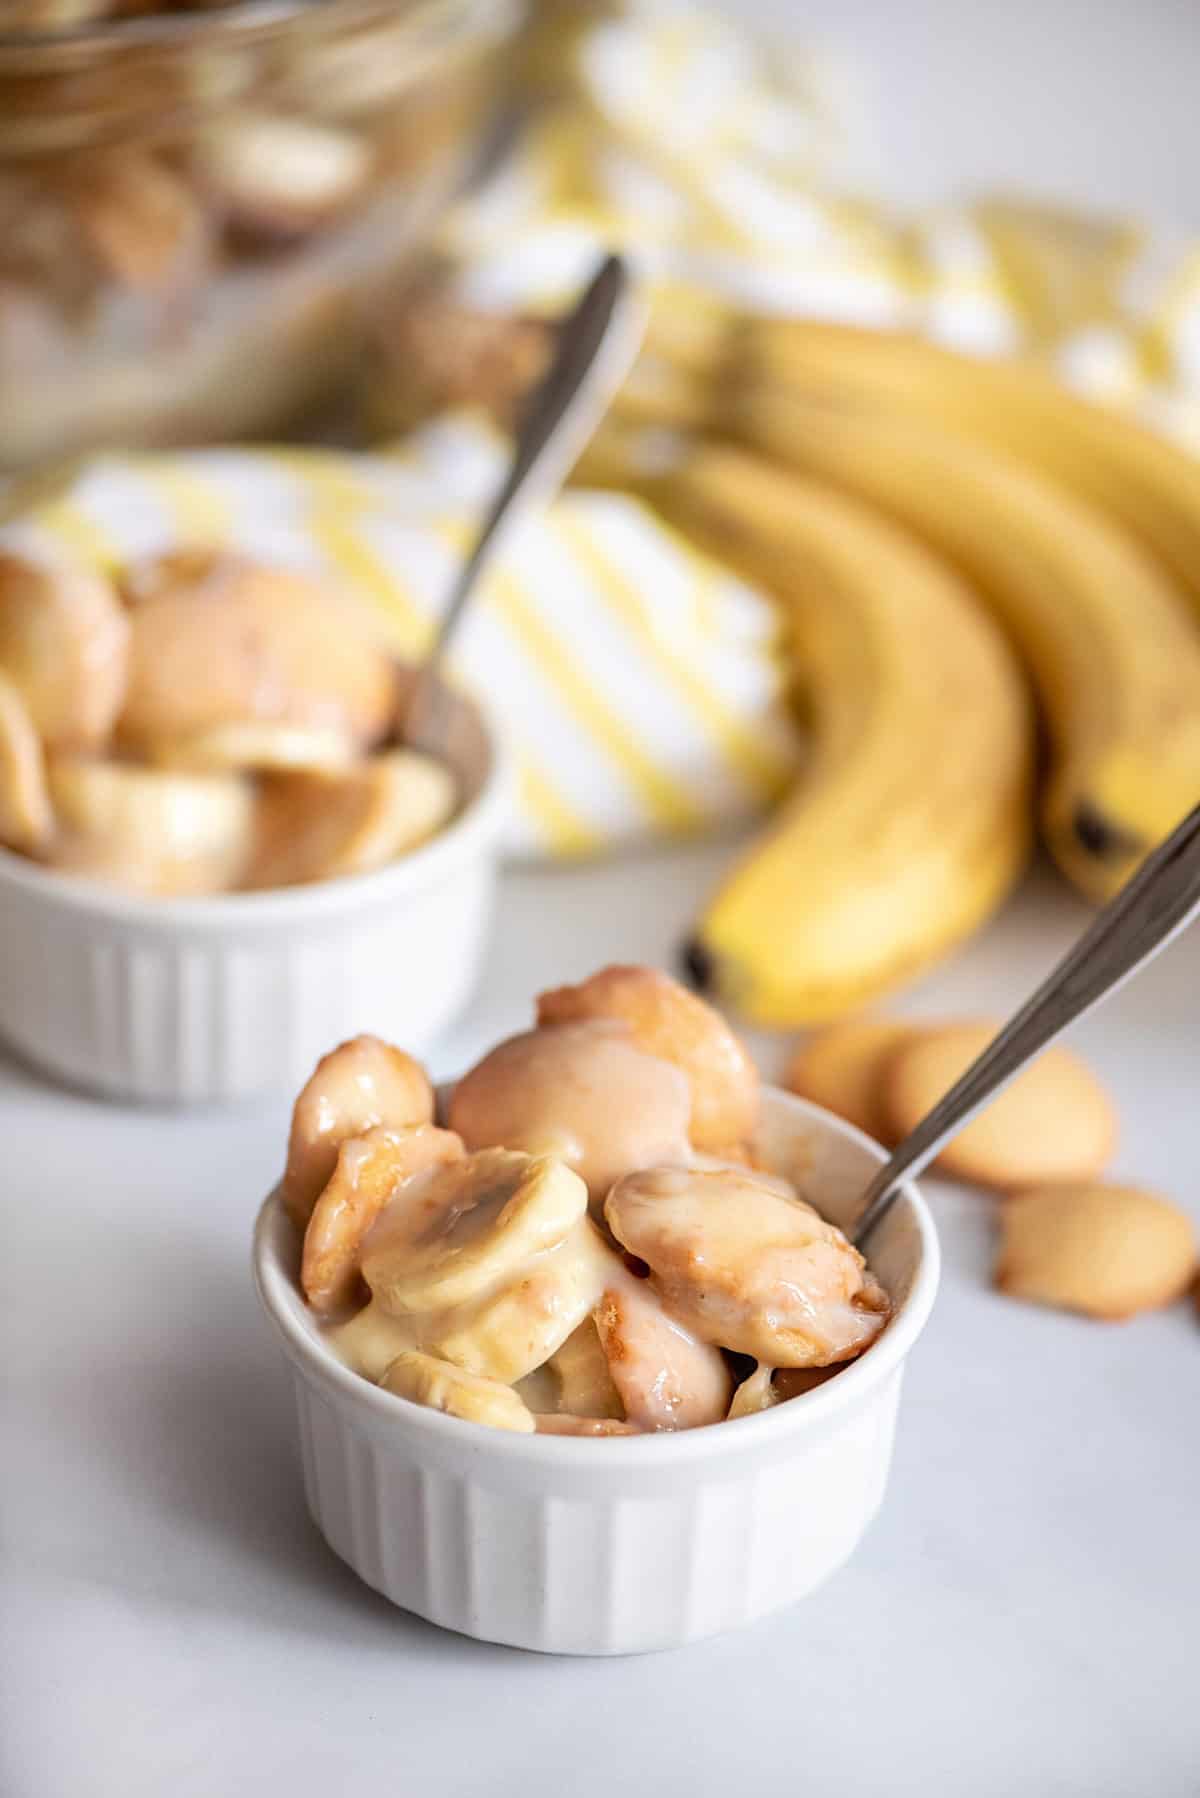
If you are going more casual you can serve this in a ceramic ramekin. If you are serving a crowd and don’t want to worry about dishes I love using these disposable cups. If you want to fancy it up a bit it looks really pretty in a glass parfait dish.
Can I make this pudding ahead of time?
Absolutely! This banana pudding recipe lasts four days covered in the fridge and it tastes great cold, so you could definitely make it the night before and let the pudding soak into the wafers overnight.
Is one banana dessert not enough? Check out these other delicious banana recipes:
Caramel Banana Pie AKA Easy Banoffee Pie
Banana French Toast with Pecans
Recipe for Banana Brownies (with Quick Peanut Butter Honey Icing)
Frozen Chocolate Covered Bananas
Ingredients
- 1/2 cup sugar or swerve
- 1/3 cup flour
- 3 egg yolks
- 2 cups milk
- 1 box Nilla wafers
- 5 bananas
- 1/2 tsp vanilla
- dash salt
Instructions
- Place a layer of Nilla Wafers in the bottom of a medium-sized mixing bowl. Slice a banana over the top. Repeat two more times with another layer of wafers and the remaining bananas.1 box Nilla wafers, 5 bananas
- In a saucepot (or double boiler) on medium-low heat, add all ingredients except for the vanilla. Stir well with a wire whisk. Allow to cook, stirring constantly to prevent scorching, until thickened - about 15 minutes.1/2 cup sugar, 1/3 cup flour, 3 egg yolks, 2 cups milk, dash salt
- Add in vanilla and stir. Immediately pour over wafers and bananas. Let sit for about five minutes or so before serving, to allow wafers time to absorb pudding. Top with meringue, if desired.1/2 tsp vanilla
Nutrition


Great recipe!! From the looks of some of the comments, people are looking at the pictures and comments only and not scrolling down for the recipe!
Are you using self-rising or all purpose flour??
I use whichever I grab first 🙂
Self rising
I poured it over cubed bread for bread pudding and added rasins
How much milk do I add?
This was so wonderful and simple. The only substitution I made was for the Nilla wafers. I chose organic vanilla animal cookies because Nilla wafers have soybean oil (GMO) and hydrogenated cottonseed oil, high fructose corn syrup and other chemicals that I like to avoid. They worked great!! It tasted like my childhood & made me think of my Dear Mama. I was thrilled to serve it to my own little one, who gobbled it down. Thank you for the recipe and adorable commentary.
I did exactly what you said. You really know your stuff. I’m a hero in my house right now. Thanks.
🙂
(Hands Brook a cape)
Do you realize that you never once mention how much milk to add?
She clearly said 2 cups of milk in the recipe at the bottom.
Can milk or sweet milk?
it was at the bottom…the recipe !!!!!! she shows the pic not how much…its always at the bottom!
This is exactly how my dad taught me how to make it!!
#THE BEST WAY