Peach Freezer Jam (No Canning Involved)
As an Amazon Associate I earn from qualifying purchases.
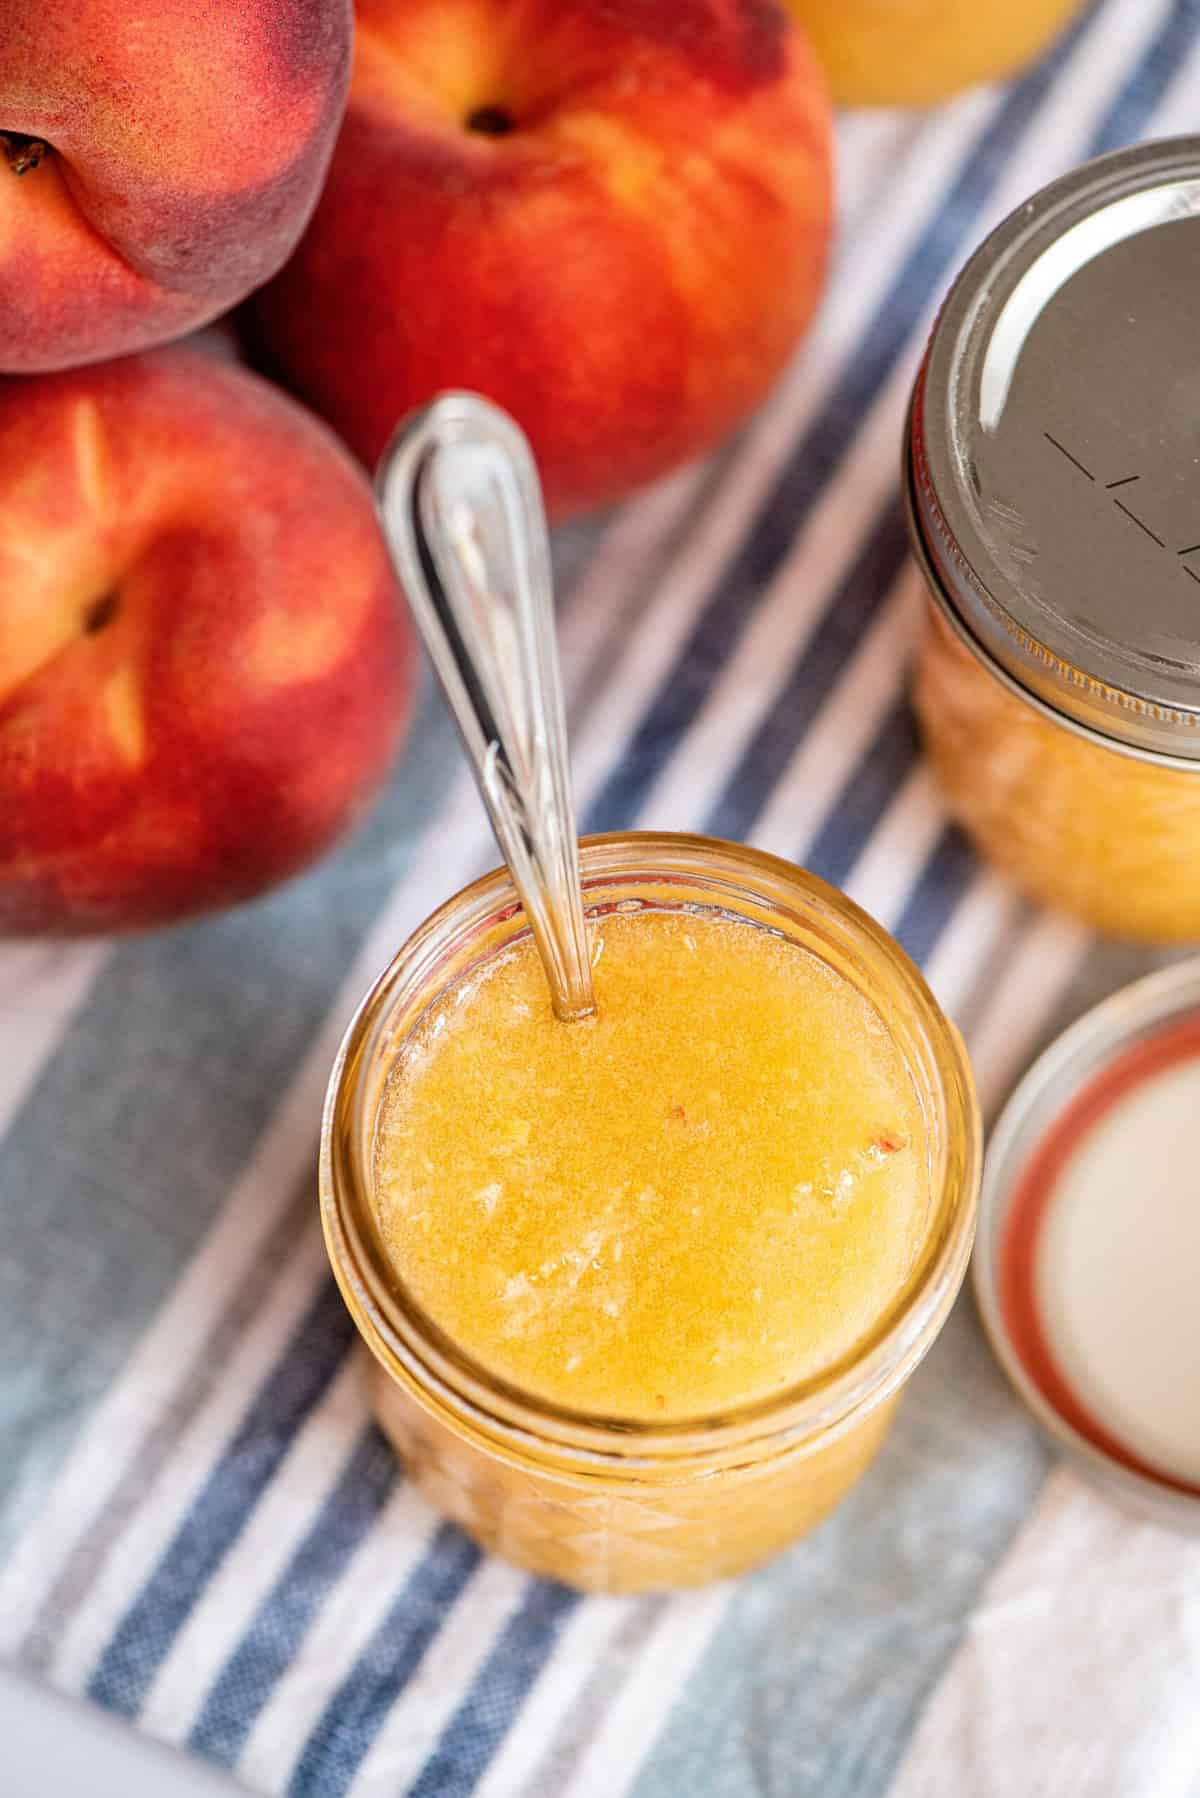
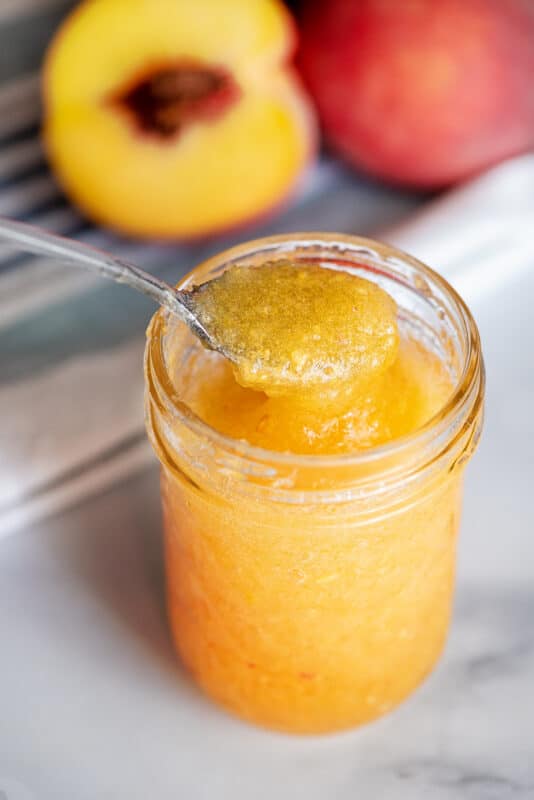
It’s never been simpler to make jam, thanks to this easy peach freezer jam recipe. The best part is, there’s no canning involved and it delivers only the freshest fruit flavors.
One of my favorite things to look forward to at the end of the summer is freezer jam! I love to have it on hand so that I always have it ready when I get around to making fresh bread! There’s nothing better than a good, thick slathering on a hot slice of fresh bread.
I really enjoy canning jams and fruit butters, but they just don’t compare in taste to the freshness you get from making freezer jam. If you’re wondering what freezer jam is, it’s a method of making jam that doesn’t involve cooking the fruit. As a result, it is about as close as you can get to the fresh taste of just-picked peaches, strawberries, or whatever other fruit you happen to be graced with.
With no cooking involved, four ingredients, and the simplest canning process imaginable, this is also the easiest jam to make. All you have to do is wash your jars, fill them, let them sit at room temperature for 24 hours, then place them in the freezer. That’s it! Keep a jar in your fridge to use and just grab another one out of the freezer when you need more. Have I convinced you to give it a go? Once you serve this jam with Buttermilk Biscuit Recipe or freshly baked bread you will want to eat this jam daily.
For instructions on traditional canning to use with other jam and preserve recipes, see my canning post.
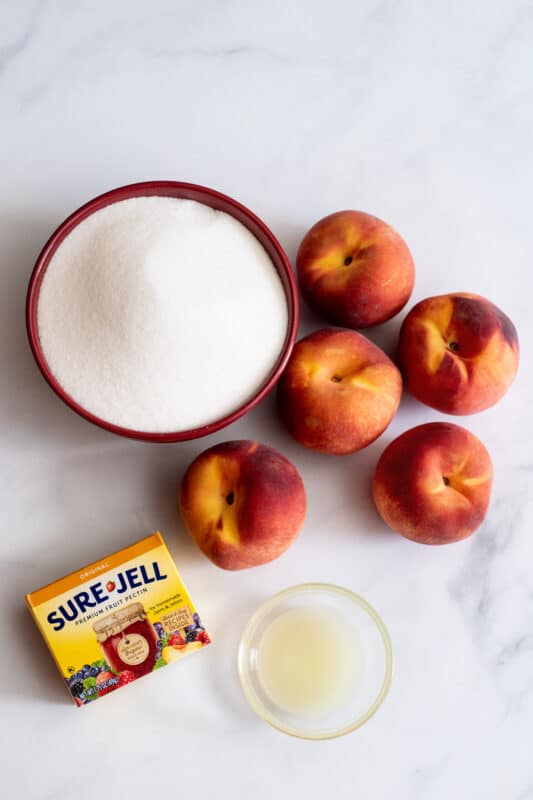
Recipe Ingredients
- Sugar
- Ripe peaches
- Sure-Jell fruit pectin (or your preferred fruit pectin used for making jams and jellies).
- Lemon juice (either from an actual lemon or a lemon juice bottle).
Helpful Kitchen Tools
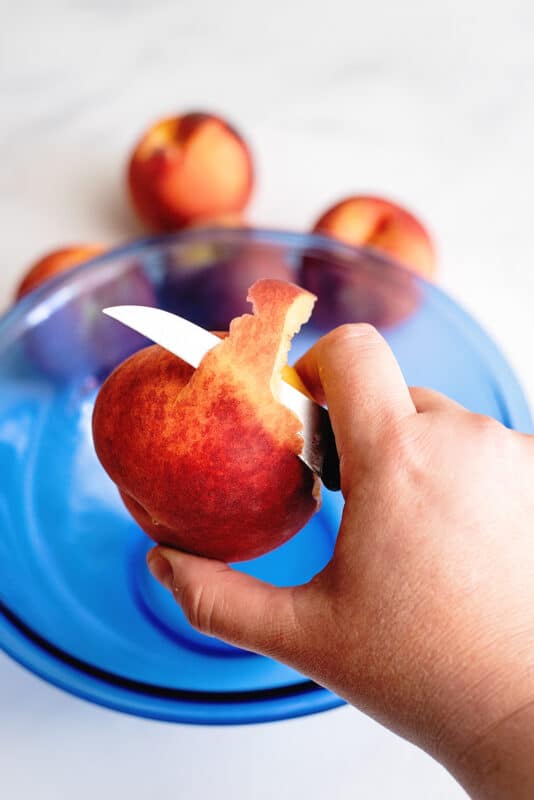
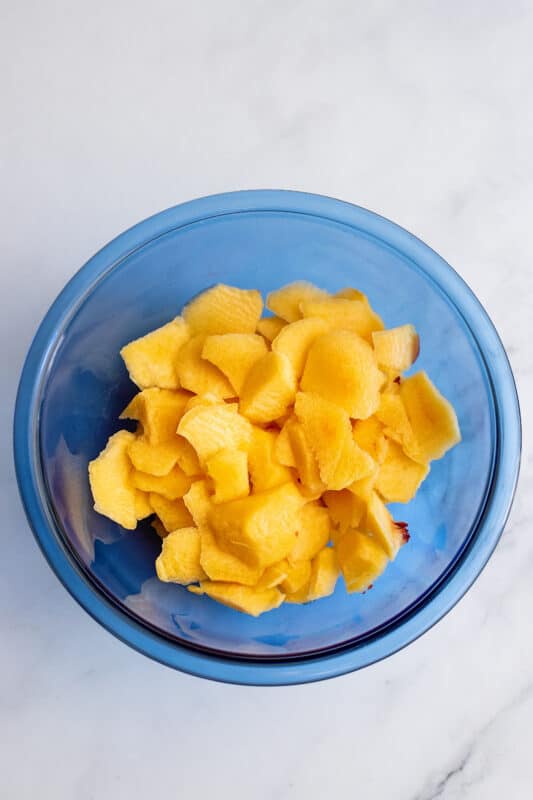
Peel and slice up your peaches.
Having a really sharp paring knife around the kitchen is essential. If you’ve had problems peeling fruits or veggies in the past, it was more likely your knife rather than your own lack of skill! I have five or six really good paring knives and I just couldn’t live without those things! Click below for links to two of my favorite knives. (Affiliate links. I make a very tiny percentage per purchase)
Here are my peaches, all cut up.
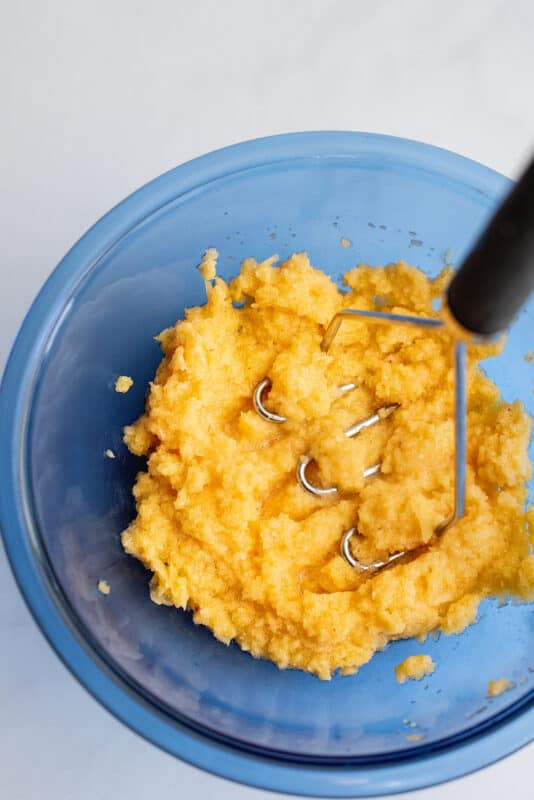
Now we’re going to take those diced peaches and mush them up really good with a potato masher.
It is amazing how many uses this thing has! If you don’t have one, you can use a fork and it will just take a bit longer.
Jam Tip
This procedure is the same for strawberry freezer jam and most others. I’ve only made strawberry and peach but the package has instructions for many other kinds as well (apricot, blueberry, cherry, mango, raspberry, etc). Some types of fruit will need more sugar but the exact amounts are listed on a chart inside the package.
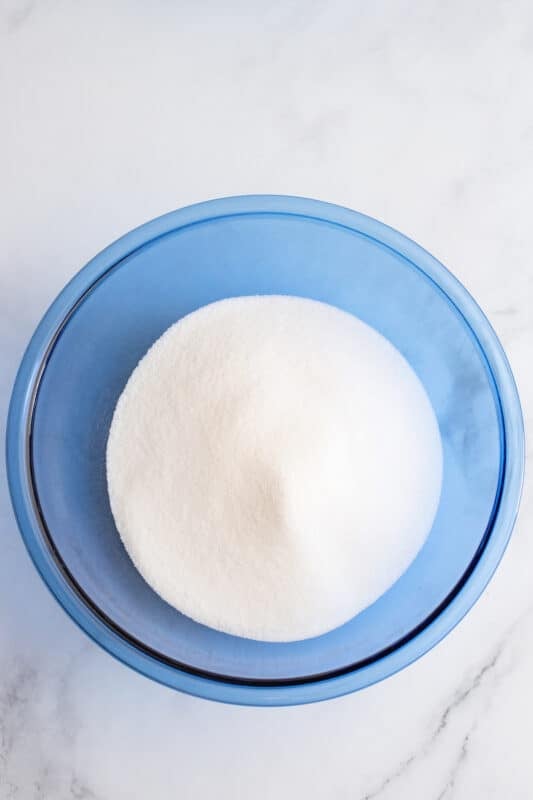
Measure out your sugar into a large bowl.
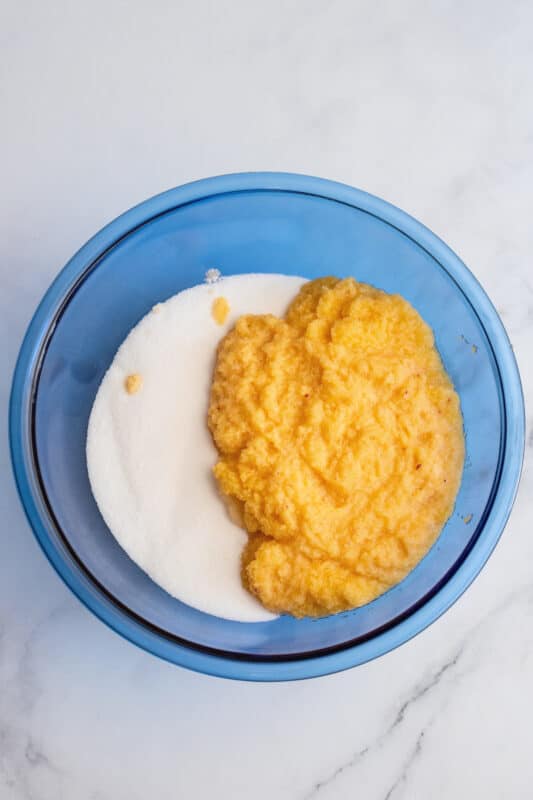
And then measure out three cups of fruit.
There might be some left that you don’t use. You’re just gonna have to eat that. I know, it’s a tough job.
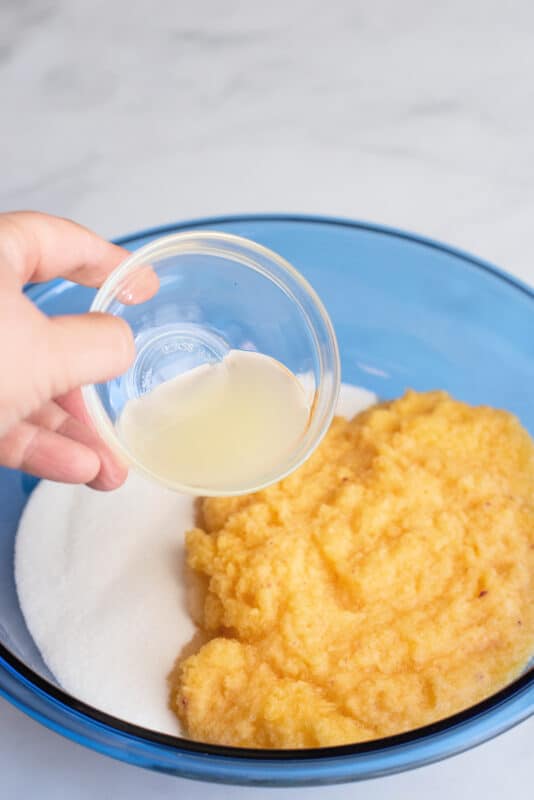
Add lemon juice.
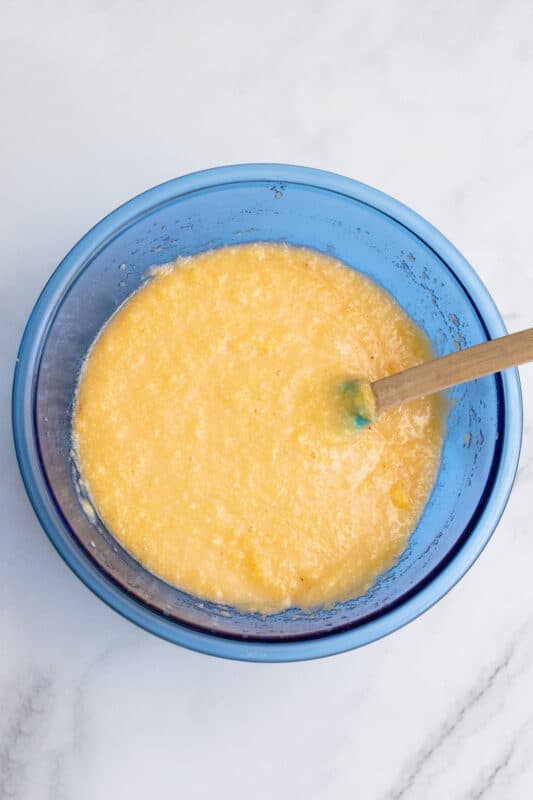
Stir up this peach mixture well and let it sit for about 10 minutes so the sugar can dissolve.
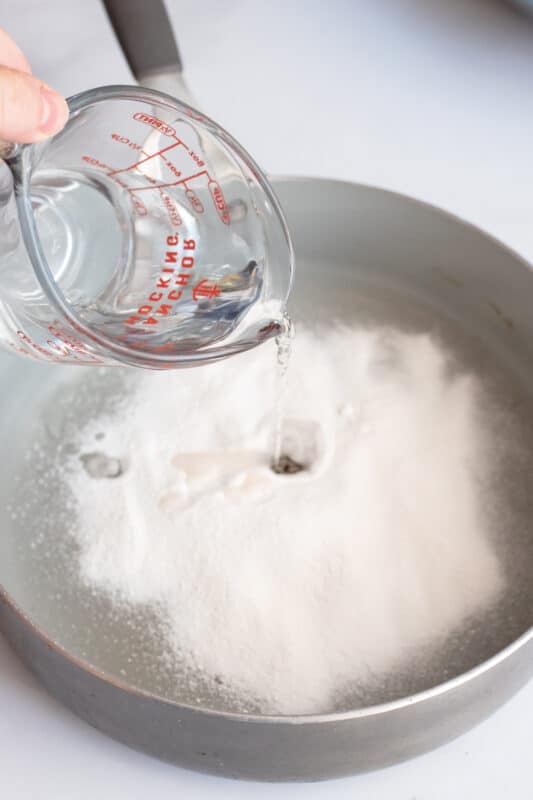
Meanwhile, place water in a saucepan (exact amounts below) and pour in the Sure-Jell.
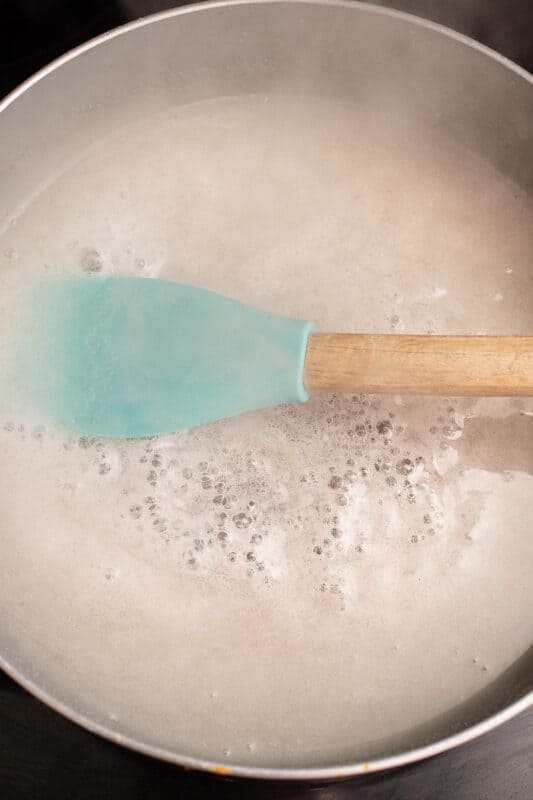
Bring it to a boil, stirring constantly.
Boil for one minute.
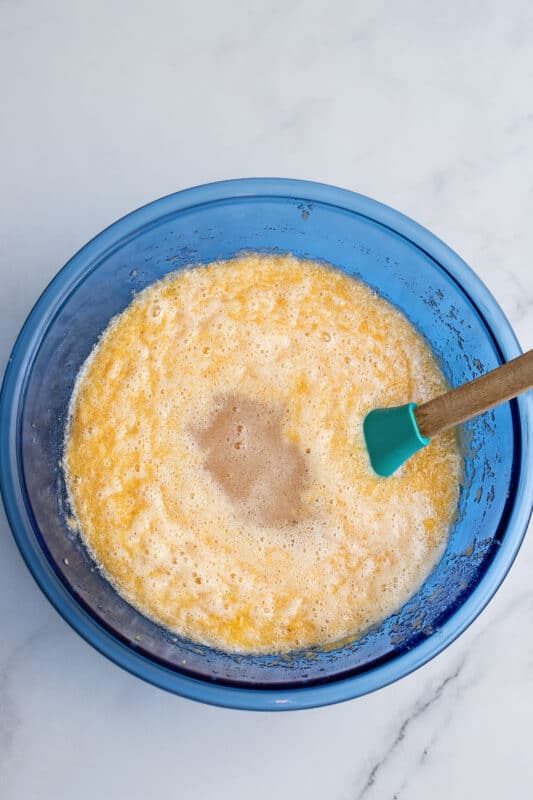
Pour into fruit and stir that up well.
The easy canning process
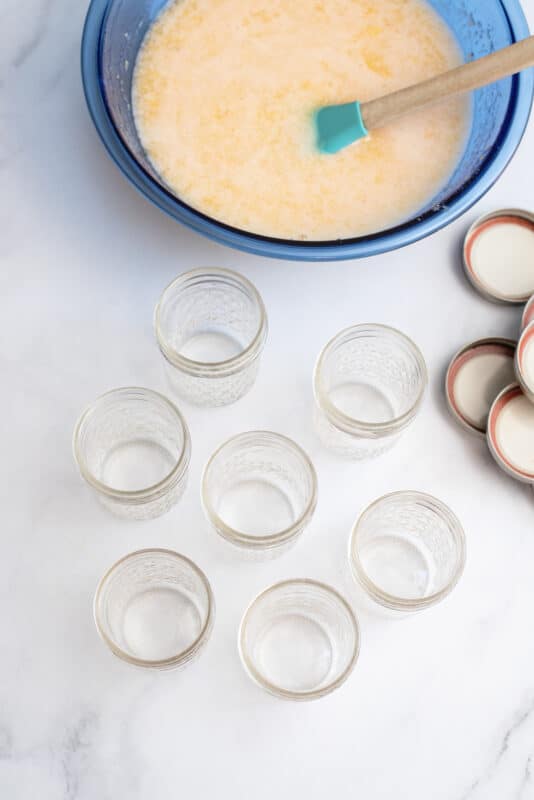
Set up your station of clean sterilized jars, a cup to pour the jam in with, lids, and a wet paper towel or dishcloth.
I LOVE my canning funnel but you don’t have to use one. You can just pour and wipe off the excess, but the funnel is inexpensive and well worth the convenience!
A little tip: Purchase your canning supplies off season or at the beginning of summer. They get super hard to find towards the end of summer!
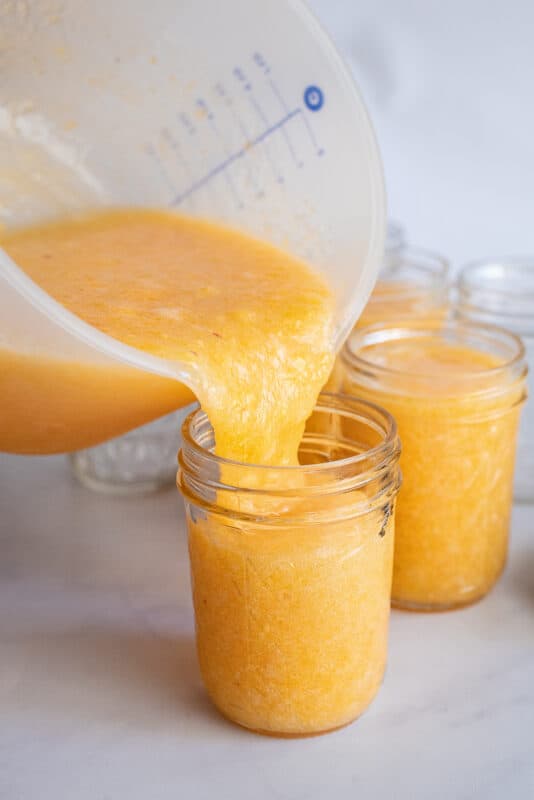
Pour your fruit into the canning jars, leaving one inch of space between the fruit and the top.
This is known as “headspace”.
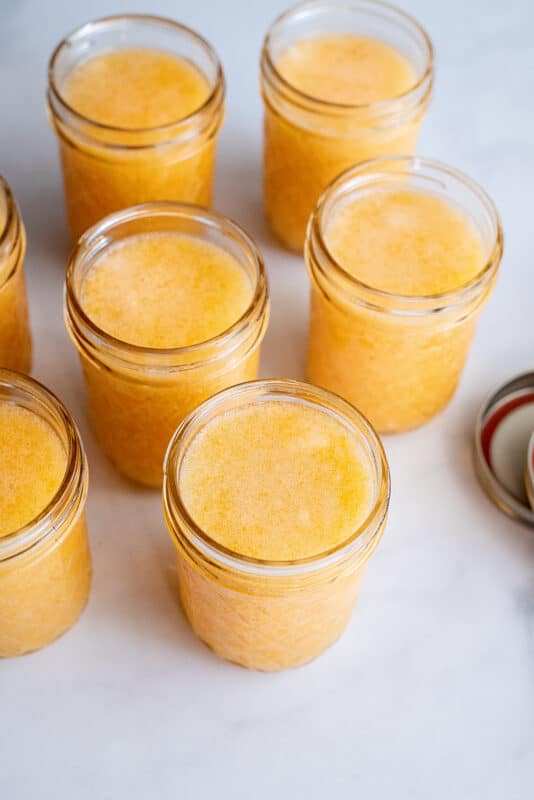
Repeat until you get all of your jam in jars.
Note: Nine times out of 10, a recipe will tell you it makes a certain amount of jars and it will always be more. This recipe said it would make six jars and I have eight. So be prepared with extra jars for convenience’s sake.
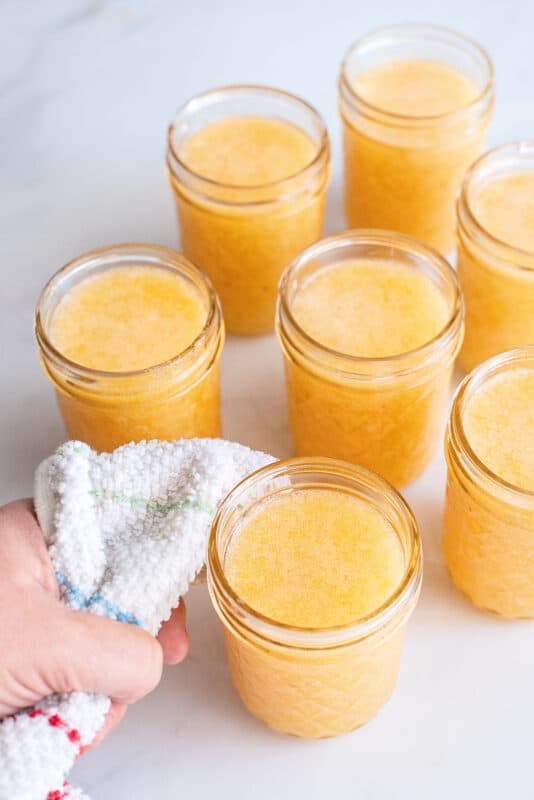
Wipe around the top and side threads of each jar with a wet paper towel.
This is to remove any sticky fruit that may have spilled onto it and ensure your jar seals properly.
If you skip this step, it will always tell on you because people will need a vice-like grip to get the jar open later. I’ve had this happen the first time I canned and it was very embarrassing knowing that I had ignored my Grandmother’s wisdom on this.
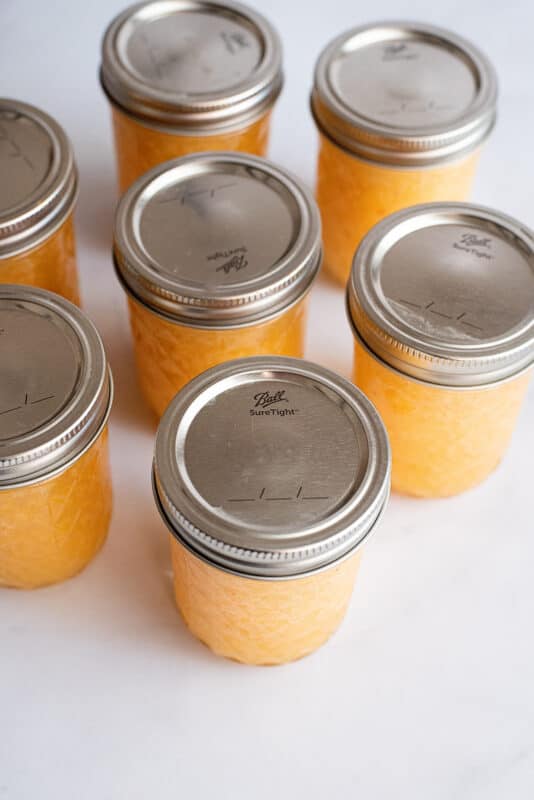
Place a lid on each jar and then seal it with a ring (the part that screws on).
Let sit at room temperature for 24 hours.
After that time has passed you can put some in the fridge to begin using immediately and store the rest in the freezer.
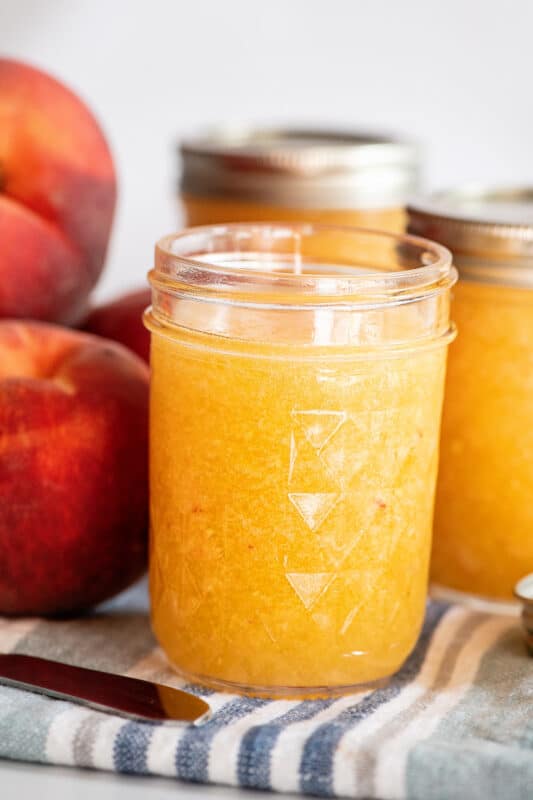
You will now be rewarded for your efforts with the FRESHEST tasting peach jam you’ve ever had in your life!
Storage
- Peach freezer jam can’t be stored at room temperature. Instead, store your open can of jam in the fridge for up to six weeks. Your remaining jars will last in the freezer for up to one year.
Recipe Notes
- I am using the instructions on my package of Sure-Jell for this tutorial. Your fruit pectin will have instructions inside so if you get a different brand you might want to double-check and make sure they match up with mine. Or just make it easy on yourself and grab this yellow box.
- While you may want to cut back on the sugar, I strongly discourage this.
Recipe FAQs
What’s the best peach to use in peach freezer jam?
Any freestone peach variety will work perfectly in this recipe. You can also opt to use frozen peaches rather than fresh peaches. Just make sure you thaw the peaches to room temperature and don’t drain the excess juice! Pop that in your jam as well.
What container do I use to store my freezer jam?
You can store your peach freezer jam in either glass mason jars or any freezer-friendly plastic container. I usually grab this set at Walmart.
Why is my freezer jam runny?
Your homemade jam might be runny if your peaches are extra juicy. If this is the case, you can make up another Sure-Jell batch and add half to the mixture at a time.
Why is my peach freezer jam cloudy?
Your peach jam might be cloudy if it hasn’t been adequately stirred or your peaches were under-ripe.
What do I serve with peach freezer jam?
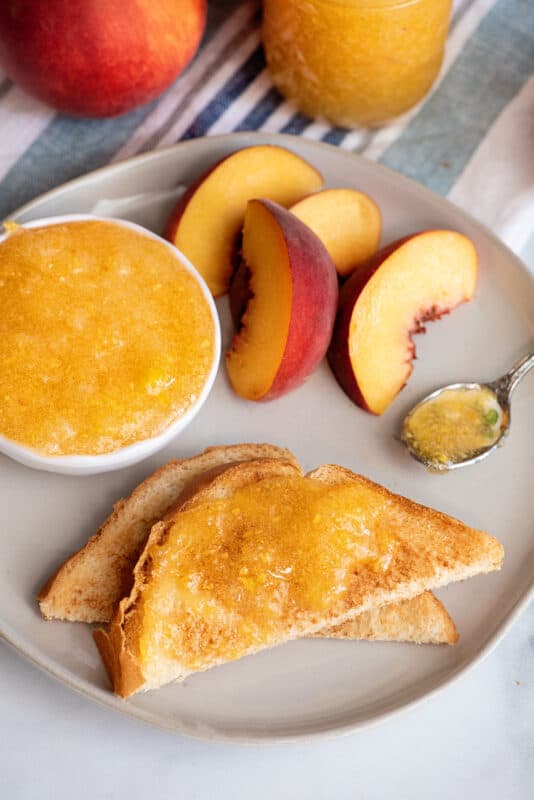
Spread your delicious jam on freshly baked bread, cornbread, apple cinnamon bread, or buttermilk biscuits. Alternatively, spread it over cream cheese on crackers or enjoy a scoop with some vanilla ice cream. Yum!
Here are more recipes to make with your peaches:
Easy Old-Fashioned Peach Cobbler Recipe
Lela’s Fried Peach Pies (The Ole Fashioned Way)
Ingredients
- 2 lbs peaches enough to make 3 cups of mashed peaches
- 4 1/2 cups sugar
- 1 box Sure-Jell can use another brand, but check their instructions
- 2 tbsp lemon juice
Instructions
- Peel and slice peaches, then mash them up with a potato masher or fork. They will be lumpy but that is okay.2 lbs peaches
- Measure out the sugar in a large bowl. Measure 3 cups of peaches and add to the sugar. Add lemon juice. Stir well and set aside so sugar can dissolve.4 1/2 cups sugar, 2 tbsp lemon juice
- In a saucepot, place 3/4 cup of water. Add fruit pectin (Sure-Jell). Bring to a boil while stirring constantly. Boil for one minute, then pour it into the fruit mixture. Stir well until all sugar is dissolved.1 box Sure-Jell
- Pour into clean 8 ounce jars (or plastic containers of choice) and leave 1-inch of headspace (instructions on the package say leave 1/2 an inch, but most recipes say leave one so I go with tradition here). Using a damp paper towel, wipe around the rim and sides of the jar to remove any residue. Place lids on jars and let sit at room temperature for 24 hours.
- After that time, place in the freezer until ready to use. Store opened jars you are using in the fridge.
We make a living by what we get. We make a life by what we give.
-Winston Churchill



I have just recently started canning. I need all the help I can get. Thank you, for the step by step instructions. Your page is very helpful.
Hi Christy!
I love your recipes, and really want to make this. But I accidentally picked up powdered gelatin instead of pectin. Can I use gelatin for this?
Thank you!
Hey cool idea with the pics. Idea!! When we can peaches we boil water and put the peaches in it (with the skins still on) and transfer them to ice water. The skins come off amazingly well. No peeling them with knives…works awesomely..
I’ve made jam before but it never quite came out so great…but with your instructions/photos, I’m hoping I can make a success out of this one. Otherwise, me and jam, we’re probably better off left in our own respective homes. ^_^
Question: Does this jam have to be frozen? When my family made it many years ago it stood on the pantry shelves until we were ready to eat it (no freezer in those days). For the last four or five years my late wife and I made this jam essentially by this recipe and did not freeze it and it tasted just fine as we took opened a new jar every three or four weeks.
Any experts out there who can tell me what to do and what will happen if I do or don’t?
Thanks Tim
Hey Tim in the heart of NY!
I can help you!
A lot of folks used to make jams and such like this and not can it like we do nowadays. There was also a practice known as “open kettle” canning where you poured the hot liquid into your jars but didn’t process them in a boiling water bath. You just let the heat from the liquid seal the jars and then put them up. While neither of these methods killed you or I (I was taught to can using the open kettle method and I bet most other folks were also) Food Scientists now warn against them.
Botulism is a very serious concern whenever food is not properly canned and I’m afraid freezer jam kept at room temp is extremely dangerous.
This jam hasn’t been sterilized or cooked in any fashion so it’s really a problem waiting to happen if left at room temperature.
However, you can just store it all in the fridge and it will be good for quite some time refrigerated but freezing will give you the longest time to enjoy it.
I hope this helps! It’s always nice to dust that degree off so thank you for giving me that chance!
Gratefully,
Christy 🙂
I don’t think I made myself clear as to the process we use to make the jam: Crush the berries, bring them up to boil, add the sugar, bring the mix back up to boil (stirring continually), add the pectin, keep stirring at full boil for one minute, pour into sterilized jars, cap with the flexible lids and rings (the lids usually take from 15 minutes to an hour to “pop down” (seal)as the jars cool. Then store on shelves neither frozen or refrigerated for as long as desired. After opening (unscrewing the rings and unpopping the flexible lids), store in the refrigerator as the jam is used. This is the way we have done it. Is this the “Open Kettle” method you are describing? Thanks
Hey!
Yes yes yes, I misunderstood! I thought you were making freezer jam like this (no cooking at all of the fruit). I was actually trying to figure out how that would work! lol
Yes, what you are talking about is the open kettle method. My mother was using it herself until this year also. It normally works (like I said, we haven’t died yet!) but experts recommend against it now. However, all you have to do differently is once you are done with your usual process, place a dish towel in the bottom of a large pot and put your jars on top of it. Add enough water to cover the jars by one inch and bring to a good boil. Once it reaches a boil, put the lid on and boil for five minutes if they are 8 ounce jars, 10 if they are 16.
Then you’ve eliminated any risk whatsoever to your canning!
Having said all of this, my grandmother still does open kettle. 🙂
I use the open kettle method as well. I don’t boil my jars but maybe I’ll try it this year. Thanks for all the good info.
I was looking for a fried corn recipe to refresh my memory. My grandmother and mom fixed it quite a bit when I was young. I have added this site to my favorites. It’s wonderful. Love the stories, the humor, and the grins!
This is the recipe I use for my fried corn.
>usually a dozen ears of corn cut off the cob and milked (I have a slicer that cuts the corn off and milks the cob at the same time) the milk is very important.. if you don’t have this tool (not sure what it is called) but after cutting the corn off take a knife and scrape the cob to get the milk
>a stick of butter or margarine
>a heaping TBLSP bacon grease
> evaporated milk.. sometimes it just takes a half a can sometimes more..it depends on how much milk comes from the cobs.
>salt and pepper
>> mix all together, judging how much evp. milk. when it begins to boil reduce heat and cover..stir occasionally about 15-20 mins.
Hope this makes sense.. I couldn’t think of any other way to describe cutting the corn and milking it ..lol
Interesting… I have never heard of freezer jam! I’ll keep this in mind if I ever have too much fruit on my hands! Now that I have a small deep freeze in the garage, I have room for it!