
Dulce De Leche With Sweetened Condensed Milk
As an Amazon Associate I earn from qualifying purchases.
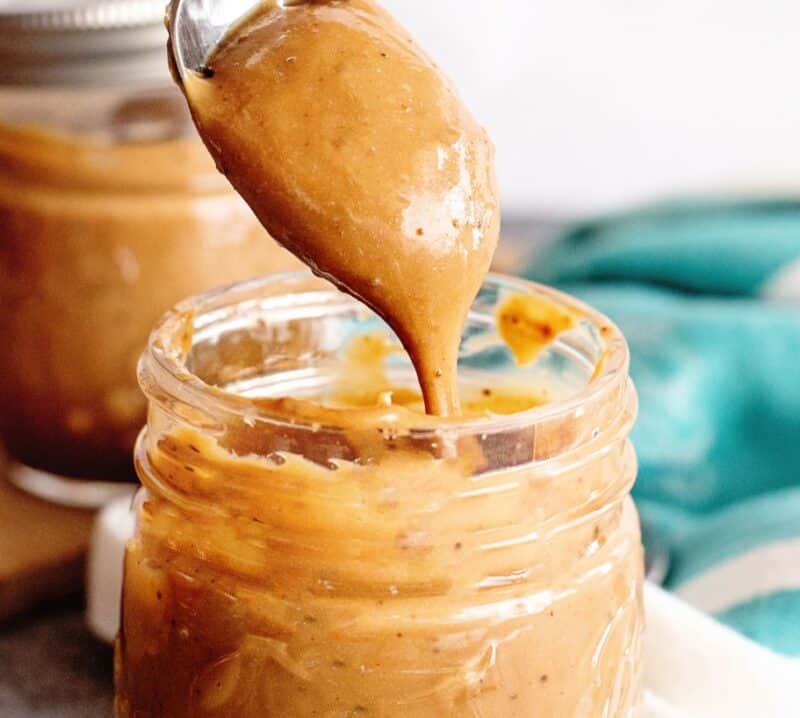
All you need is a can of sweetened condensed milk and some time to make this deliciously decadent homemade dulce de leche recipe – creamy caramel goodness that goes with all desserts.
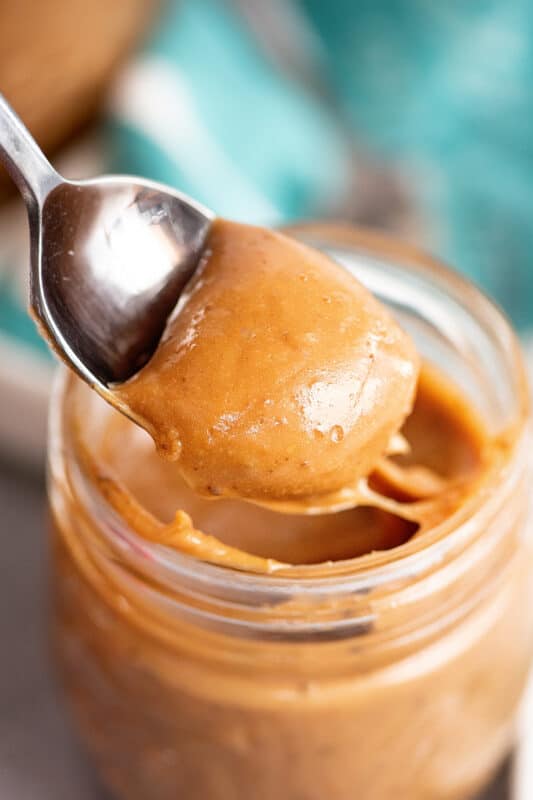
This dulce de leche recipe is a creamy caramel dream. Made so simply with sweetened condensed milk, the possibilities for what you can use this with are endless. It is found canned in many grocery stores, but in this post, you will learn how to make homemade dulce de leche from scratch.
What is dulce de leche?
Popular in Latin America but increasing in popularity state-side, dulce de leche tastes like creamy caramel and comes from sweetened milk, like the condensed milk we are using in this recipe. When heated, the sugar in the milk becomes caramelized and transforms into that sweet golden-brown color with a deeply decadent flavor.
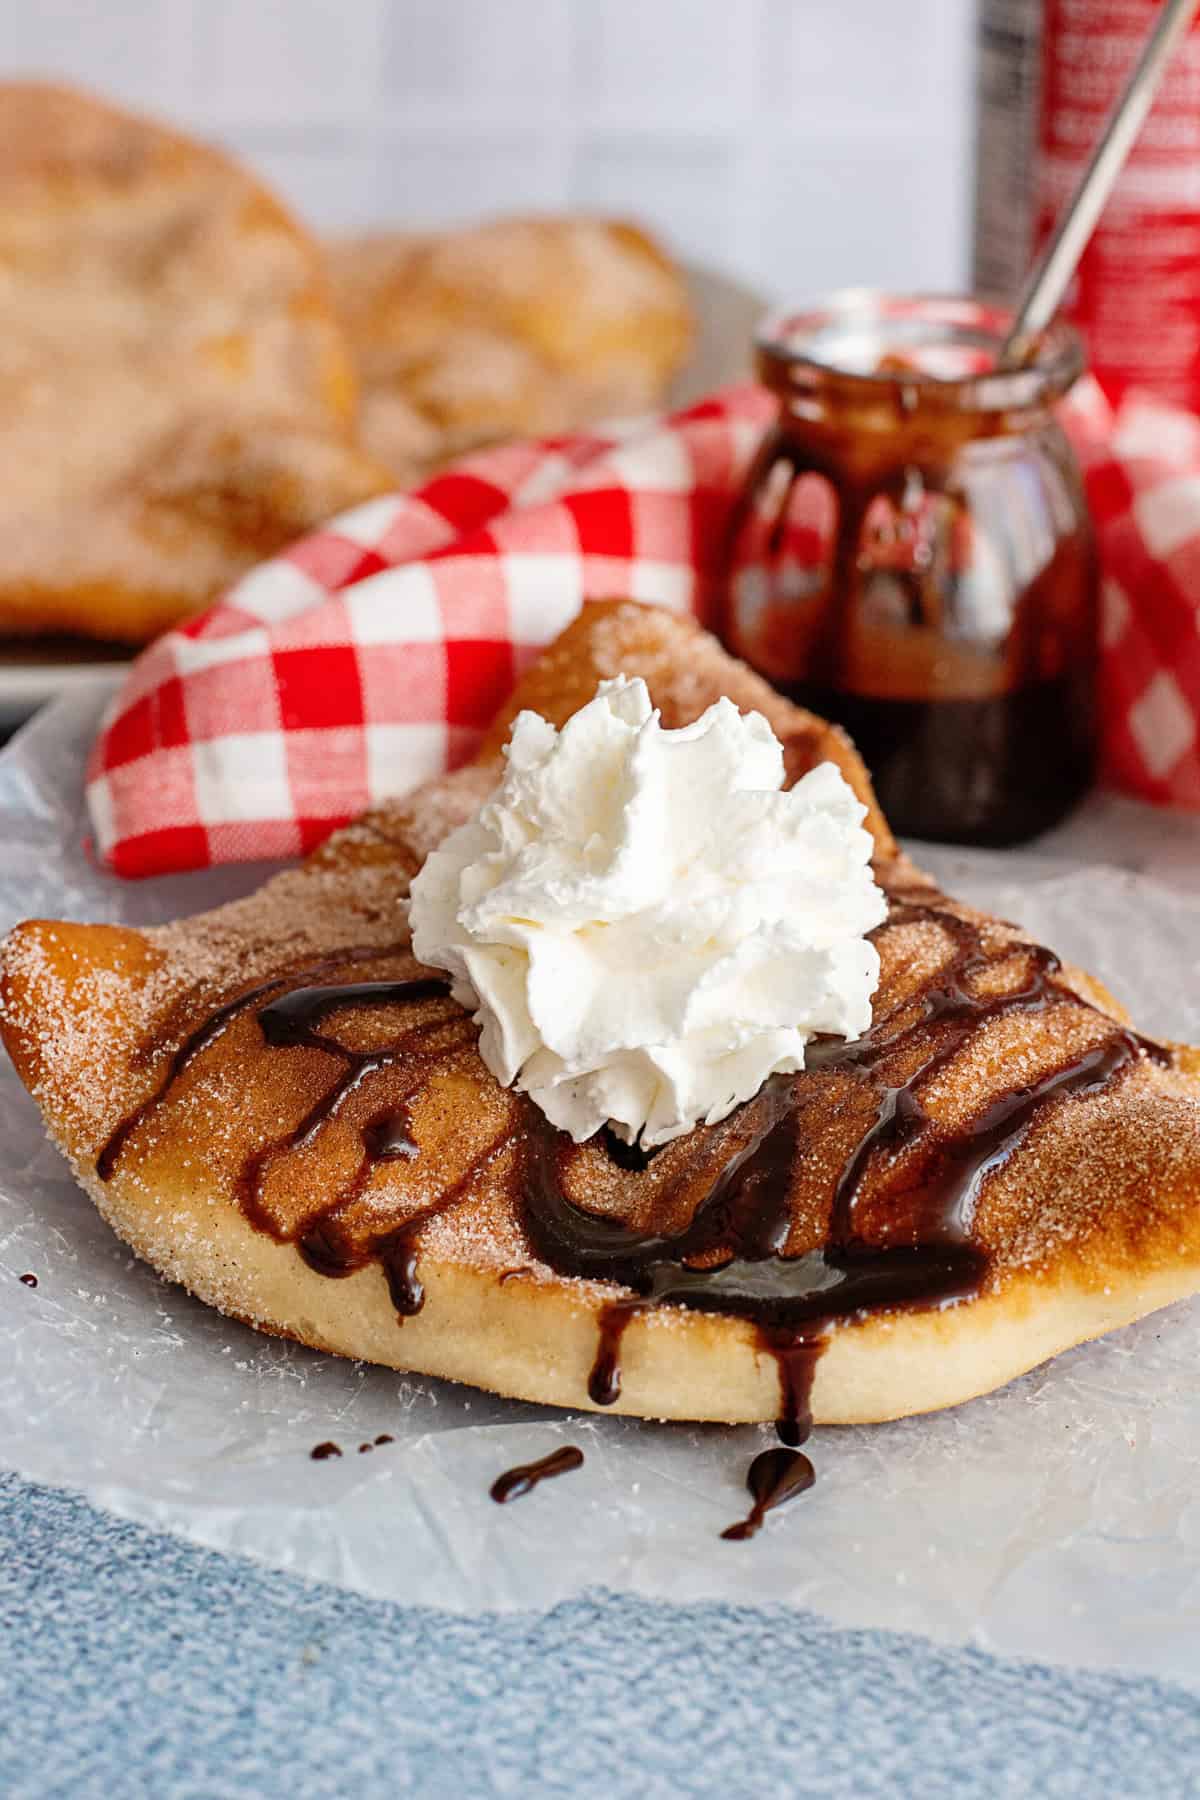
You can use it as a topping for cakes, cookies, or cupcakes or my favorite is drizzling this on some vanilla ice cream.
Now let’s get to making this creamy caramel treat!

Recipe Ingredients
- Sweetened condensed milk
- Water
It doesn’t get any simpler than that! Have some aluminum foil at the ready along with a baking pan and a 9-inch deep-dish pie plate.
How to Make My Dulce De Leche Recipe
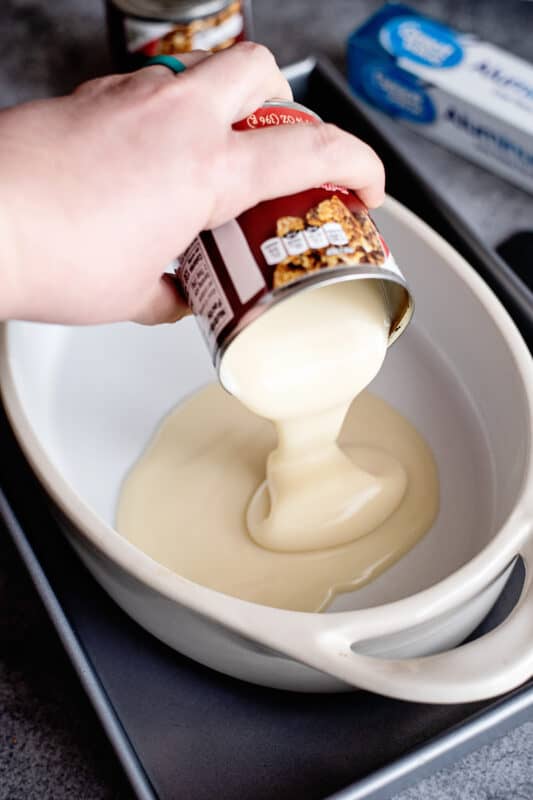
Move the oven rack to the middle and preheat the oven to 425 degrees. Pour the can of sweetened condensed milk into the pie plate.

The sweetened condensed milk takes up about 1/4-inch or so of the pie dish.
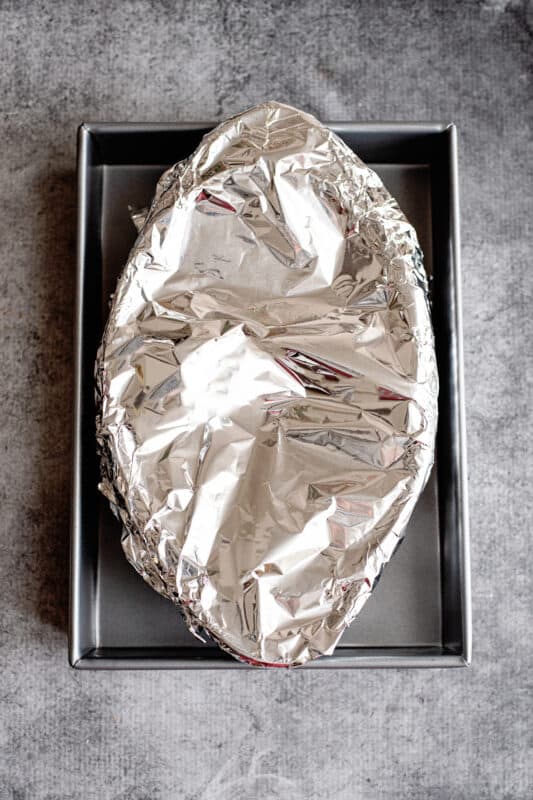
Set in a , like a 9 x 13 baking dish, and cover with aluminum foil.
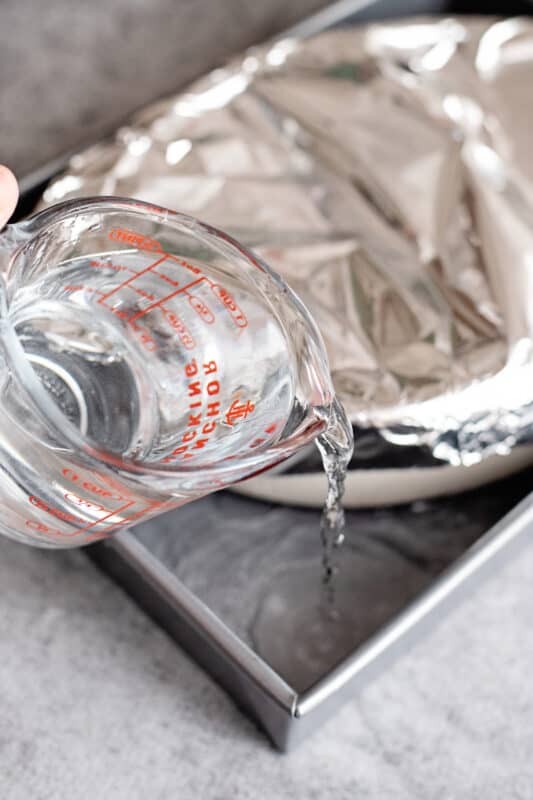
Fill the roasting pan halfway with water to make a
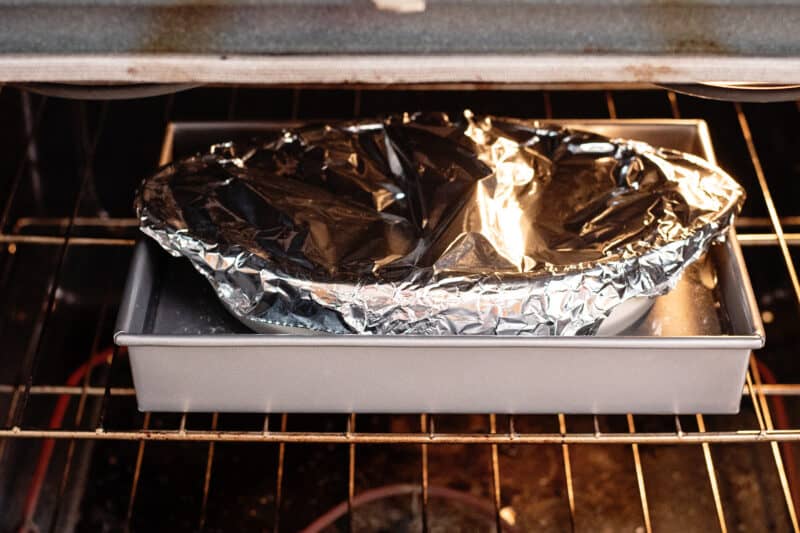
Place on the middle rack of the oven.
Check after baking for 45 minutes and add more water to the roasting pan if needed. Let the cook for another 45 minutes if necessary.

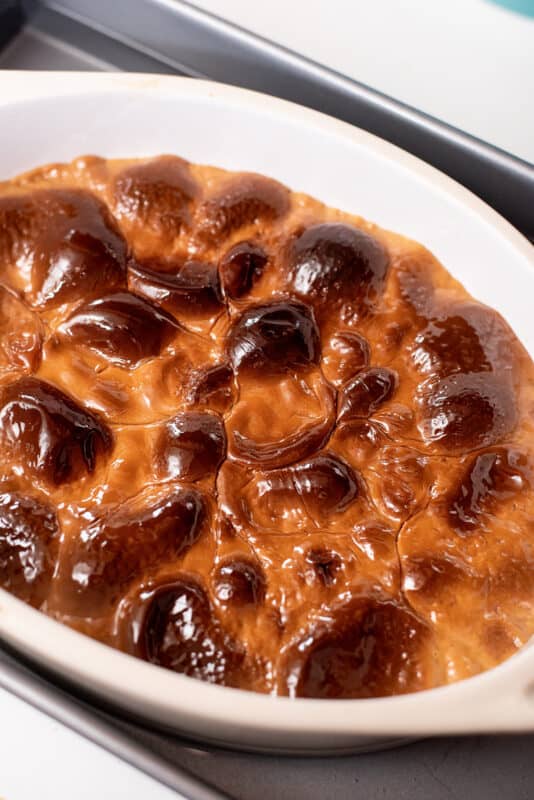
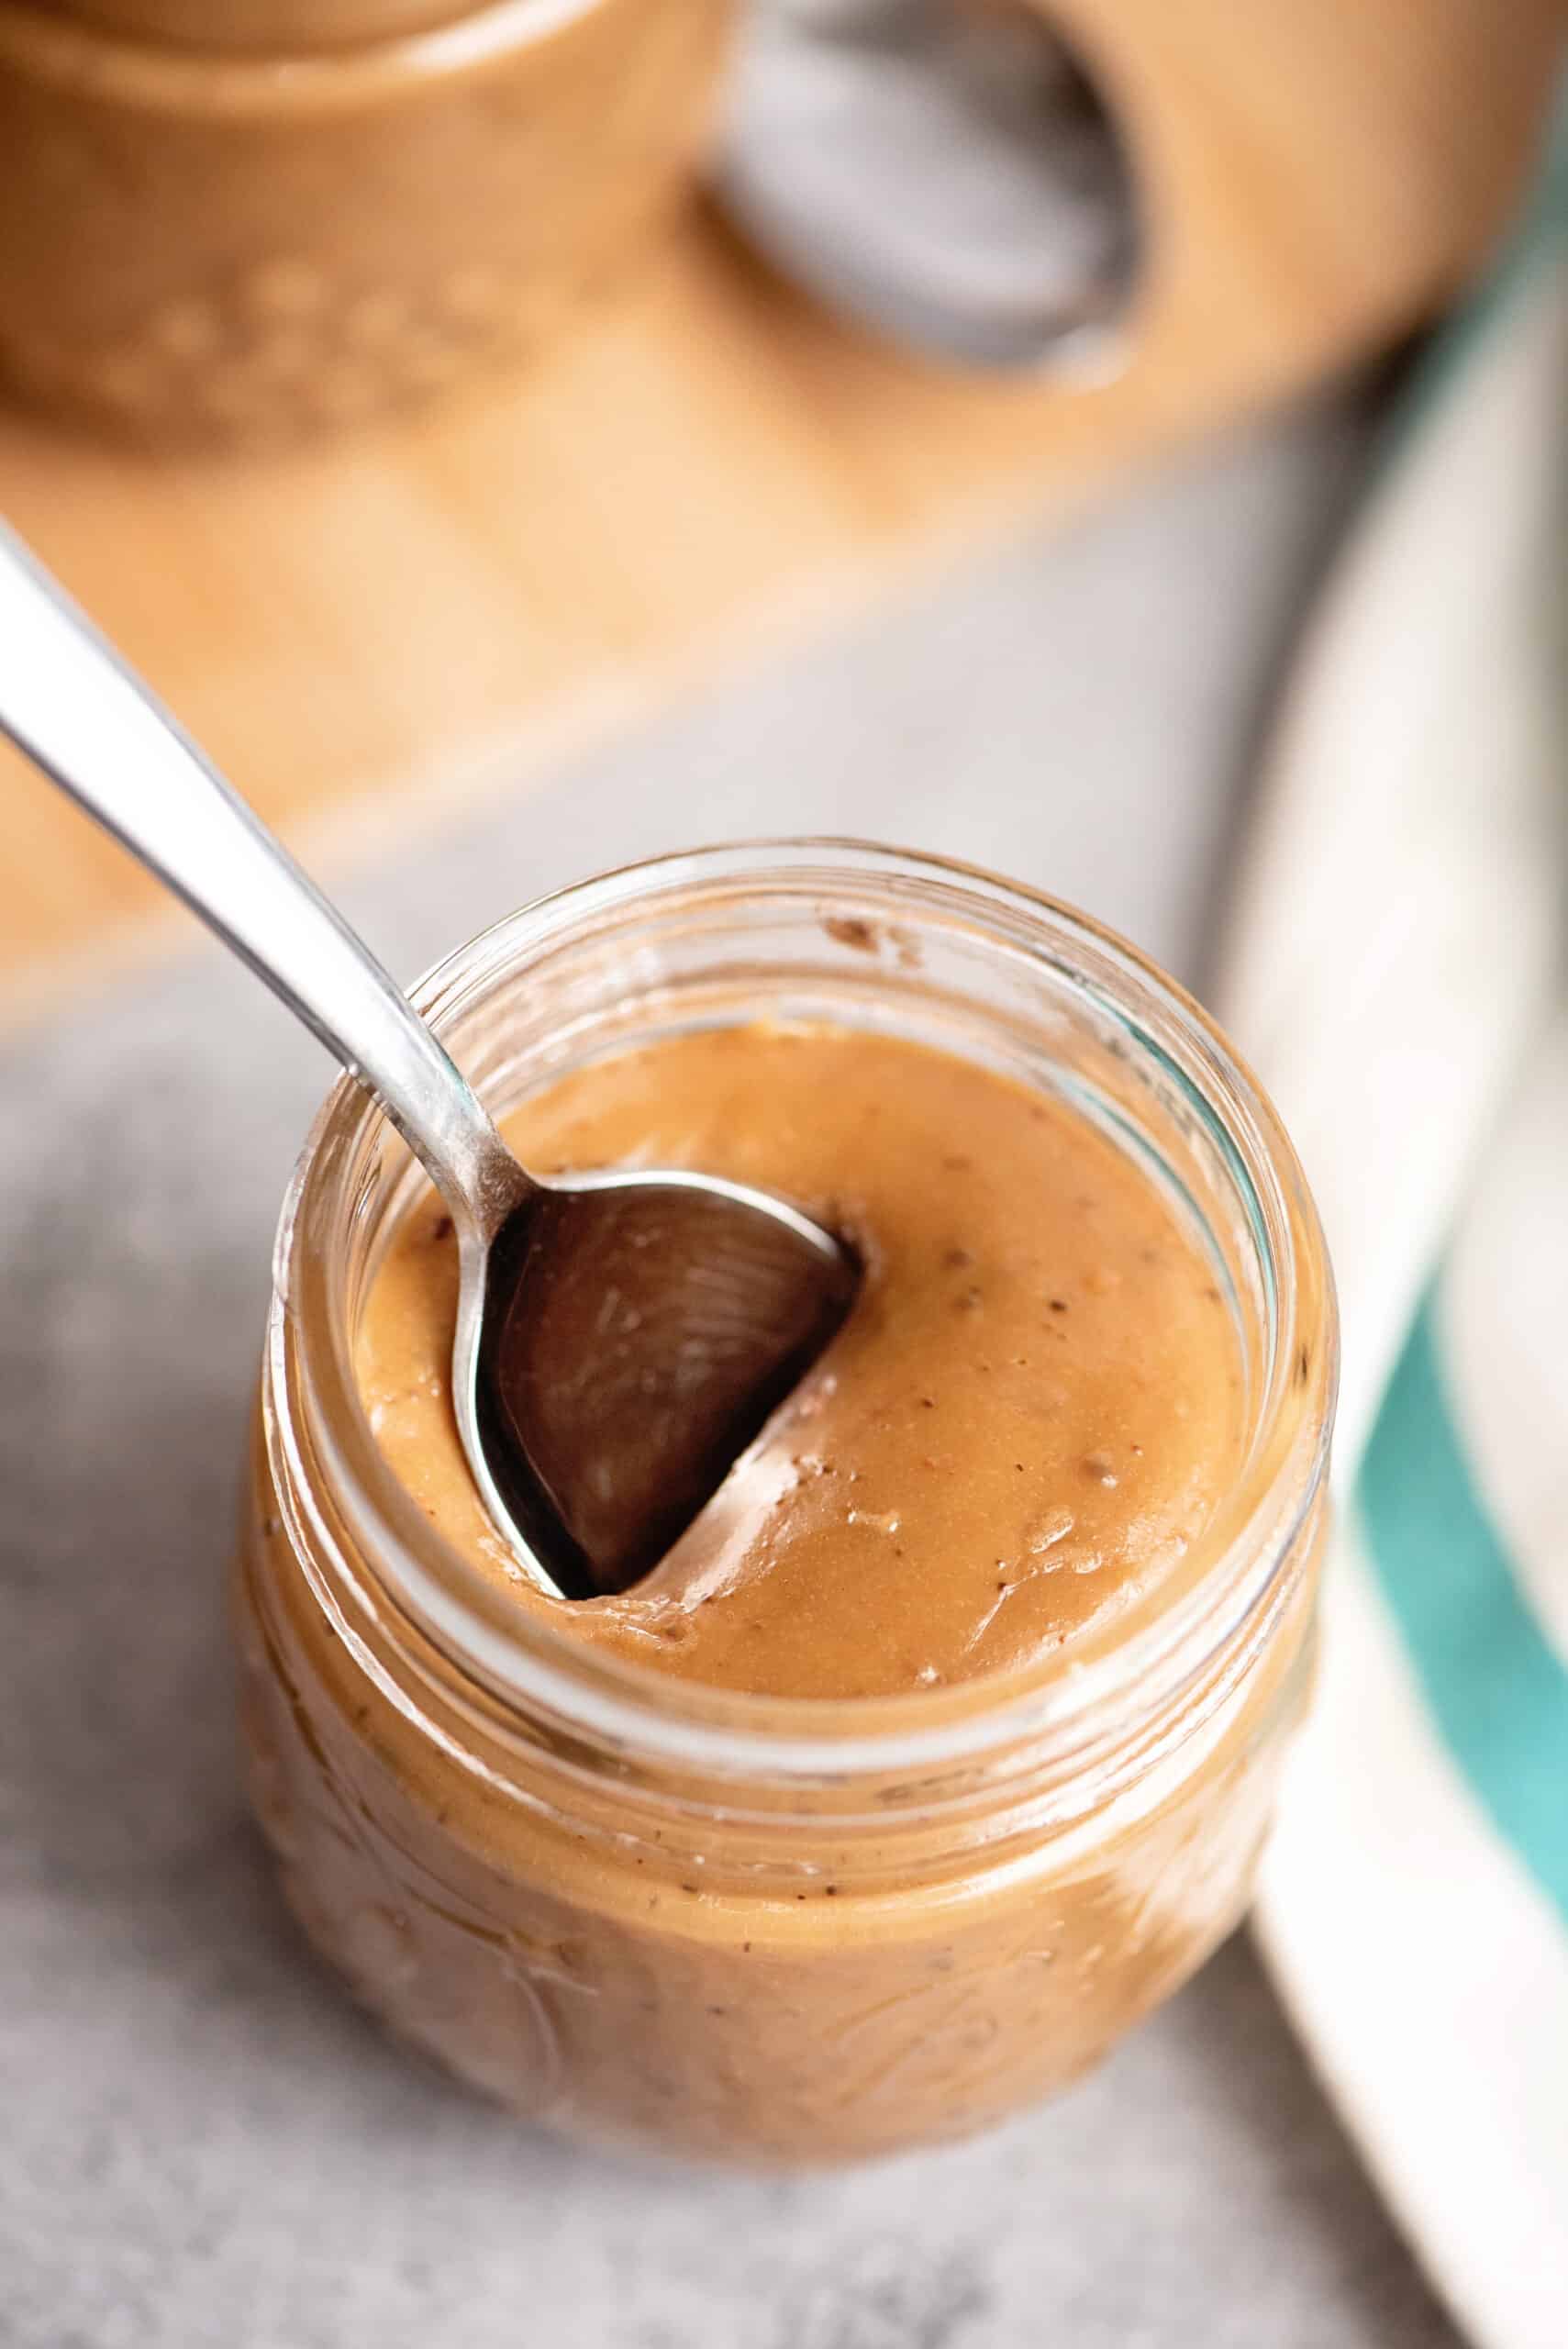
Give your dulce de leche a stir.
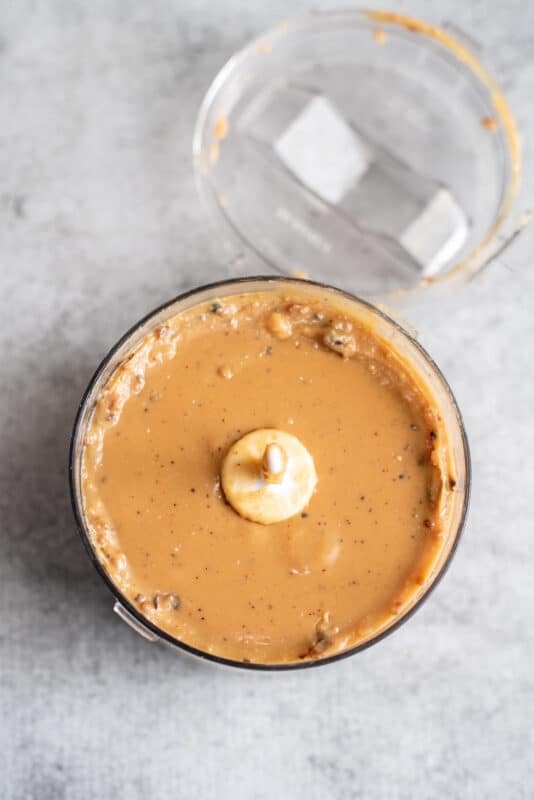
Optional: Add to a food processor and whip to your desired texture.
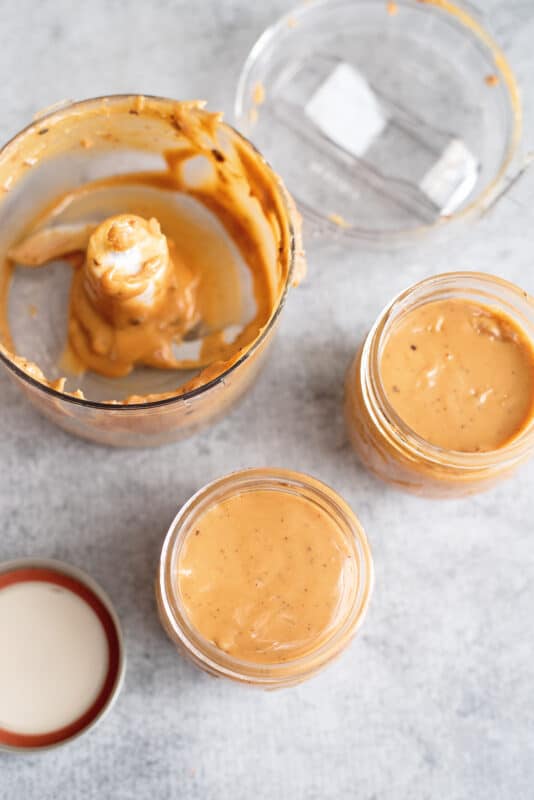
Transfer to your favorite storage container. I use a .
Oh, that is sooo good. I might add this to ice cream with some cashews!
Storage
This dulce de leche recipe will last up to 2 weeks when stored in an airtight container in the fridge. I usually keep mine in an empty mason jar or canning jar.
I don’t usually have any left to freeze. But if you wanted to, I’d place it in an airtight container after it cools. General consensus is it will be good frozen for up to a month.
Now go on and enjoy this lovely treat!
Recipe Notes
If you want a smoky caramel taste then like I did in our post (keep an eye on it so it doesn’t burn), keep it in the oven until it has some darker brown spots. But if you want a milky caramel sauce instead, then check it after the first 45 minutes and then every 15-20 minutes or so to make sure it’s getting to the color and consistency you want.
Recipe FAQs
Can’t I just boil it in the can?
Yes, you could. Boiling is the traditional way of making dulce de leche. However, boiling a metal can in a large pot can potentially cause metals to leach into the caramel. So to avoid that we like to make it easily from scratch by baking it in the oven.
What can you make with this dulce de leche recipe?
The possibilities are truly endless but stir your dulce de leche into your coffee or cocoa, spread it on toast, serve it in a sandwich with peanut butter, or serve it warm drizzled on ice cream. But wait, there’s more! Here are some of our favorite recipes that use dulce de leche for a decadent dessert:
- Texas Turtle Sheet Cake
- Tres Leches Cake or Cuatro Leches Cake (Four Milk Cake)
- No Fry Fried Ice Cream
- Caramel Apple Cheesecake
- Quick & Easy Oatmeal Caramelitas
- Turtle Bars Super Easy
- Caramel Banana Pie AKA Easy Banoffee Pie
- Samoa Brownies
Ingredients
- 1 can sweetened condensed milk 14-ounce
- water
Instructions
- Heat oven to 425°F and adjust your oven rack so it's in the middle.
- Pour the can of sweetened condensed milk into a 9-inch deep pie dish and cover tightly with foil. Set the baking dish in a pan that it fits in and add enough hot water to the pan so it reaches halfway up the pie dish.1 can sweetened condensed milk, water
- Bake the milk in the middle of the oven for 45 minutes. Check the water level and add additional water if it's low. Then continue to bake for another 45 minutes or until milk is thick and brown. Remove and stir.
- Allow the dulce de leche to cool slightly and then add it to a food processor (optional) to get to your desired texture. Makes about 1 1/2 to 2 cups.
Notes


I’ve heard of using the sweetened condensed milk to make caramel but I only heard of boiling it in the can on the stovetop…never heard of baking it
I haven’t tried either way YET!! Looking forward to it tho!!! Thanks!
Hi Angela,I don’t like to boil in the can because the metals from the can could leach into the caramel. Let me know how it goes when you make it.
I like to do it from scratch since the metals from the can will leach into the caramel when boiled or heated. This way avoids that.
Love this…. and if I’m not mistaken, can’t you also cook the condensed milk, by placing the can without the wrapper on it,in a large pot of boiling water, and do it that way?? This is delicious as is, and I also like a little smoky taste to it!!!
Yes you can but the metals from the can can leach into the caramel when its boiled so I avoid using that method.
Sounds great but I just simmer mine in the unopened can on stove for a couple of hours. Turns out great every time
That is a great traditional way of making this. I make it from scratch because the chemicals from the can when heated likely end up in the caramel.
Yes, that is an option Debbie, but I don’t like to boil it in the can as the metals from the can could leach into the caramel, so that’s why I do it this way.