Drop Biscuits Recipe So Easy
As an Amazon Associate I earn from qualifying purchases.
This Drop Biscuits recipe that is always considered a treat at my house, met with the same zeal as a dessert even though it is just a bread.
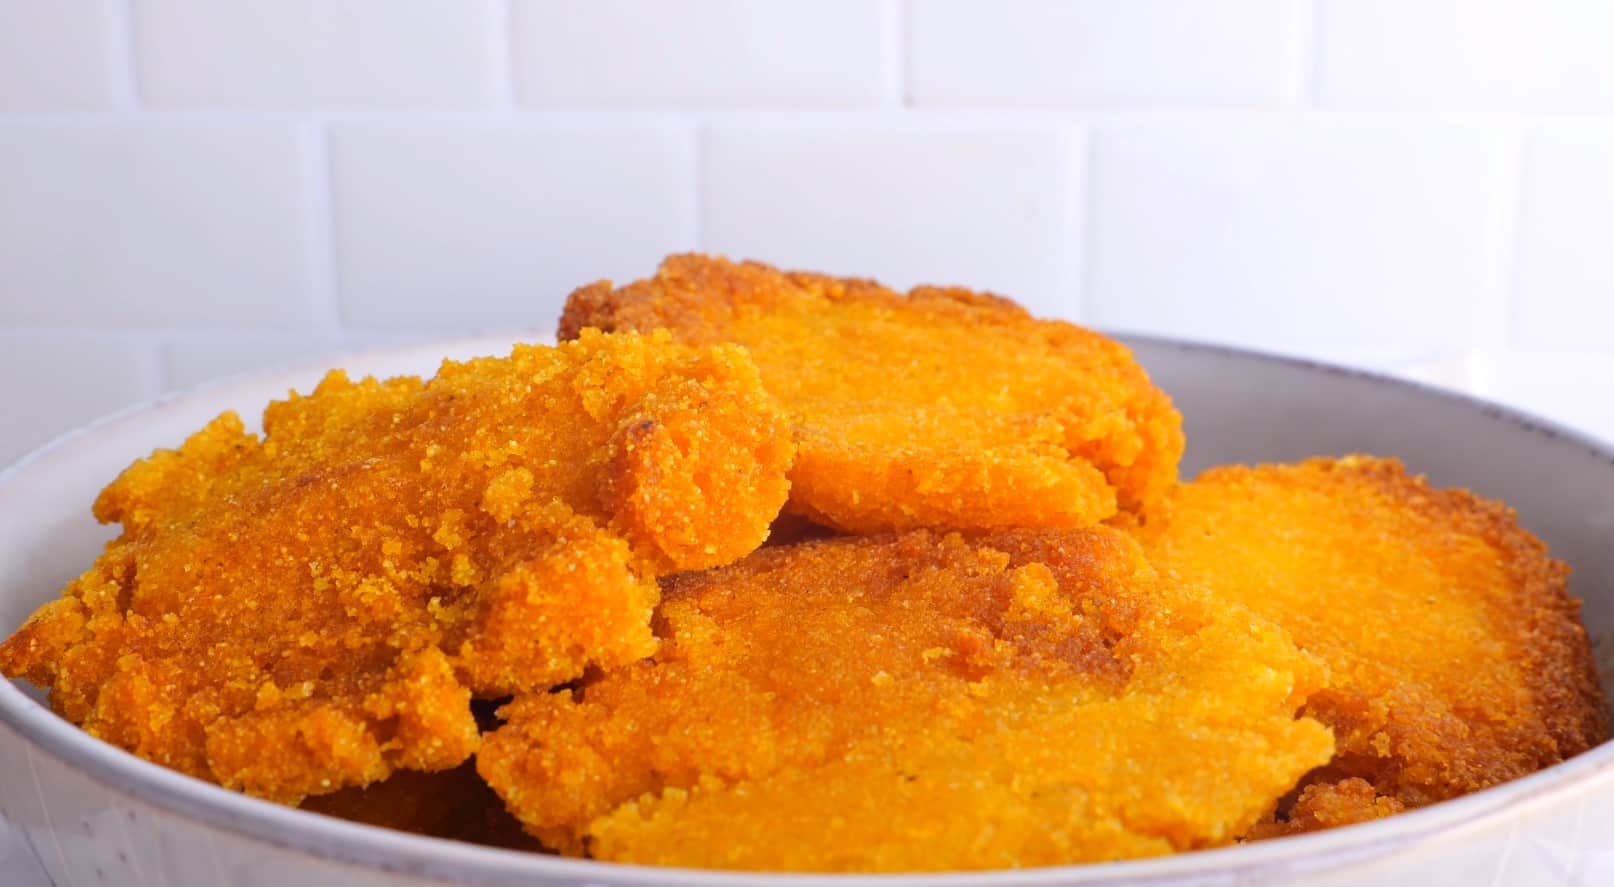
Similar to Hoe Cake
A variation on my Mama’s hoe cake, she often mixed up the same batter and made drop biscuits instead. When I first served hoe cake to my in laws, hot from the oven with generous helpings of homemade apple butter, they declared it a hit. They loved the crispy outer layer and soft as clouds biscuit inside. But the next day when I made them drop biscuits with buttermilk and they assured me that the drop biscuits with apple butter were their new favorite.
Recipe Ingredients:
- Self rising flour
- Vegetable shortening (I like to use Coconut oil these days but use what you want)
- Buttermilk (you can use regular milk if you like)
- Some vegetable oil for the pan
Isn’t it amazing how all of the best Southern recipes have the fewest and most simple of ingredients?
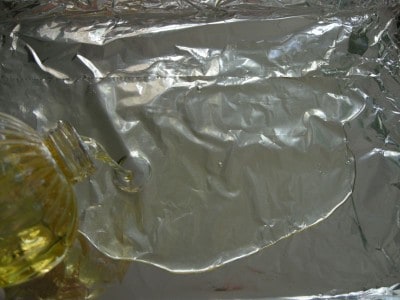
Now take your ugliest baking sheet, one with a bit of a lip around the edges, and pour some vegetable oil on it.
You just need enough to coat the bottom.
Use Your Ugliest Baking Pan 🙂
You know that really ugly baking sheet you have that you make sure you don’t use when company comes? That is the one we want for this. Mine is so old and ugly I covered it in foil so you wouldn’t see! Bless it’s little heart, its a workhorse of a pan though! I normally do not cover my pan in foil so don’t feel that you have to.
Place that baking pan in your oven while it preheats to get the oil good and hot.
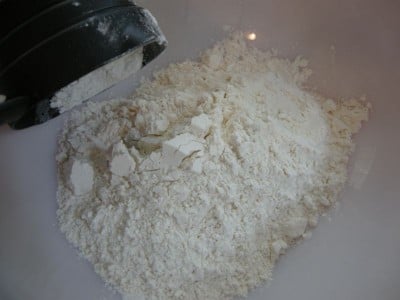
Measure your flour into a bowl.
Add your shortening.
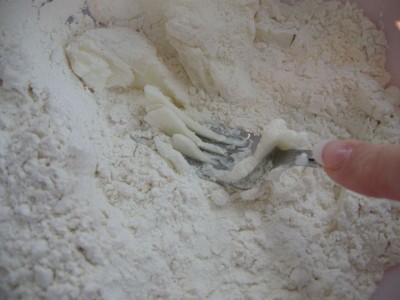
Cut your shortening into the flour by repeatedly pressing down with a fork and stirring it up a bit as you do so.
Long Tined Fork Does Just Fine
I’ve mentioned before that you can buy a fancy pastry cutter for this but I find a long tined fork works just as well and I don’t have one more thing to keep up with. Simple is better here at Bountiful.
It’ll look like this when you are done.
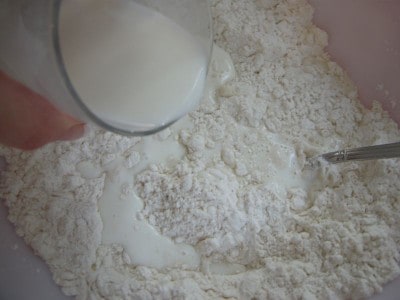
Now pour in your buttermilk.
I used the very last bit of milk I had for these drop biscuits! Been so busy lately I haven’t had time to get groceries.
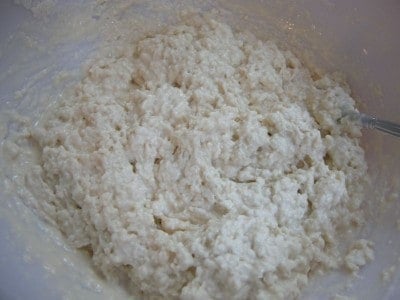
Stir it up until you have a batter that is just a little softer than regular biscuit batter.
It will be lumpy but that is perfectly fine so don’t go frettin’ over it.
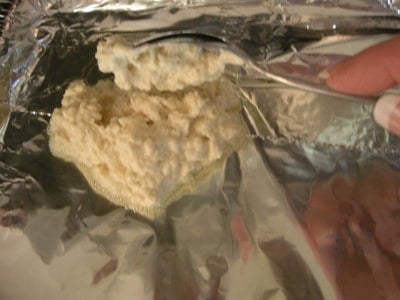
Drop globs by large spoonful onto heated baking sheet.
The oil should be hot enough to sizzle a little bit when you add the batter.
How Do I Get The Tops Crunchy?
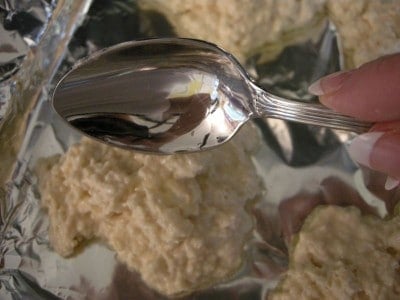
Tilt your pan a bit until some of the heated oil pools in the corner and spoon a bit of that oil over each biscuit.
This will get us nice and crunchy tops!
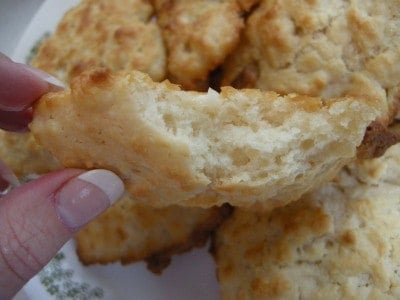
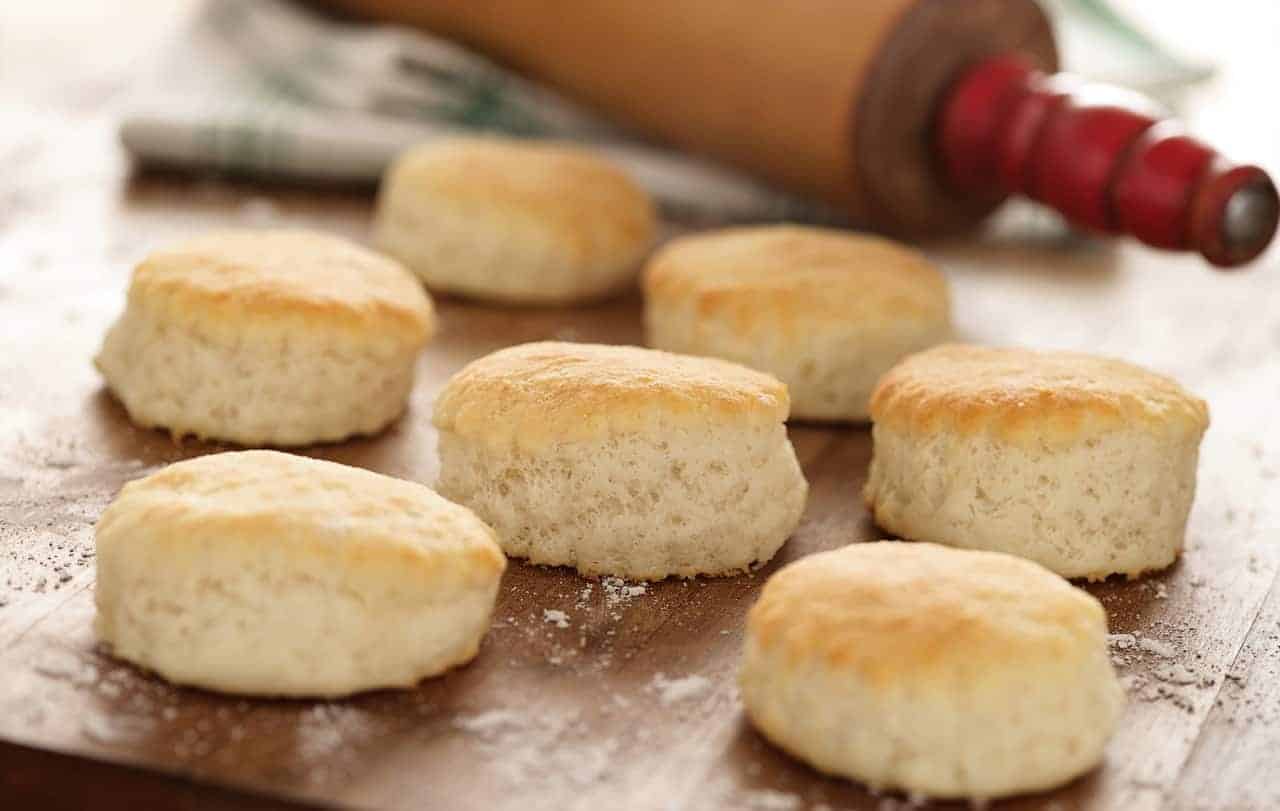
Here are our drop biscuits all ready to go.
These are pretty good sized ones and this recipe ended up making about eight of them.
If you make them a little smaller you could get a dozen.
Bake at 425 until golden brown, 10-15 minutes.

Ingredients
- 2 cups self rising flour
- 1 cup buttermilk any milk will do
- 1/2 cup vegetable shortening I used coconut oil but use what you like
Instructions
- Preheat oven to 425. Pour a thin layer of oil to cover the bottom of a large baking pan and place in oven to heat.
- Cut shortening into flour well. Pour buttermilk in and stir until wet – add a little more milk if needed.
- Drop by large spoonfuls onto well heated pan and spoon a bit of hot oil over each one.
- Bake for ten to fifteen minutes or until browned.
Nutrition
You may also enjoy these biscuit recipes:
Sausage Biscuit with Cheese Southern Style
Buttermilk Biscuit Recipe Light and Buttery
Garlic Cream Biscuits with Bacon Gravy
Happiness is like potato salad,
when shared with others – it becomes a picnic!
Submitted by Southern Plate reader, Kathi.






shortening biscuits ALWAYS take better! Sometimes when we take too much of something out of recipes, they loose what made them special! We only have these about once a month, but they are SO good!!!
This recipe brings back memories. My mother made “tea biscuits” or “Soda biscuits” but the recipe was almost exactly like this one. She didn’t use self rising flour – but instead used regular flour, baking soda and salt … so i guess that’s about the same. I think she used lard or shortening when I was young, but switched to butter when I was older.
Like many others my mom wasn’t the best cook .. not dinner wise anyway (although she did make a mean roast!). Where she excelled was in her baking. She made the best pastries, breads, biscuits, desserts and oh – home made donuts. She used old cook books that had been printed in the 30’s and 40’s and didn’t buy many new ones as the old ones were just fine. In fact I have all of her old cook books now and I use them quite often.
My mom learned to cook from her mother and I followed in their footsteps. I have four other siblings, all older and none of them enjoy cooking very much, but I’ve loved it since I was a very young girl. I was her assistant in the kitchen and she trusted me to make her bread and pastry doughs by the time I was nine years old or so.
Every time we made bread together the first loaf would be eaten almost as soon as it came out of the oven – slathered in butter of course.
One thing that she did that we loved was to use the last of her pasty dough to make a sugar roll. You just combine the pastry scraps into a ball, roll it out, butter it and then sprinkle it liberally with brown sugar and a little Cinnamon. Roll it up and shape it into a half circle (or full circle if you have enough), place in greased pie plate, cut little openings in the top of the pasty every few inches, and bake (425 F ?) until the pasty is golden and sugary syrup is leaking out. Take it out of the oven, let it cool and set for a few minutes then cut into pieces that are about two inches long and serve. Delicious. Do you ever make anything like that?
I still cook the way my mom taught me. I don’t like processed “easy” food. I try to make as much home made meals as I can manage. It reminds me of home, my mother and I think it’s much more simple, healthier, and tastier. I actually make large batches of food at once and freeze what we can’t eat right away (soups, chillies, meat loaf, pies, sauces etc) so that even if we’re feeling lazy we can still have a home made meal.
My mom passed away from cancer almost 7 years ago. I miss her dearly, but she taught me well and when I cook I feel like my mom is nearby.
I have to tell you that I love your site. I only discovered it about a month ago, but I’ve been enjoying browsing through it and getting your newsletter. I’m not Southern (I’m from Ontario) but it seems that our methods of cooking are similar. Keep up the good work – I’ll be reading, sharing and sampling. 😉
LARD … THAT’S the bisquit ticket! YUM!!!! ;-P
Our Mothers and Grandmother both know the “right” way to cook…lol..I remember this recipe from last year, and never got around to making it. I believe I will now. Thanks for the re-runs…lol…oh by the way I’m going to post that quote on FB. I just love it! ^_^
This is for Shelly and her request for “greasy green beans”.
The way my family cooks ‘good’ green beans is probably what you are referring to. Yes, she probably did cook them for a long period of time. But we now cook ours first in a pressure cooker. Ok, first….do not even think of using green beans in a can from the store, they have to be fresh & broken, or homecanned ones (not frozen ones either). You might as well, make a big pot of them, since everyone will eat a bunch of them, and you will want some for leftovers. Start out stringing & breaking about 4-5 lbs of green beans, wash them and put into a tall pressure cooker without the little rack in the bottom (not the great big one you use for canning- thats too big). Add about 1 inch of water. Close the lid, turn your stove eye on high, and when it starts jiggling vigorously, turn the eye down to between low & medium. Just where it jiggles gently. Cook for approx. 20-30 min. Remove and cool it down with no steam when you remove the jiggler on top. When you open the lid, add about 1/2-3/4 cup of vegetable oil in the same pot, but don’t put the lid back on (I don’t like fat back or bacon, as it gives the beans a peculiar taste), then turn your eye back up to where they are boiling again and then find a happy temp like the pressure cooker temp. Carefully start adding salt (about 1 TBS) and stir, then taste. Repeat this until you get the right taste. Remember, when you boil them down, the salt will be more strong. Just enough salt, like you would almost want if you were salting your plate at the table. Just not quite your desired flavor because it will concentrate as it cooks. Now here is where it gets tricky. Your goal is to boil the liquid out off the beans. But what you have to be careful of, is boiling them off too fast and letting your beans stick and burn. If this happens, you might as well throw them out in the trash. You can’t get that smell out of them. So be careful. If you accidentally let a very few stick to the bottom DON”T STIR THEM AT ALL. Just lift the ones on top off into a bowl, and they might be edible. Depends on how burnt they smell. Let them boil slowly, and when it starts to get to the point where you don’t see much liquid when you scrap around in the pot ( and I really mean-not much liquid! All you should see, is a little of the oil boiling, not water). Check your salt again and make sure you have enough. This second boiling will take about 30-45 min. A few more hints… don’t worry about stirring your beans and them breaking apart, that just makes them better. And you can make them ahead, and refrigerate overnight (they just taste better) then reheat on simmer-low. The reason for not telling exact measurements, depends on how full the pot is. You can fill the pressure cooker all the way to the top, because they will cook down and make more water. So, my measurements are for 3/4 full to completely full when you pressure them. Also, if you use homecanned green beans, cut the pressure time down to about 10 min. or just do the second step only. And drain off some of the liquid from the canning jars first, but not all. Otherwise you’ll have to boil them down for a longer period of time. One more hint…if you get them too salty, add some water and boil them down again, to de-concentrate them. Salting is actually what makes the green beans taste so good. It sounds weird, but if you get the correct amount of salt, they will have a slight sweet taste when boiled down. I think you will like these and tell me if they taste like your ‘greasy green beans’.
Just gotta say we’ve been making these all my life! My sister and I loved ’em when we were growin’ up, and my kids love ’em; but the funniest thing is that my son called them “flop” biscuits. : ) He would beg, “mama, can we pleeease have flop biscuits for supper?” What a hoot! He’s 22 now, and he still loves them. : )
Thank you for using my quote 🙂 I SO miss my Granny…She made biscuits like these and I can literally taste them now…