Canning Tomatoes (Water Bath Method)
As an Amazon Associate I earn from qualifying purchases.
This video is an easy-to-follow guide to home canning tomatoes using the water bath method. I’ve also included step-by-step instructions for canning tomatoes below, so you’ll be a canning pro in no time!
This past weekend I made a video of the entire process of canning tomatoes in response to receiving so many questions about how to do it. The video below is under 30 minutes and goes over water bath canning as well as canning best practices for the safety of canned goods.
There are also some very important links at the bottom of the video and this post, which you may find helpful. To see a photograph tutorial on water bath canning, please click here. I’ve also included step-by-step written instructions to make life even easier because I’m nice like that 😉.
Once you get the handle on home canning tomatoes using the water bath method, you’ll become addicted to canning, a simple method from way back. I know I have! I’ve included some other canning recipes below, but it’s such an easy way to preserve fresh foods to enjoy later. You can also use any type of fresh tomatoes, like Roma, plum, or grape tomatoes.
Now, once you preserve them, I’m sure you’ll be wondering how to use them in your cooking. Don’t worry, I’ve got you covered there as well, but are perfect as a substitution for or in pasta sauces, soups, stews, and chilis.
Keep scrolling and happy canning!
Note: It is up to the viewer/reader to use best canning practices and common sense when canning. I am not responsible for overseeing the canning methods and the safety of others.
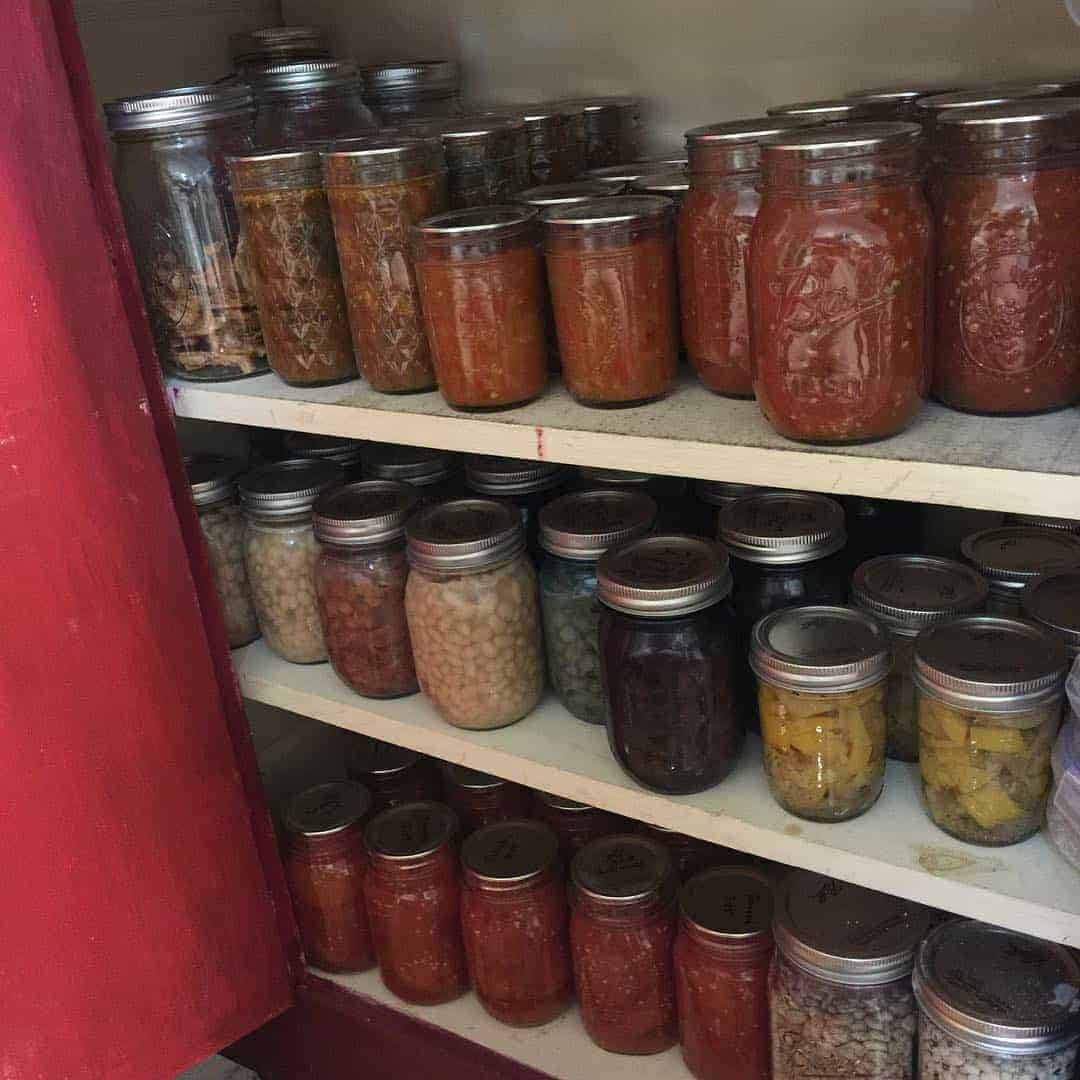
This is also my real kitchen when it is not magazine ready. A lot of work and living takes place in this room and it shows!
Recipe Ingredients
- Fresh ripe tomatoes
- Bottled lemon juice or citric acid
Step-by-Step Guide to Canning Tomatoes in a Water Bath
Fill a large pot with water and bring it to a boil. Add tomatoes (in batches if you need to) and allow to boil until skins split.
Remove with a slotted spoon and place in a dish. Allow them to cool slightly. Repeat until all tomatoes have been done this way.
Fill the water bath canner pot with water and bring it to a low boil.
If using a regular pot, place a dish towel on the bottom.
Add jars and lids (not rings) and allow to simmer until ready to use.
Gently pull the skins off of the hot tomatoes and cut off the tops, if desired.
Drain the pot you boiled the tomatoes in and add skinned tomatoes back to this pot.
Chop up with a chopper or potato masher while bringing to a boil over medium-high heat. Reduce heat and stir often, boiling gently for 5 minutes.
Carefully remove jars from the boiling water canner and drain them into the canner. Place the jars on a dish towel-lined countertop.
Use your canning funnel to fill jars, being careful to leave 1/2-inch of space at the top.
Add 1 tablespoon of lemon juice or 1/4 teaspoon of citric acid to each filled canning jar.
Use a damp paper towel to wipe around the rim and sides of each jar where the lid and ring will go.
Place the lid and ring on each jar and tighten lightly, but not overly tight.
Use canning tongs to lower each jar into the water bath. Make sure there is enough water to cover the jars by an inch.
Cover with a lid and bring to a rolling boil. Once it is at a rolling boil the processing time begins: 35 minutes for pints and 45 minutes for quarts.
Remove from the canner once processed and place on a dish towel-lined counter.
Allow them to cool completely before removing the rings.
Storage
When stored in a cool, clean, and dry place, homemade canned tomatoes can easily last up to 12 months.
Recipe Notes
- If you’re wondering how many tomatoes you need, an easy guide to aim for is 3 lbs of tomatoes per quart jar and 1.5 lbs of tomatoes per pint jar.
- Here are some helpful links:
- My electric canner (this isn’t necessary, just a nice luxury)
- My pressure canner (for pressure canning beans, meats, etc)
- A less expensive but still very nice pressure canner. Note: pressure canners can also serve as pressure cookers, HOWEVER pressure cookers cannot serve as pressure canners.
- I suggest Walmart or Target for canning jars.
- A nice canning set (funnel, canning tongs, etc)
- Ball Blue Book for Preserving Recipes and Instructions
- Excellent website resources for safe canning recipes: FreshPreserving.com and National Center for Home Food Preservation.
You may also like these posts:
Simply Brilliant Canning Labels
Canning: THE MUSICAL (Canning Tutorial)
How to Put Up Tomatoes (Freeze Tomatoes the Easy Way)
And more things to can:
Chow Chow Recipe (Southern Relish)
Recipes that use canned tomatoes:
Tomatoes and Okra Recipe with Bacon
Slow Cooker Tacos With Ground Beef
Ingredients
- fresh tomatoes
- bottled lemon juice or powdered citric acid
Instructions
- Fill a large pot with water and bring it to a boil. Add tomatoes (in batches if you need to) and allow to boil until skins split. Remove with a slotted spoon and place in a dish. Allow them to cool slightly. Repeat until all tomatoes have been done this way.fresh tomatoes
- Fill the canning pot with water and bring it to a low boil. If using a regular pot, place a dish towel on the bottom. Add jars and lids (not rings) and allow to simmer until ready to use.
- Gently pull skins off of the boiled tomatoes and cut off tops, if desired. Drain the pot you boiled the tomatoes in and add skinned tomatoes back to this pot. Chop up with a chopper or potato masher while bringing to a boil over medium-high heat. Reduce heat and stir often, boiling gently for 5 minutes.
- Carefully remove jars from the boiling water in the canner and drain them into the canner. Place the jars on a dish towel-lined countertop. Use your canning funnel to fill jars, being careful to leave 1/2-inch of space at the top.
- Add 1 tablespoon of lemon juice or 1/4 teaspoon of citric acid to each filled jar. Use a damp paper towel to wipe around the rim and sides of each jar where the lid and ring will go.bottled lemon juice or powdered citric acid
- Place the lid and ring on each jar and tighten lightly, but not overly tight.
- Use canning tongs to lower each jar into the water bath. Make sure there is enough water to cover the jars by an inch. Cover with a lid and bring to a rolling boil. Once it is at a rolling boil the processing time begins: 35 minutes for pints and 45 minutes for quarts.
- Remove from the canner once processed and place on a dish towel-lined counter. Allow them to cool completely before removing the rings.
Nutrition
Preserve today and enjoy tomorrow!





I love the disclaimer of real kitchen vs. magazine kitchen. Keepin’ it real!!! 🙂
🙂
I just loved the video class: Canning Tomatoes. I grew up watching my aunt Lillie Mallet can all sorts of fruits and vegetables, but, I’m not much of a canner, I tend to freeze everything, however, after watching your video class on canning, you make it look so easy, I must give it a try. Thanks Once Again Christy!
Thank you for watching Annette!! I do hope you give canning a try, it sure does save on freezer space 😉
Thanks for the video and showing the new electric canner. I canned tomatoes last week using my mother’s old blue porcelain canner. Times have changed but the tomatoes still look the same (yummy).
I agree! It’s hard for me not to crack open a jar today and eat them right from it. There is nothing like a home canned harvest!
Thank you so much for canning video. I’m new to this and it really helps to see it done by someone with experience. Very informative.
I do have one question about canning fresh corn. I don’t see many recipes for corn and do I need a pressure canner to do corn. I’m a little confused about what I can water bathe and what i need a pressure canner for. I know it has to do with the acid content – but what exactly determins the amount of acid in a fruit or vegetable? Thank you again & I love your web site.
Hey Chris!
I’m so glad you enjoyed it and found it helpful. You are right, its all about the amount of acid in vegetables when it comes to determining what type of canning they require. Tomatoes are actually a mid level vegetable when it comes to acid (I said low in the video!) and we can easily bump that up for safety using citric acid or lemon juice so I was able to water bath can those. For corn, if you just want it fresh off the cob (like you get canned corn in the stores) it does have to be pressure canned. However, if you make a relish with it, like this one here:https://www.southernplate.com/2010/07/corn-relish.html you can water bath can that. It really just depends on the recipe. The amount of acid in a vegetable is really referring to its natural state, some have very low levels like corn, beans, cucumbers, mushrooms, etc and so they can’t safely be canned in a water bath unless you pickle them or make a relish, either process using vinegar (very high acid) as a base. What we are doing here is making sure that each individual canned item has an environment that is not friendly to botulism :). I hope this made sense but please tell me if it didn’t or if you have any more questions as I am very happy to help in any way I can! P.S. fresh corn freezes like a dream, here is a post on that: https://www.southernplate.com/2009/05/fresh-fried-corn-shucking-silking-cooking-and-freezing.html
Gratefully,
Christy
Loved the video! Just the way my aunt taught me to can tomatoes many, many years ago. Thanks for being brave enough to show your kitchen…..real canning equals a messy kitchen but oh, so many wonderful goodies to consume after the fresh summer veggies and fruits are just a memory!
You are so right, Lettie! And what a blessing your aunt was to you, and you are to others!
Can I use fresh lemon juice instead of from a bottle?
you sure can 🙂
Thanks for such a thorough tutorial! I just purchased that electric water-bath canner last week and I’m glad to know you like it so much. I’m excited to put it to use!
Oh my goodness, you got one!! I’m so excited, you are going to LOVE it and you can also make stew for an army on that thing!
I’m just dying to make stew for an army!!!
Christy I love the fact that you are showing your kitchen like the rest of our kitchens look when we are working in it! Just wanted to say thanks for that. I do end up making a mess when doing a big project.
Martha, thank you!!!! I knew it would be a risk, folks are used to seeing my kitchen in magazines so I may face some judgement from the perfect folks, but I prefer to hang with the imperfect folks anyhow 🙂 Also, its always such a relief to see a “real” kitchen on youtube that I figured it was my turn to step out and be real right back! 🙂