Chocolate Velvet Cake With Cream Cheese Icing
As an Amazon Associate I earn from qualifying purchases.
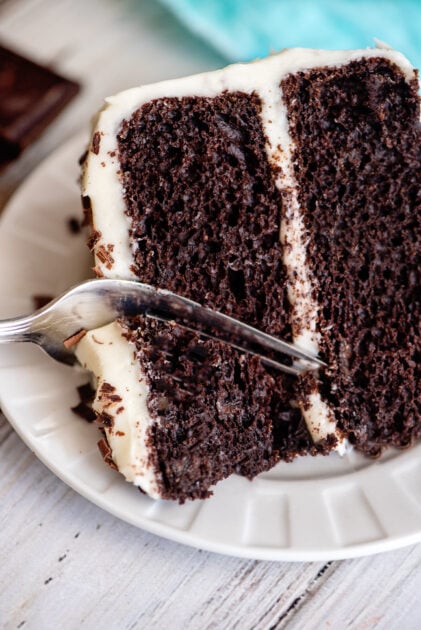
With that rich, soft, and uber-moist traditional Southern velvet cake texture, this double-layer chocolate velvet cake recipe with cream cheese icing simply melts in your mouth.
This chocolate velvet cake with cream cheese frosting is my WOW cake recipe among my girlfriends. They always want it whenever we have a cake-eating occasion. It has served as a birthday cake more times than I could possibly count. It was even a baby shower cake once!
So, what makes this cake so much better than other chocolate cake recipes? Well, for one, it’s packed full of rich and delicious chocolate flavor. We’re talking about a dark chocolate fudge cake mix, along with cocoa powder and chocolate chips. Yes, it’s a must-bake treat for chocolate lovers. Why stop at one when you can have triple the chocolate?
Other ingredients include milk, oil, sour cream, eggs, and butter flavoring to make a cake with that unmistakable red velvet cake texture. It’s fluffy, soft, and extremely moist thanks to the combination of sour cream, oil, and milk. When paired with the decadent cream cheese frosting, each bite just melts in your mouth, it’s SO good. Are you ready to give it a try yourself? And if you are a chocolate love like me make sure to check out some of these other recipes Chocolate Depression Cake (Egg and Dairy-Free), Chocolate Pound Cake with Fudge Glaze, Triple Chocolate Cake (a.k.a Chocoholic Cake), Chocolate Chip Cheesecake, and Chocolate Snackin’ Cake.
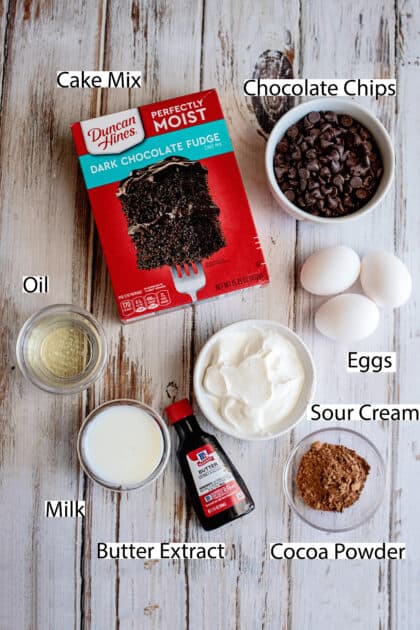
Recipe Ingredients
Chocolate Velvet Cake
- Chocolate cake mix
- Milk
- Eggs
- Sour cream
- Chocolate chips (or )
- Vegetable oil
- Cocoa powder
- Butter flavoring
Cream Cheese Frosting
- Confectioner’s sugar
- Vanilla extract or butter flavoring
- Margarine or butter
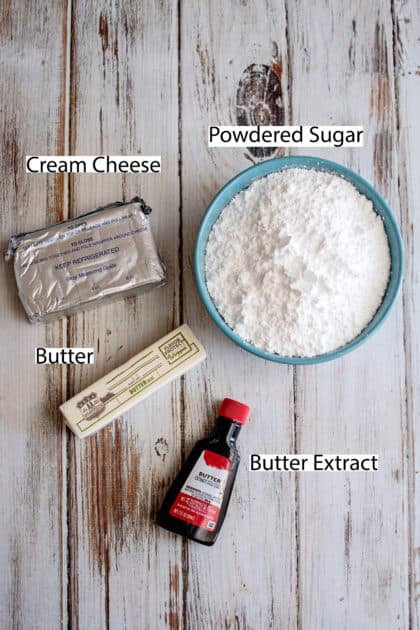
- Cream cheese (here’s our easy-peasy recipe for homemade cream cheese).
Helpful Kitchen Tools
- Cake Pan
- Electric Mixer (Budget Friendly)
- Electric Mixer (Splurge)
How to Make Chocolate Velvet Cake With Cream Cheese Frosting
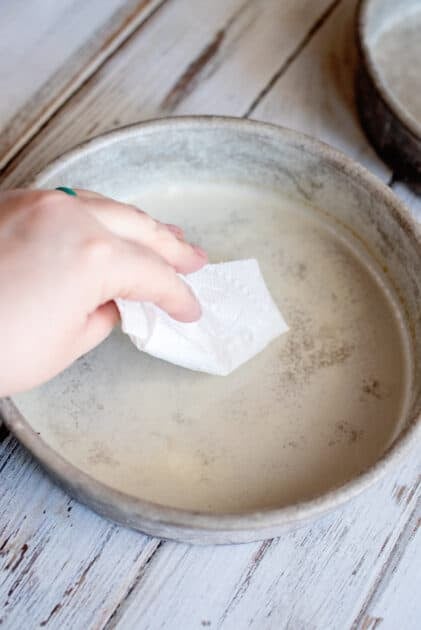
Grease your cake pans with shortening.
I just take a paper towel and fold it into fourths and dip it into my shortening, then use that to spread it into my pans for less mess.
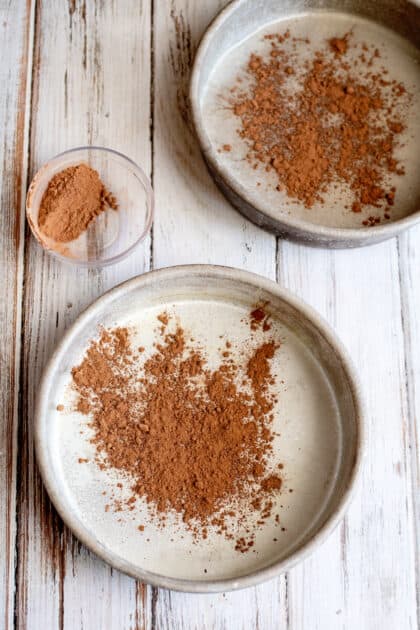
Sprinkle about a tablespoon or so of cocoa powder into your pans.
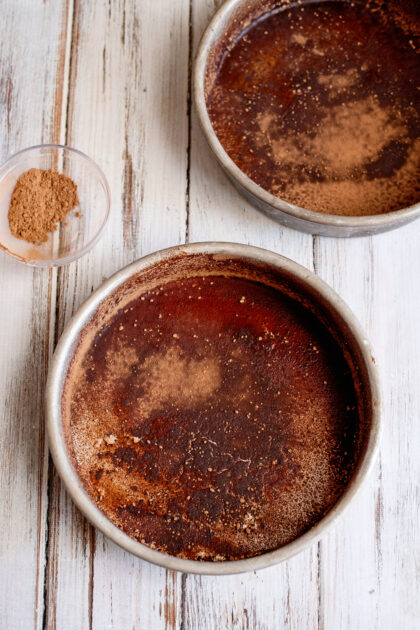
Shift it around until the cake pans look like this.
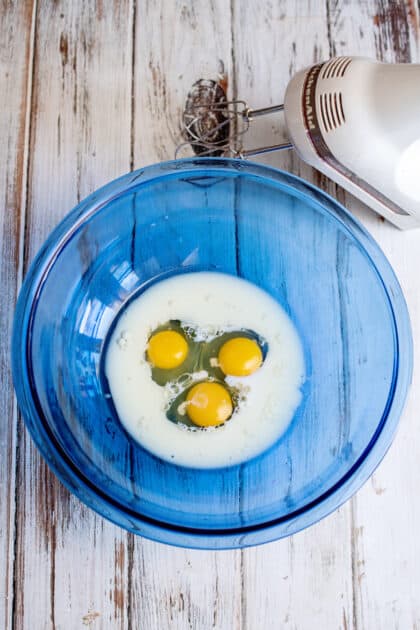
In your mixing bowl, combine the eggs, milk, and oil.
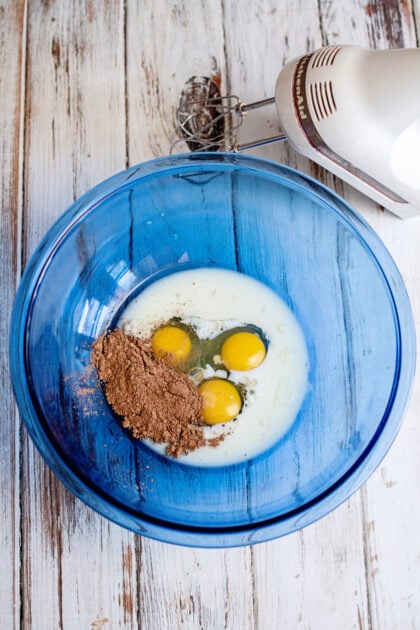
Add cocoa powder.
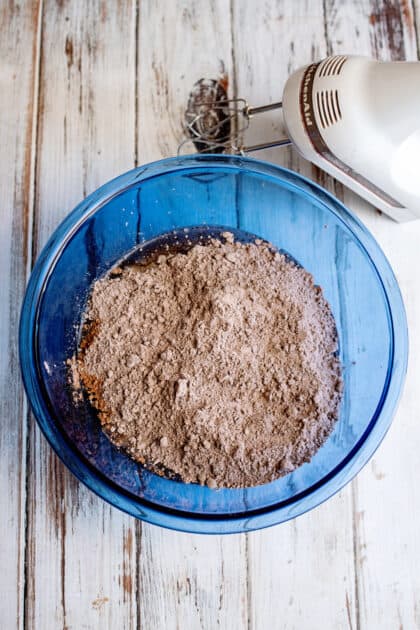
Add in the sour cream and then pour in your cake mix.
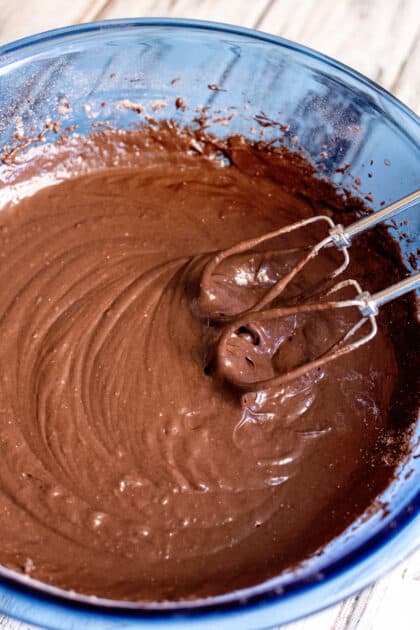
Mix this for about two minutes at medium speed.
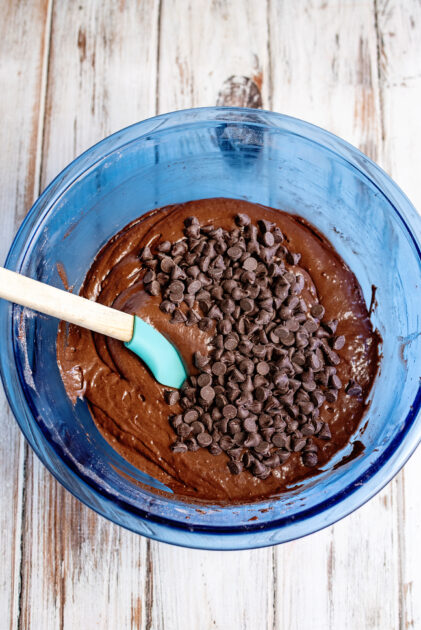
Pour in your chocolate chips.
Eat one yourself, you deserve it.
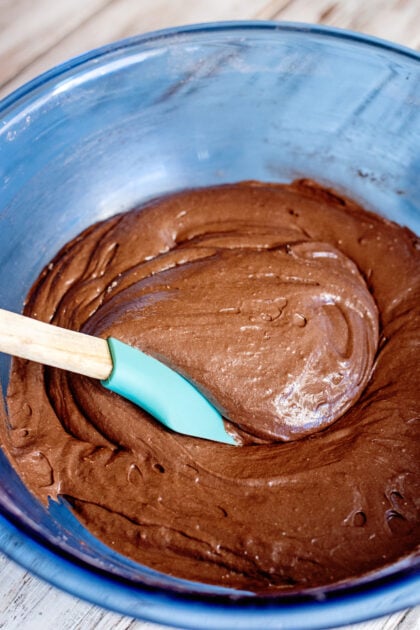
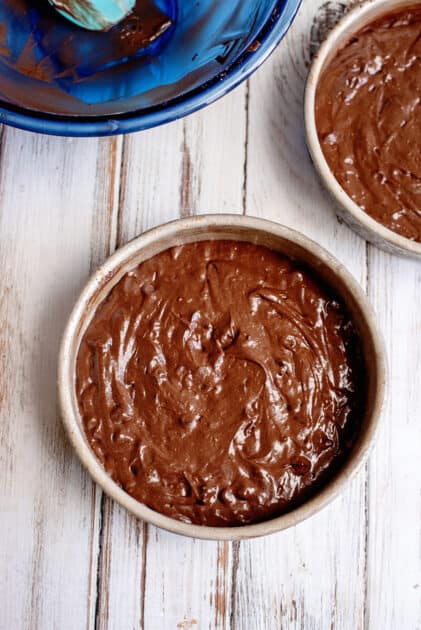
Here’s our chocolate velvet cake batter, ready to go!
Spread the chocolate mixture evenly between the two prepared pans.
Now what I do is take hold of each side of the pan and then kind of hit it on the counter several times.
This helps get air bubbles out of your batter as well as spreads it evenly in your pan.
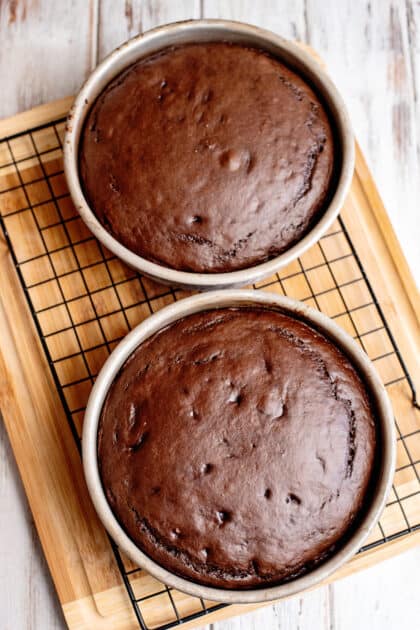
Cook until done (about 25 minutes).
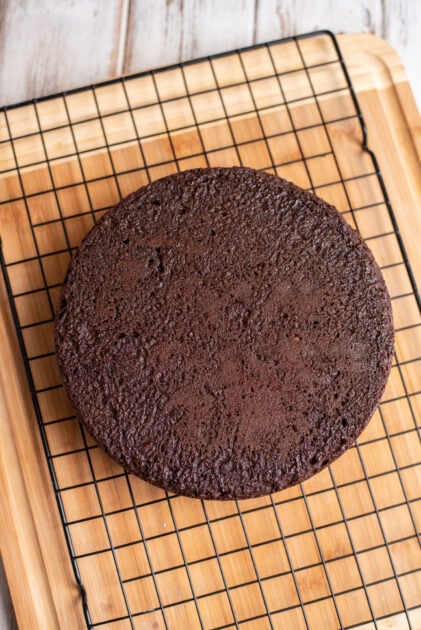
Notice how mine is still a little wompy-looking? Well folks, welcome to my little trick!
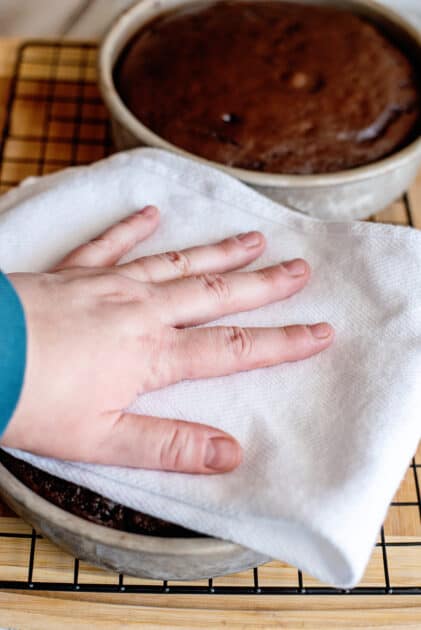
Wet a dish towel and place it on top of your chocolate velvet cake while it is still hot.
Press down evenly over the top of the cake.
And this will make it much more uniform and flat!
You won’t always have to do this but some days, when you’re trying to make a cake and kids are just chatting away, you’ll find yourself with a wonky cake layer and you’ll thank me for this little tip 😊.
The magic number here is 10.
You want to let your layers cool for 10 minutes in the cake pan and then turn them out onto cooling racks or your countertop, lined with waxed paper or the like. You can also just turn them out onto a large plate if you prefer.
How to Make Cream Cheese Frosting
Alright, let’s make some cream cheese icing!
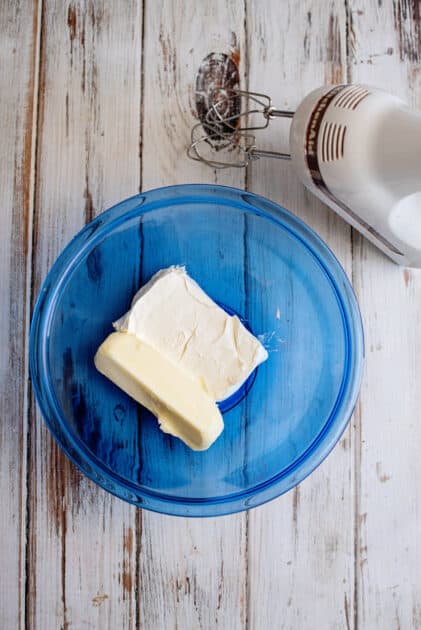
First, place the softened cream cheese and margarine in a mixing bowl.
You want to make sure that your cream cheese AND margarine are softened and at room temperature. Set them out several hours before making this.
Mix your cream cheese and margarine until well blended.
This mixture tends to want to cling to the sides of your bowl, thereby avoiding your beater altogether.
We’re going to outsmart it by scraping down the sides before we add our sugar.
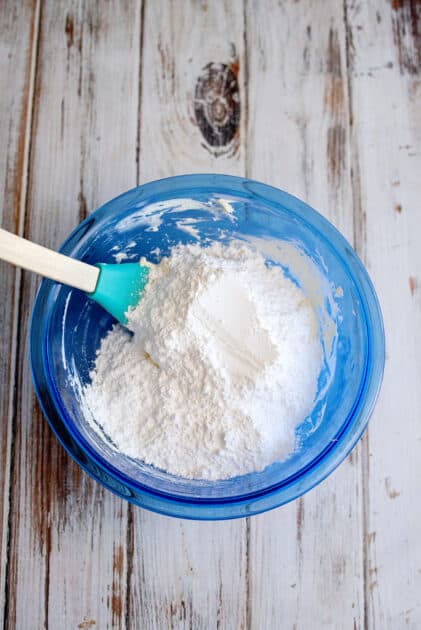
Dump in all of your sugar.
Most recipes for something like this will tell you to add it gradually, blending well after each addition. Puleeze, I have kids barking at my heels to lick an icing spoon, we don’t have time to add anything gradually.
Just dump it all in there and then turn your mixer to its lowest setting until it gets mixed a bit, then you can turn it up to medium to finish the icing off.
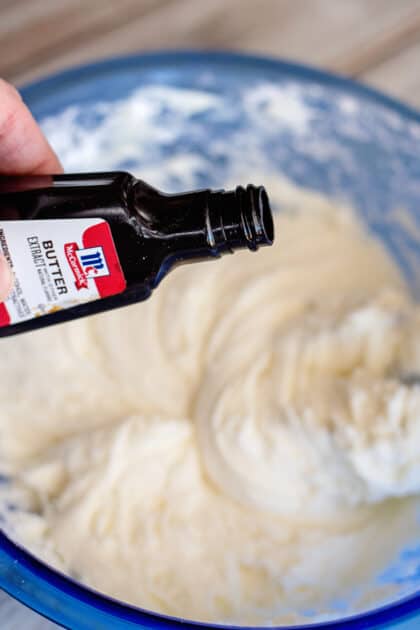
Yummy! This is almost done but needs to be blended some more. First, let’s add our secret ingredient (because it smells heavenly, but could smell even better).
Pour in the butter flavoring.
Take a moment to breathe in through your nose… and then blend until well combined and the icing is nice and creamy smooth.
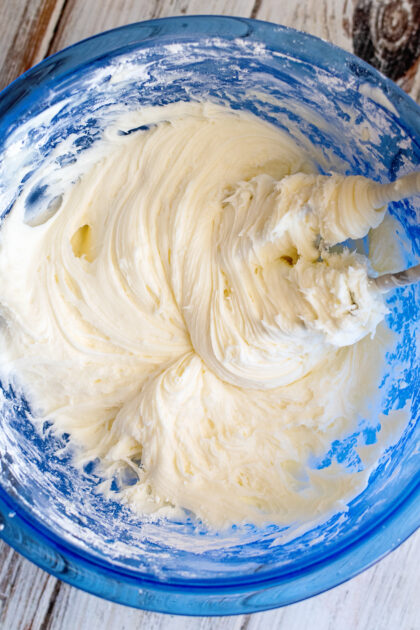
Like this.
Decorating the Chocolate Velvet Cake
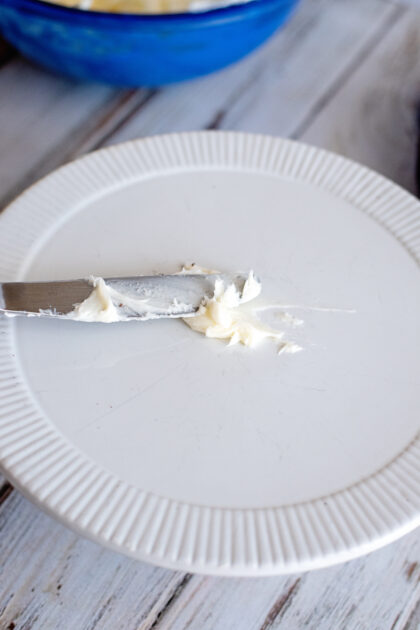
The first thing I do is spread a bit of icing on my cake platter to secure my cake.
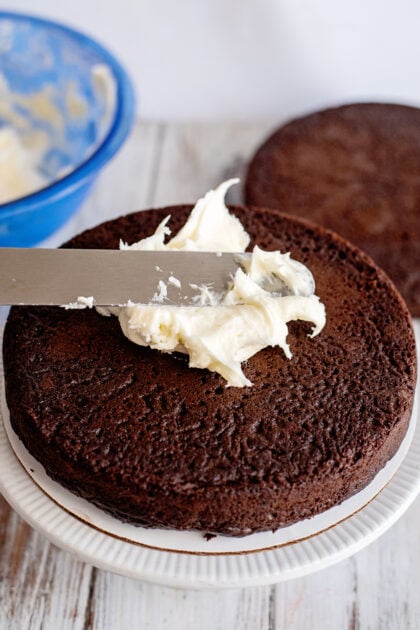
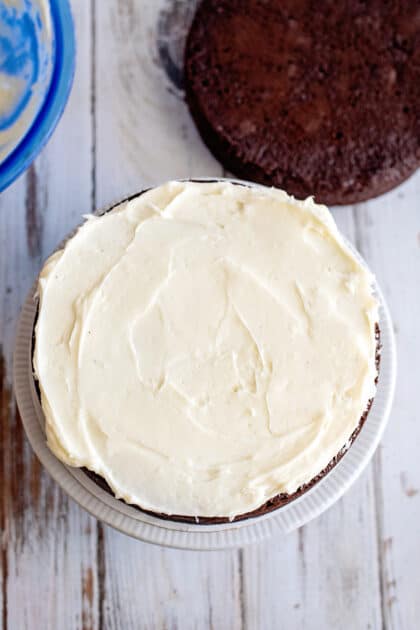
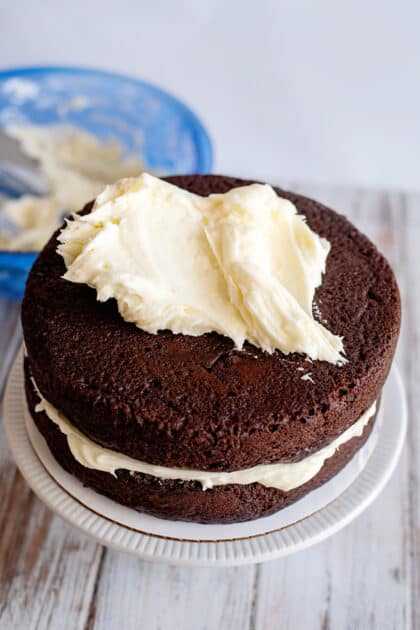
I place my first layer, top side down, onto the platter and put a big old glob of icing on top.
Good icing should always be served, used, and referred to in “globs”, don’t you think?
Spread that around well, being careful not to let your spatula or spreading knife touch the cake because then it will get crumbs in the icing where folks can see it.
However, at this point in the game, the cake tastes good and it smells good and I don’t really think anyone will give a hoot if you end up with crumbs in your icing. Remember, YOU bake the BEST cake!
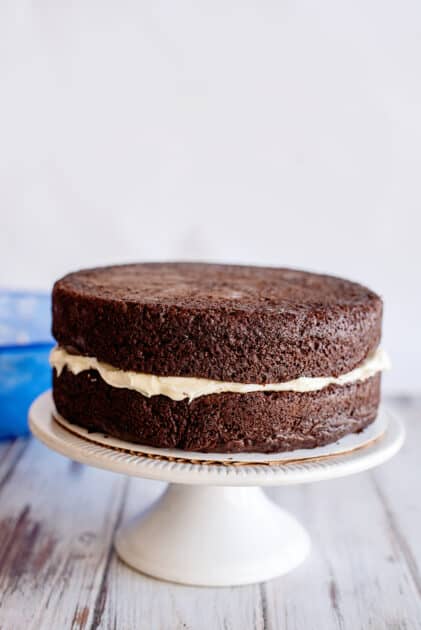
Place your top cake layer on the top side down.
Glob more icing on top of it.
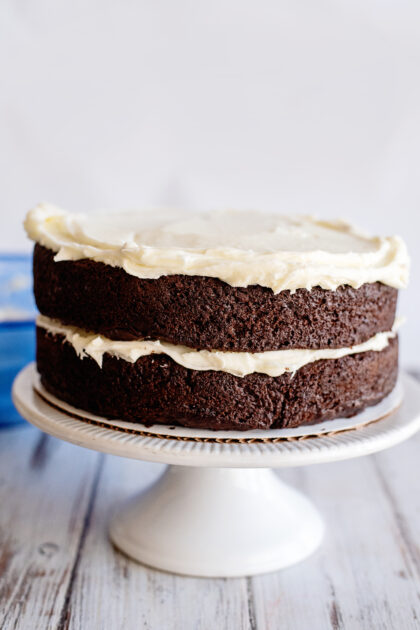
Spread that around on the top…
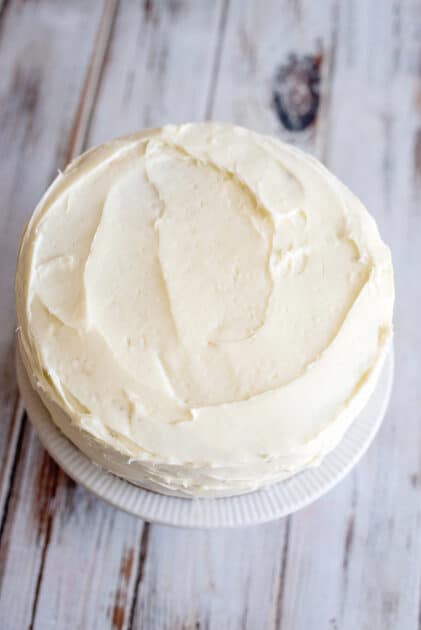
Then start bringing it down the sides like this.
When I get to where I need more to put on the sides, I just glob it on top of the cake and start spreading it down from there again. I’ve never put the icing on the sides of my cake directly but have seen it done and it looked kinda painful.
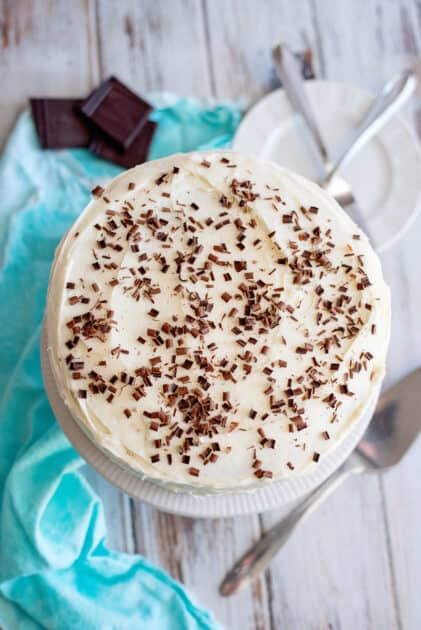
By this point, I was just ready to cut the cake.
Besides, the kids looked like they might gang up and attack me if they kept having to smell it.
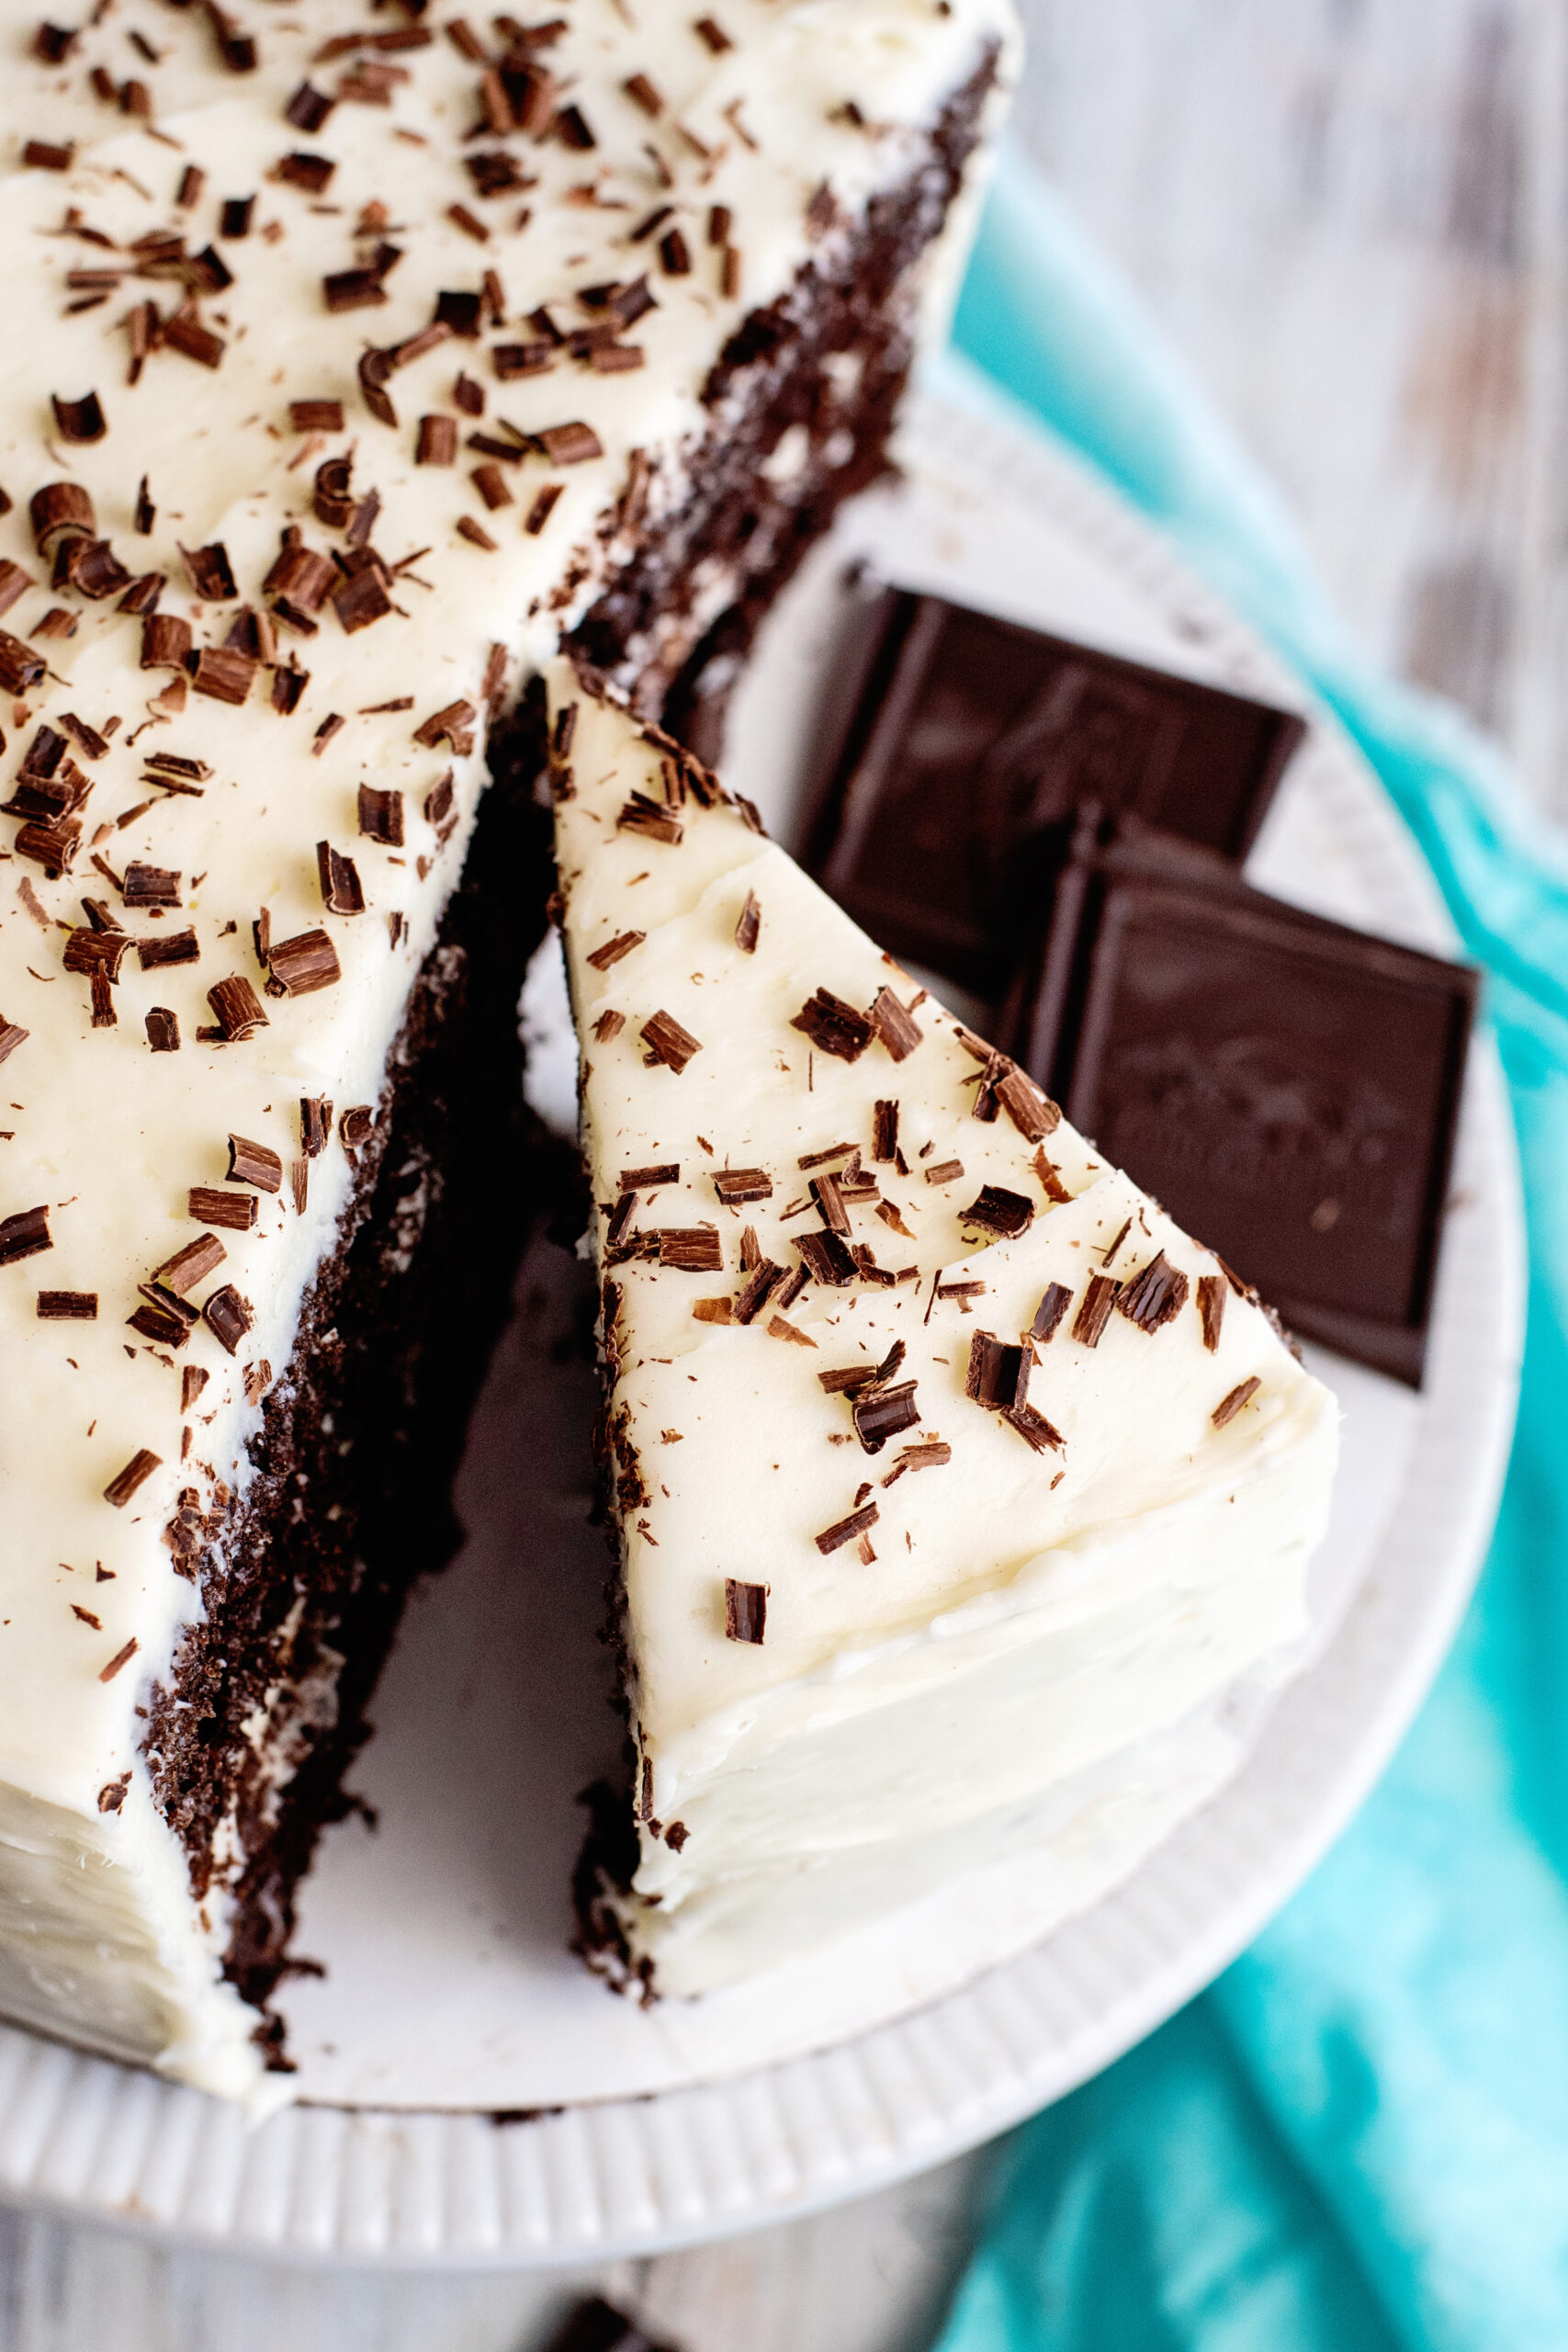
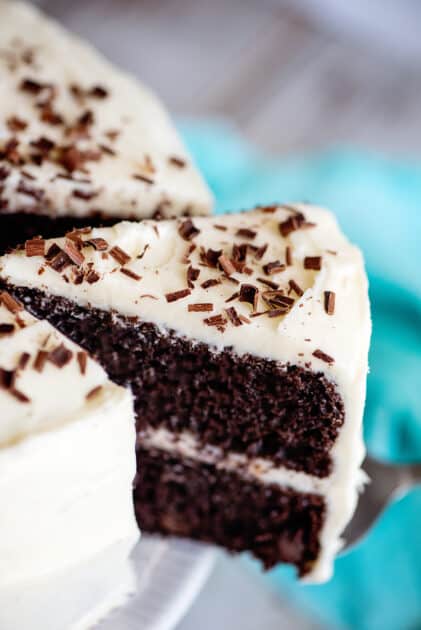
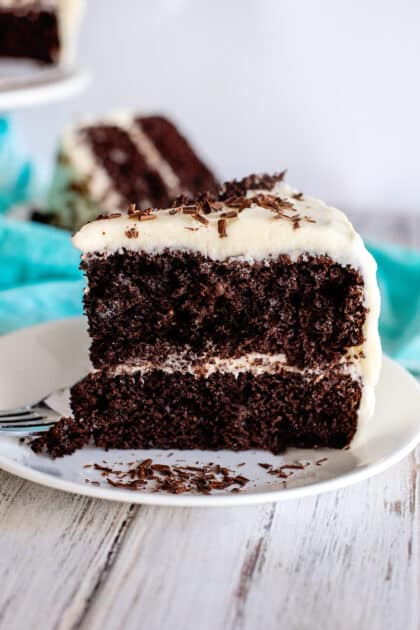
So add a quick dusting of chocolate shavings and let’s serve!
Hello there gorgeous!
Enjoy!
Storage
Leftover chocolate cake will last in the fridge for up to 1 week. Just make you store it in an airtight container or covered in plastic wrap. You can freeze the unfrosted cake layers for up to 3 months, but I wouldn’t recommend freezing the iced cake.
Recipe Notes
- It doesn’t really matter what type of chocolate cake mix you use. I look for the darkest colored one I can find but I have made this with milk chocolate, Devil’s Food, classic chocolate, and other flavors of cake mix. Just get a chocolate one and if you have a type of chocolate cake mix in your pantry, use that, it’ll be fine.
-
Butter flavoring is my secret ingredient in a multitude of baked goods. I find mine in the craft department at Walmart, but they also sell it under different brands on the baking aisle. However, feel free to just use vanilla extract in its place, both in the cake and in the icing.
- For even more chocolate flavor (bet you didn’t think that was possible), substitute the cream cheese icing for my creamy chocolate frosting.
- On the other hand, if you want to forgo the frosting, simply dust your with and serve it with or a scoop of . YUM.
You may like these other delicious cake recipes:
Chocolate Depression Cake (Egg and Dairy-Free)
Chocolate Pound Cake with Fudge Glaze
Triple Chocolate Cake (a.k.a Chocoholic Cake)
Ingredients
Chocolate Velvet Cake
- 1 box chocolate cake mix I use Duncan Hines
- 1 cup sour cream
- 1/2 cup milk
- 1/4 cup oil
- 3 eggs
- 1-2 tsp butter flavoring can substitute for vanilla extract
- 1 cup chocolate chips
- 2 tbsp cocoa powder plus more for dusting pans
Cream Cheese Icing
- 8 ounces softened cream cheese
- 1 stick softened margarine or butter
- 3 1/2 to 4 cups confectioner's sugar
- 1-2 tsp butter flavoring can substitute for vanilla extract
Instructions
- Preheat the oven to 350. Grease pans with shortening and dust with cocoa powder.2 tbsp cocoa powder
Chocolate Velvet Cake
- Combine all of the ingredients into a mixing bowl, except the chocolate chips. Mix for about two minutes or until well blended. Mix in the chocolate chips. Divide the cake batter evenly between the prepared pans and let cook until done (about 25 minutes). Let the cakes sit in the pans for 10 minutes before turning out to cool completely.1 box chocolate cake mix, 1 cup sour cream, 1/2 cup milk, 1/4 cup oil, 3 eggs, 1-2 tsp butter flavoring, 1 cup chocolate chips, 2 tbsp cocoa powder
Cream Cheese Icing
- Soften the cream cheese and margarine by leaving them out on the counter until they reach room temperature. Then combine the two in a mixing bowl and mix until well blended. Add sugar and mix until smooth. Add the flavoring and mix some more until well incorporated and the icing is creamy. Ice the cooled cakes.8 ounces softened cream cheese, 1 stick softened margarine or butter, 1-2 tsp butter flavoring, 3 1/2 to 4 cups confectioner's sugar


~grins~
you know, every now and then I have folks email with little things like “recipe was good, but it wasn’t quite like my mama’s”.
Those emails make me smile. No one should ever cook as good as your mama!
thank you for reading, dora!!! Try a double broiler, the pudding will turn out perfect. Its just tricky with a gas stove…I could never manage it!
I use the dummed down electric version! LOL
Christy
Who would have no need for cupcakes?!? I think that would be impossible! lol I make a similar chocolate cake that everyone loves. Your cream cheese frosting looks yummy. I will have to try it.
My kids also think I make the “BEST” cake. I love knowing that my kids will always remember the yummy cakes and cookies I bake for them. Thank you for post all the memory making recipes!
Hey Kings Queen! I guarantee you can make a layer cake look pretty! Honest! i’m going to show you a quick and easy way soon. Wet towel trick is awesome…hehe. Us imperfect cooks need all the help we can get to fake it!
Hey Sharon! I am having a pretty amazing day! So amazing, that all of my good news hasn’t actually sunk in yet! I will likely wake up in the middle of the night, squeal loudly, and then lay there with my eyes wide open til morning. Seriously! Why fate has been so kind to me today is baffling. More news soon!
Stephanie: I am physically incapable of slicing a cake top evenly, I have decided that! I dont know if my brain is slanted or what, but I cannot make it straight or even, even using special guides and everything!I dont even attempt it anymore! LOL You are so sweet! Im always so glad you take the time to read my posts!
Elena: Yup, go for it! I make them into cupcakes a lot. In fact, I have a special family story about cupcakes and a whole presentation on it coming up and this is one of the recipes I’ll be using. Also, if you do make cupcakes, feel free to freeze those you don’t need!
Christy 🙂
This looks so good! Can I make this into cupcakes instead? Hopefully that isn’t a silly thing to ask!
-Elena
I can only imagine how beautiful it would have looked if you got to decorate it, because it sure looks absolutely fantastic just the way it is! I like the idea of globbing the side frosting onto the top and then spreading it down. I’ve tried both ways – globbing on top and globbing straight onto the sides. It is definitely easier to do it from the top. And that wet towel trick – I will definitely try that, because it looks way easier than trying to slice the top off to get it even. That isn’t easy at all.
This looks awesome!! I will definitly be trying this in the near future. I cannot wait. Too bad I do not have all the ingredients.:( Hope you are having an awesome day.:)
Sharon:)
Oh this looks so good – did you save me a pieces? 😉 I *LOVE* chocolate cake!!
My mama taught me that air bubble trick too, and the sliding the frosting down the side trick too, but I can’t make a layer cake look “pretty” to save my life!
I appreciate learning the “wet towel to make it even” tip though! My layers are always either wop-sided or have a dome in the middle.