Baked Sandwiches
As an Amazon Associate I earn from qualifying purchases.
This is not a dish you would have seen back in the day in my family. My Great Grandmother Lela never even knew how to make what we all call “loaf bread”. Having a hard life of working in the fields from the time she was old enough to pull a cotton sack, Lela, like so many other Southerners, considered food preparation to be a necessity in order to survive. Few took the time to work with yeast when biscuits were practical, portable, quick and affordable.
Grandmama said they always took biscuits to school for their lunch but she remembers being embarrassed to eat around the other children who had sandwiches made with loaf bread instead of stuffed biscuits. They never dreamed of asking for it from their Mama though, knowing how hard she already worked.
Four generations later, I’m every bit as practical as my Great Grandmother. Although I do enjoy making yeast breads from scratch when I have the time, when it comes to getting dinner on the table for a hungry family, I take an easier approach. That’s why I love this recipe.
Made with surprisingly affordable frozen bread dough, this is a throw together recipe which only requires time in terms of waiting for your dough to thaw and rise. I dreamed this up some years back and it was an instant hit. I encourage you to adapt this recipe to your own family, adding vegetables and spices that you enjoy in order to make it truly your own. My version is very simple (to please little ones who like it that way!) and is a great starting place for you. This sandwich is gorgeous when its baked and impressive when cut but when you taste how wonderful it is, you’ll be shaking your head at the ease of such a filling meal!
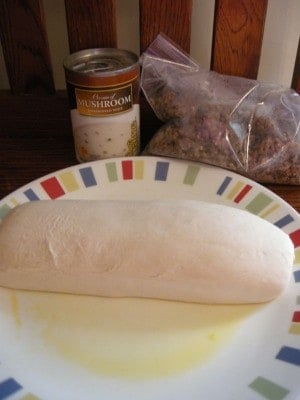
For my ingredients, I use three things: Cream of mushroom soup, ground beef, and a thawed loaf of frozen yeast bread.
Before you place your bread out to thaw, spray cooking spray on the plate so that it doesn’t stick to it.
If I were making this sandwich for me and not the picky eaters in my home, I’d cook my meat with some chopped onions and bell peppers :). I have a few other suggestions at the bottom, too.
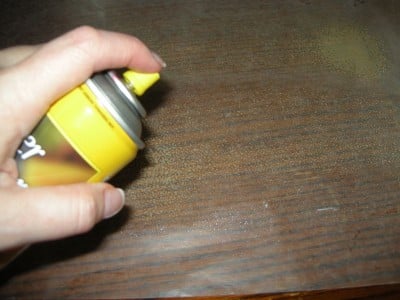
Let your bread thaw but not rise. Spray some waxed paper with cooking spray.
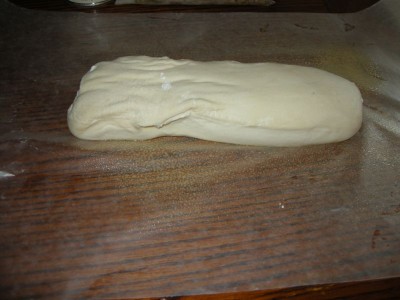
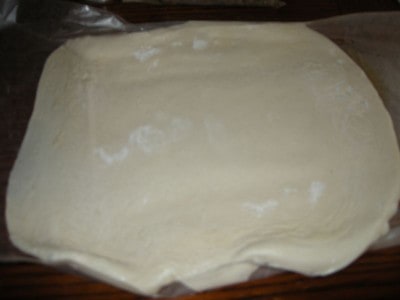
Place thawed loaf on sprayed waxed paper.
This bread dough is purchased in packages of two or three loaves in the freezer section of the grocery store. I often have a difficult (or nigh on impossible) time finding it at my Wal Mart and end up having to go elsewhere. Funny thing is, all of the other Wal Marts I venture into seem to carry it at all times, go figure!
If they do have it at your local Wally World, chances are that it isn’t at eye level. I always have to look way down at the back of the bottom shelf near the frozen biscuits and such. No idea why they make you work so hard for it but I have never once seen it in an easy to spot location.
You can buy any brand, really, but a popular one is Rhode’s. I found the frozen loaves I used for this at Publix and it was an off brand.
Honestly, I’ve never seen a bit of difference in quality from one to the other so just get whatever you can find.
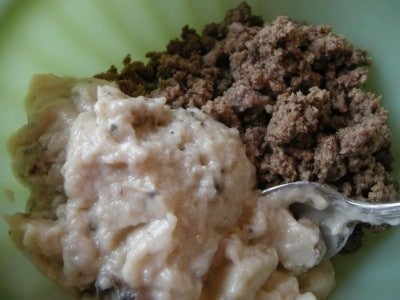
In a bowl, combine cream of mushroom soup and ground beef.
If you like, you can use fat free cream of mushroom soup for this as well.
Really, you can use any type of cream soup also.
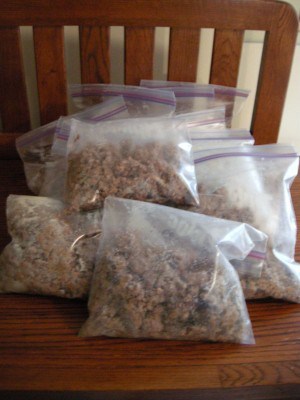
I cook large batches of ground beef all at once and package in zipper sealed bags to place in the freezer. This streamlines meal preparation considerably in addition to making the mess only once instead of twelve or more times.
I don’t weigh out my beef, I simply get a one cup measuring cup and measure one cup or two cups into a bag. It is easy to tell which bags hold more and when I am feeding a bit more I get a larger portion. When making many dishes with ground beef, my family doesn’t notice if I put less ground beef than what the recipe actually calls for. I have even put half of what was called for before, if I was running low.
Little money savin’ tip there for ya!
On your greased surface, roll out your thawed loaf. This is gonna take a rolling pin and a little bit of muscle as the bonds in the bread dough will resist ya a bit. Just lean into it and roll for all you’re worth! There is no required size for this but I make mine about 17 inches by 14 inches.
Seriously though, just roll it til it looks right to you and don’t worry ’bout that!
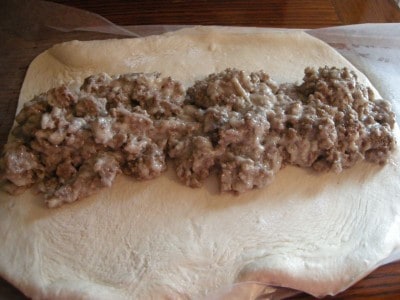
Spoon ground beef mixture down center of loaf.
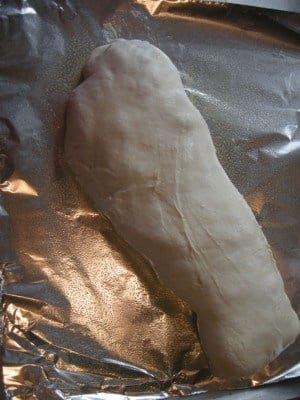
Fold sides over and pinch to seal. Do this with ends, too.
Transfer this to a greased baking sheet, seam side down. I lined mine with aluminum foil because I was in the mood for easier clean up. Sometimes we deserve to give ourselves a little breaky-break.
Y’all know I use generic Aluminum foil too, don’t you?
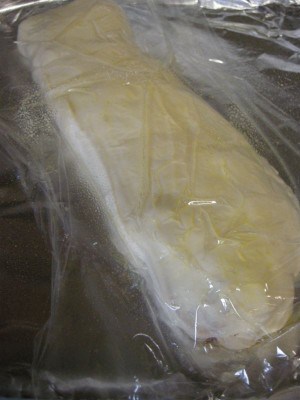
Spray a bit of cling wrap with cooking spray and cover your loaf to allow to rise.
You have to spray the cling wrap to prevent it from sticking to your bread as it rises. This needs to be kept in a warm place and allowed to rise anywhere from an hour and a half to two hours, until it is doubled in size. If your house is warmer, it might rise faster so just pay attention to the size of it.
Someone asked me in a comment a week or so ago if a certain brand of plastic wrap was needed for my recipes. Honestly, plastic wrap annoys me. It seems I can never just pull a sheet off the roll and have it NOT set into wadding up on itself. I haven’t the patience for it. With this in mind, I do tend to buy name brand plastic wrap. Now y’all don’t go thinking I’m getting all snobbish on ya, you know I’m cheap as they come on everything else!
I haven’t had time to post that in response to her comment, either. I tend to stay behind on comments with my kidders and all but please know that I read and appreciate every blessed one of them!
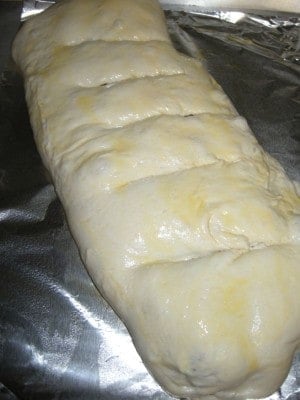
Once it’s risen, brush a beaten egg over the top so it will come out gorgeous and golden after its baked.
Some bread recipes say to use an egg white but why go to the trouble of separating it?
Life is complicated enough on its own without our putting our two cents in.
Using a sharp knife, Cut several angled slits in the top of your loaf.
Sometimes I part them a bit with my knife, to, if my bread is sticking together a bit where I cut it.
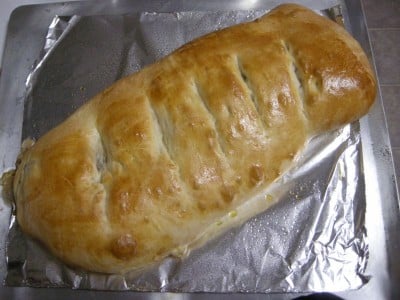
Bake at 350 until golden, about thirty minutes.
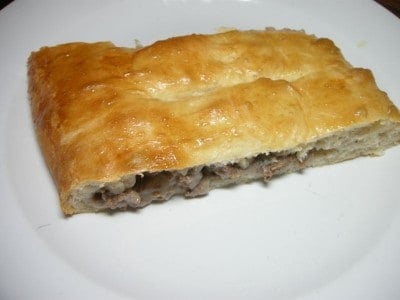
Let sit for a few minutes and then cut into slices.

Ingredients
- 1 lb ground beef browned and drained
- 1 can cream of mushroom soup or other cream soup
- 1 loaf of thawed yeast bread dough
Instructions
- On a greased surface, roll out bread dough into a rectangle. Stir together cooked meat, soup, and any other ingredients you choose.
- Spoon down the center of your rectangle of dough.
- Fold over sides and ends and pinch closed.
- Place on greased baking sheet and cover with cling wrap sprayed with cooking spray to prevent it from sticking to bread. Place in warm place and allow to rise until doubled in size, about one and a half to two hours.
- Remove cling wrap and brush with well beaten egg.
- Taking a sharp knife, cut several angled slits along the top.
- Bake at 350 for thirty minutes or until golden brown. Allow to cool for a few minutes, slice, and serve.
Nutrition
More quick & easy ground beef recipes your family will love:
Not Your Average Joe, Sloppy Joes
Perfect Man Food: One Skillet Chili Bake
Meatloaf: Making, Freezing, and Small Batch Options!
This is going to be a busy week for me with my husband out of town (all week), three Valentine’s parties to work on, lots of Southern Plate business and oh…I think my birthday is smack dab in the middle of there somewhere, too! I won’t have much time to respond to comments but please keep them coming! Your comments are the heartbeat of Southern Plate!
Gratefully,
Christy







That looks wonderful and so easy too! Cant wait to try it!
Yum, I have made this with pizza dough and it was pretty good. I like your idea of frozen bread better though, I didn’t know you could buy it that way.
Thanks,
Ronda
that looks good!
Love your blog. Found you through Rhoda. Thanks for sharing your wonderful recipes. Tonight we are having Deep Dish Pizza.
Thank you, Rhoda and welcome to Southern Plate!!!!!
Hope you like it!!!
Gratefully,
Christy
It looks delicious! I do something similar, using bread dough from my bread machine (I take the convenience route too!) but I usually roll up the dough like cinnamon rolls, without slicing. It turns out all spirally. But I think it would be easier this way – no complicated rolling. And I’ve never topped it with egg, it looks wonderful like that. Your filling looks tasty. There are a bunch of other ways to fill sandwiches like this; I’ve done ground beef with vegetables and cheese, chicken with barbecue sauce and pineapple, pepperoni with tomato sauce and mozzarella – I could go on and on! Yum!!!
oh my good lord how good does that sound!!!!
Christy, the sandwiches sound delicious. Frozen bread dough is absolutely wonderful! Here is a recipe from Guidepost using frozen bread dough for cinnamon rolls. It’s great, too!
Cinnamon Rolls
1 loaf of frozen bread dough, thawed, not risen
5 tablespoons butter or margarine, softened to room temperature
5 tablespoons sugar
3 teaspoons cinnamon
Topping:
1 cup powdered sugar
1 tablespoon milk
1. Preheat oven to 350°F. Mist 9-inch round or square pan with cooking oil spray.
2. Roll out dough to about 12×14 inches.
3. Spread butter evenly on top of dough. Sprinkle with sugar and then with cinnamon.
4. Roll up jelly-roll style, tightly pinching ends so sugar/cinnamon doesn’t fall out.
5. With a sharp knife cut into 1-inch sections and lay in prepared pan. Allow dough to rise to double its size (around 2–4 hours).
6. Bake for 15 to 20 minutes. Top will be golden brown when done.
7. Allow rolls to cool slightly while preparing topping.
Topping:
1. Mix powdered sugar and milk to make a thick paste.
2. Add more milk or powdered sugar as needed.
3. Spread on still-warm rolls, allowing the frosting to melt slightly.
Hey! I have a recipe for those, too! Thank you for yours! ALWAYS need more recipes!!! I’m going to post a tutorial on them with my recipe soon, too!!!
this looks great. I am going to add it my list this week. As always, Thank you so much for sharing.
Hey Tracy, thank YOU so much for reading!! I love getting to hear from you! Let me know how it turns out!