
3 Ingredient Buttermilk Biscuit Recipe
As an Amazon Associate I earn from qualifying purchases.
All you need is 3 ingredients to make my homemade buttermilk biscuit recipe. These Southern biscuits are perfectly light and fluffy every time.
Once I started making my easy 3 ingredient buttermilk biscuits this way I’ve never turned back. The finished product is lighter and more tender than our usual biscuits and worth the effort. If you’ve had problems in the past with your biscuits turning out to be more like hockey pucks than this beloved Southern staple, this buttermilk biscuit recipe is the one for you.
The best 3 ingredient buttermilk biscuit recipe
I promise it’s relatively quick and easy compared to some recipes. First, gather these 3 ingredients: butter, self-rising flour, and buttermilk. You’ll need cold butter and melted butter, and additional flour for dusting too. Then we cut together the cold butter and flour, let it sit for 15 minutes, and then stir in the buttermilk. Yep, that’s all it takes to make the dough!
Then follow my step-by-step instructions (there’s also a handy-dandy video in the recipe card) to learn how to knead the buttermilk biscuit dough. It won’t take long!
Finish by cutting the biscuits and baking them in the oven for about 15 minutes. Brush them with the melted butter as soon as they’re out of the oven and you’re done! Seriously… 3 ingredient buttermilk biscuits are easy and SO good!
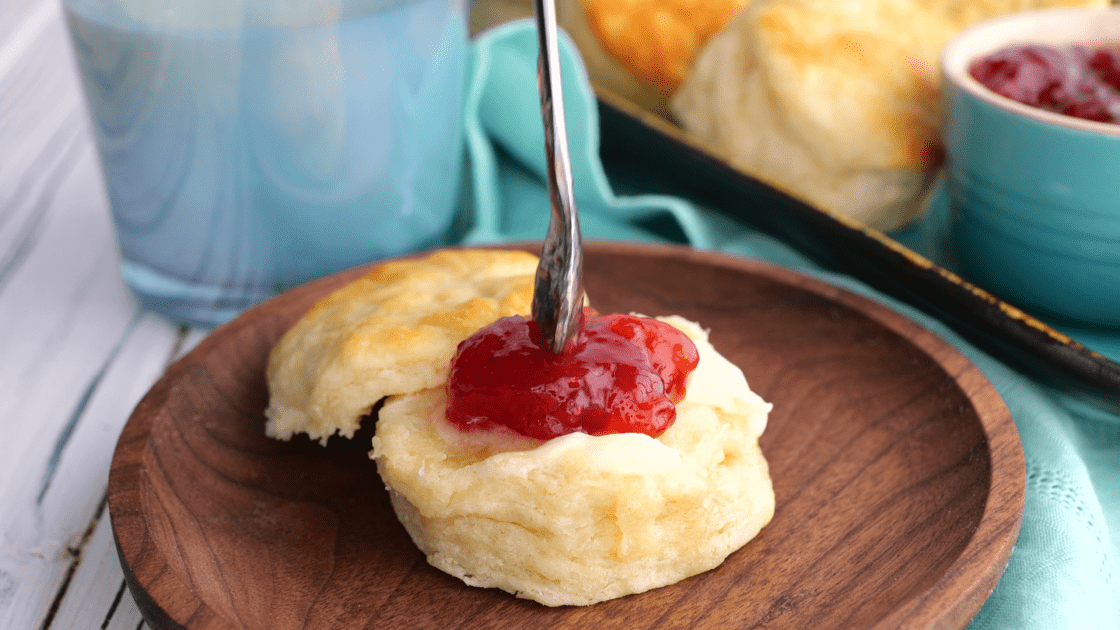
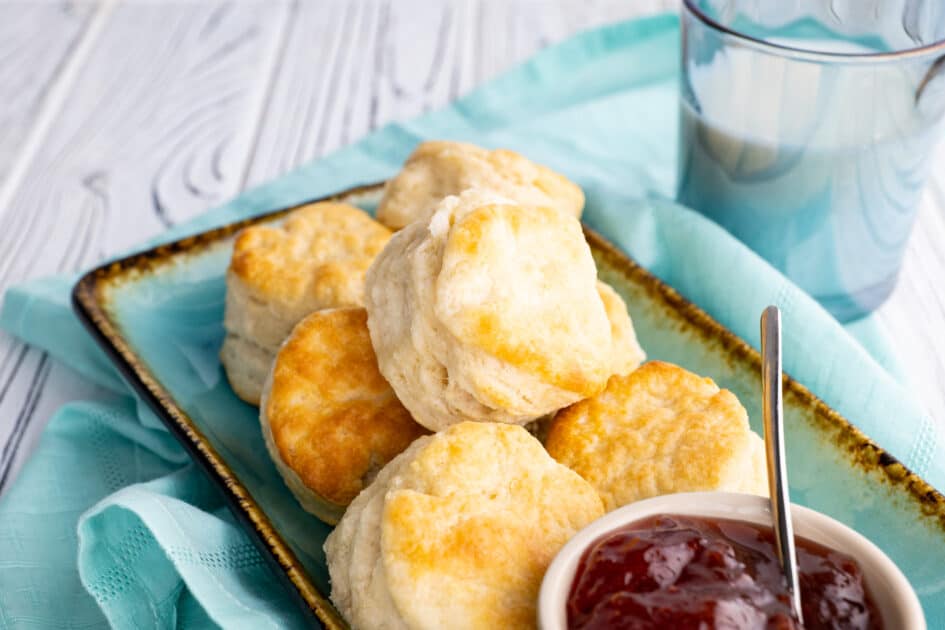
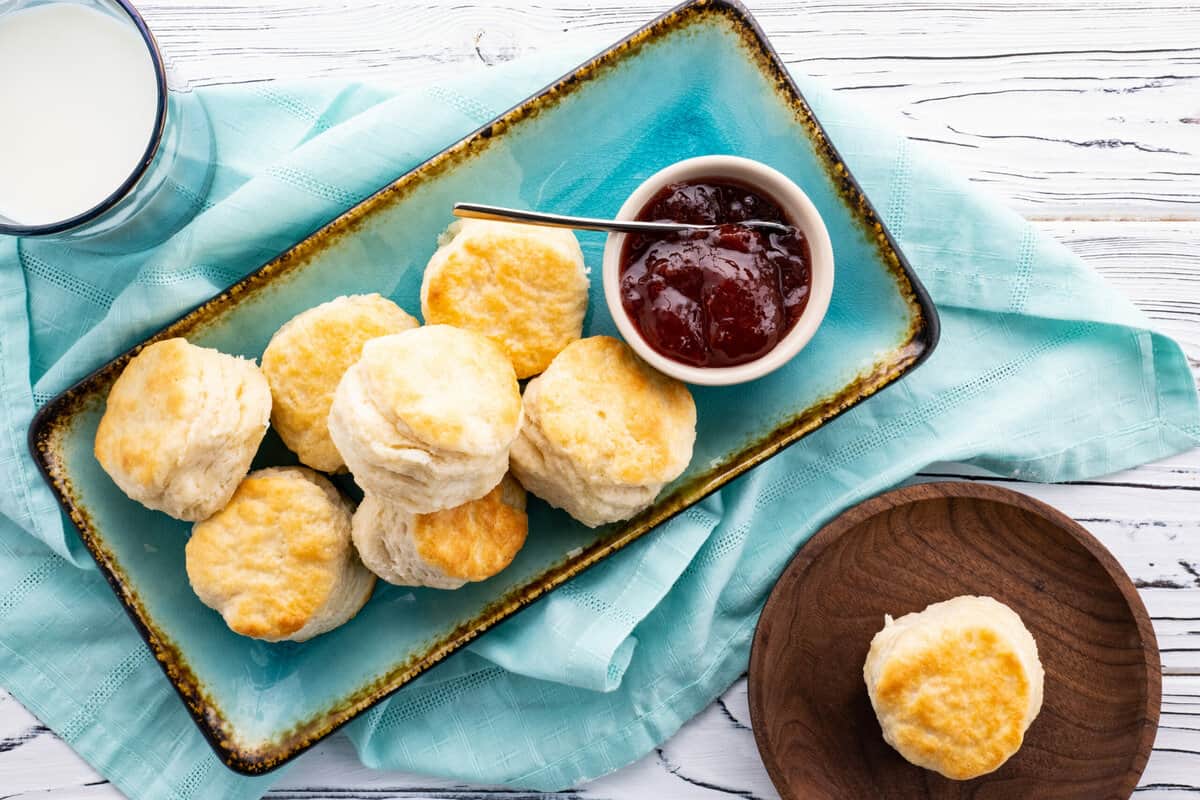
I’ve included lots of serving suggestions below because Southern biscuits are the perfect side dish to accompany many main dishes. And you haven’t lived until you’ve tried a homemade biscuit straight out of the oven, spread with butter and homemade jam. Yum yum!
Once you serve these with Southern Fried Chicken Recipe, Cheesy Mashed Potatoes, Fresh Green Beans, Southern-Style Fried Okra Recipe, and Easy Creamed Corn you will have the perfect Southern meal.
Alright, who’s ready to learn all the secrets to the best 3 ingredient buttermilk biscuit recipe ever?
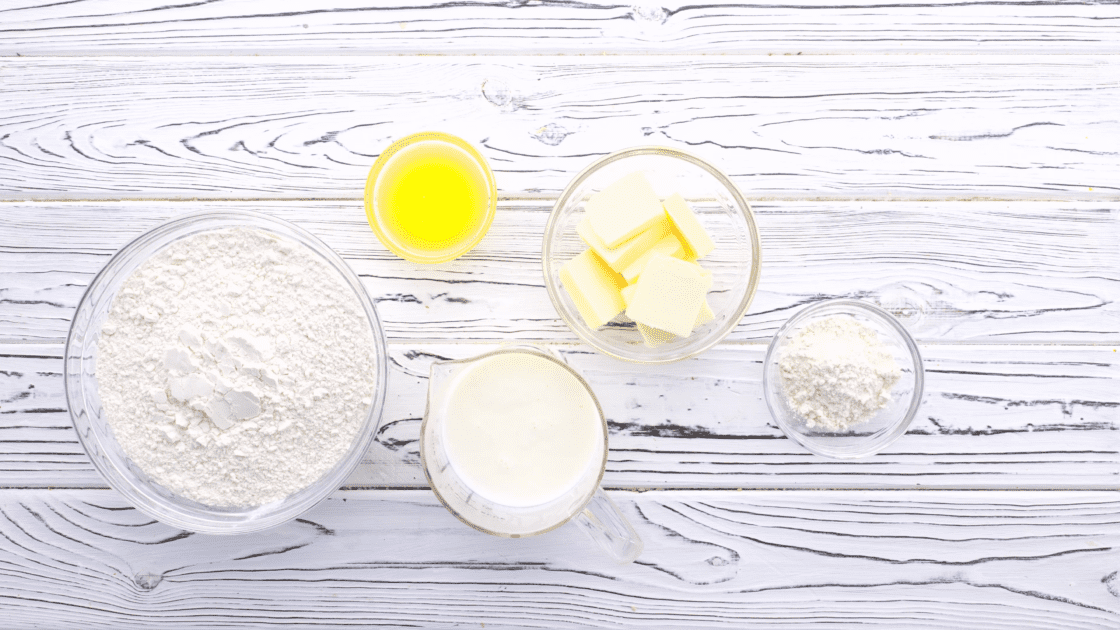
Recipe Ingredients
- Buttermilk (or milk and lemon juice)
- Butter (both cold butter and melted butter for brushing the tops)
- Self-rising flour (and extra flour for dusting)
Helpful Kitchen Tools
How to Make The 3 Ingredient Buttermilk Biscuit Recipe
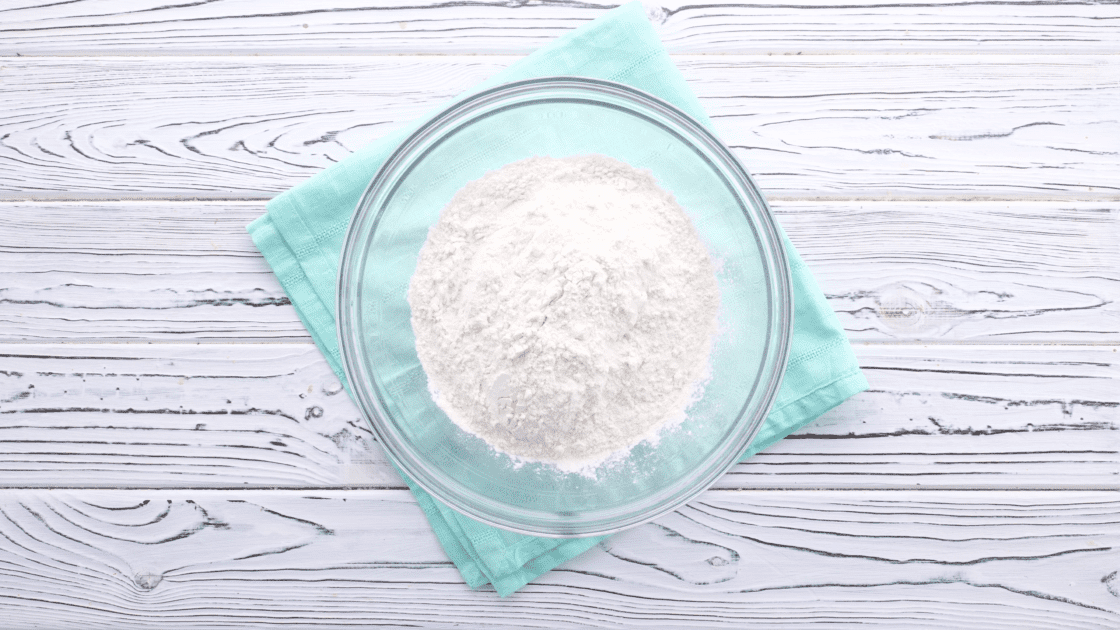
Put your flour in a bowl (with the salt and baking powder stirred into it if you don’t have self-rising flour).
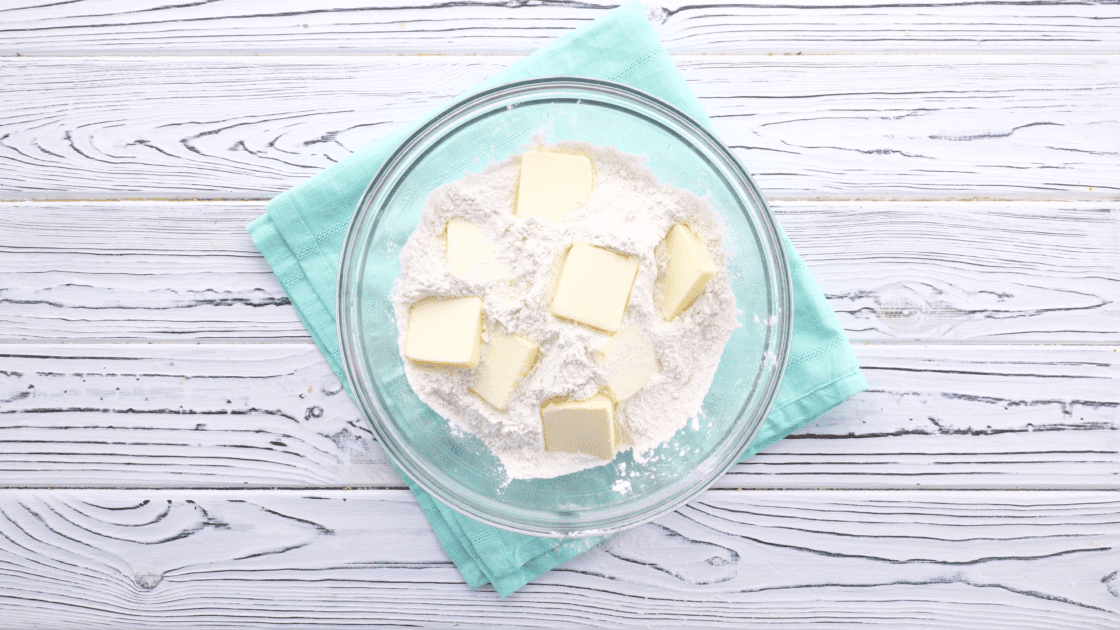
Toss in the cold butter.
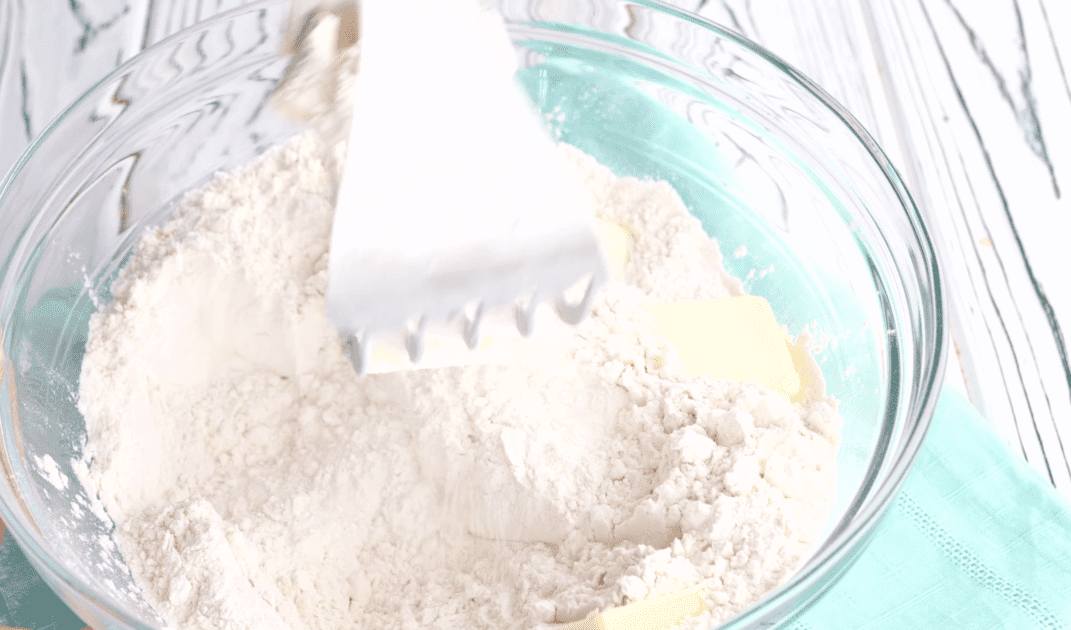
Now you need a pastry cutter or just a fork with long tines.
Begin by simply cutting the butter into the flour.
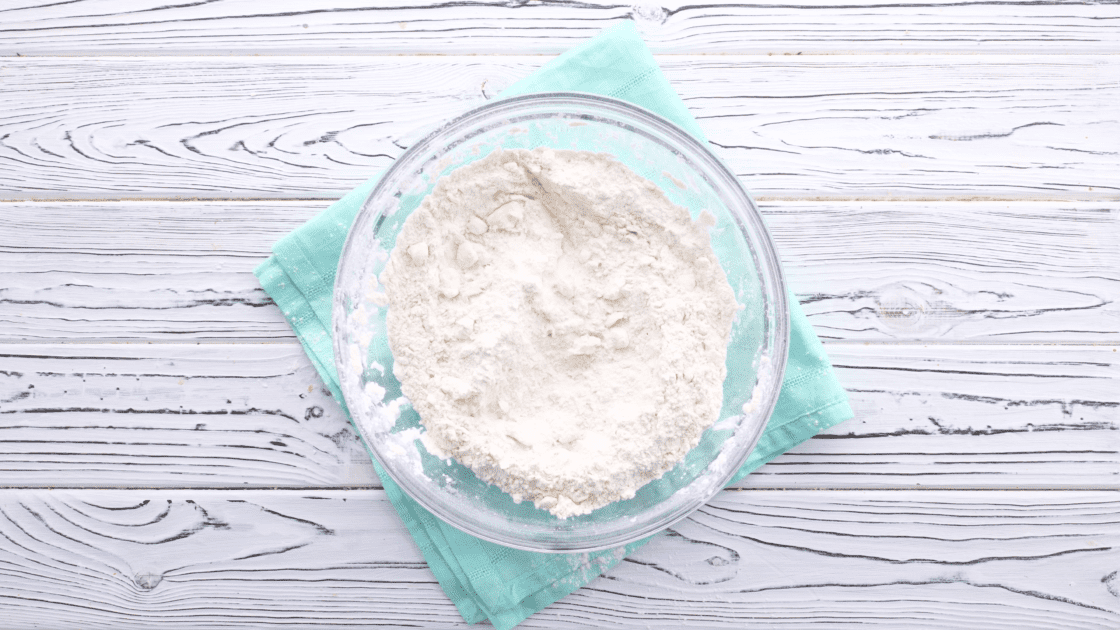
When it looks like this and you can’t find any lumps of butter, you’re good to go.
Cover the bowl with plastic wrap and stick it in the fridge for 10 to 15 minutes.
If this is your first time making biscuits with this method, I recommend 15 minutes. The colder it is, the easier the next step is going to be.
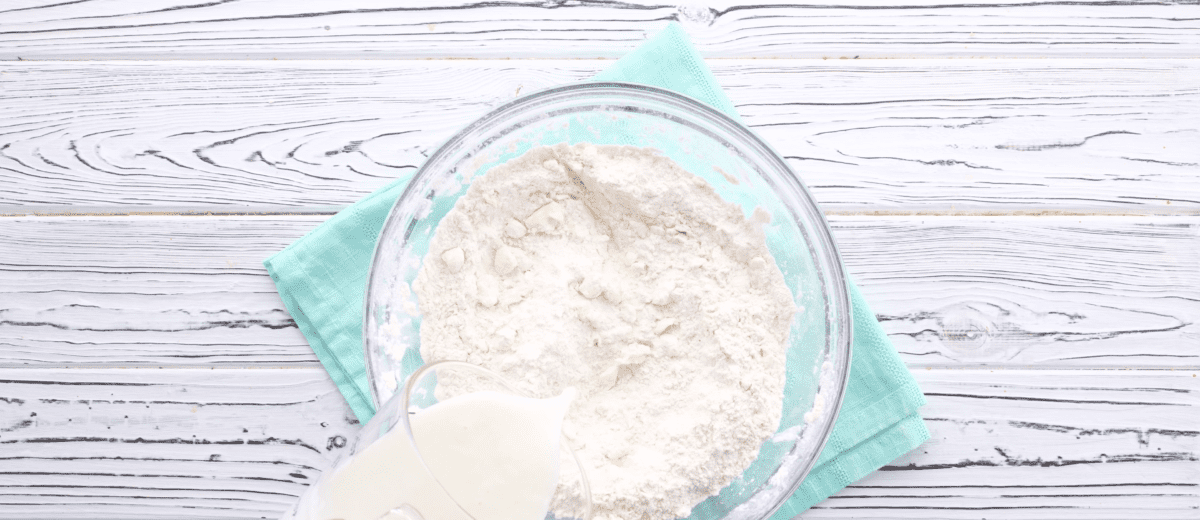
Pour buttermilk into the flour mixture.
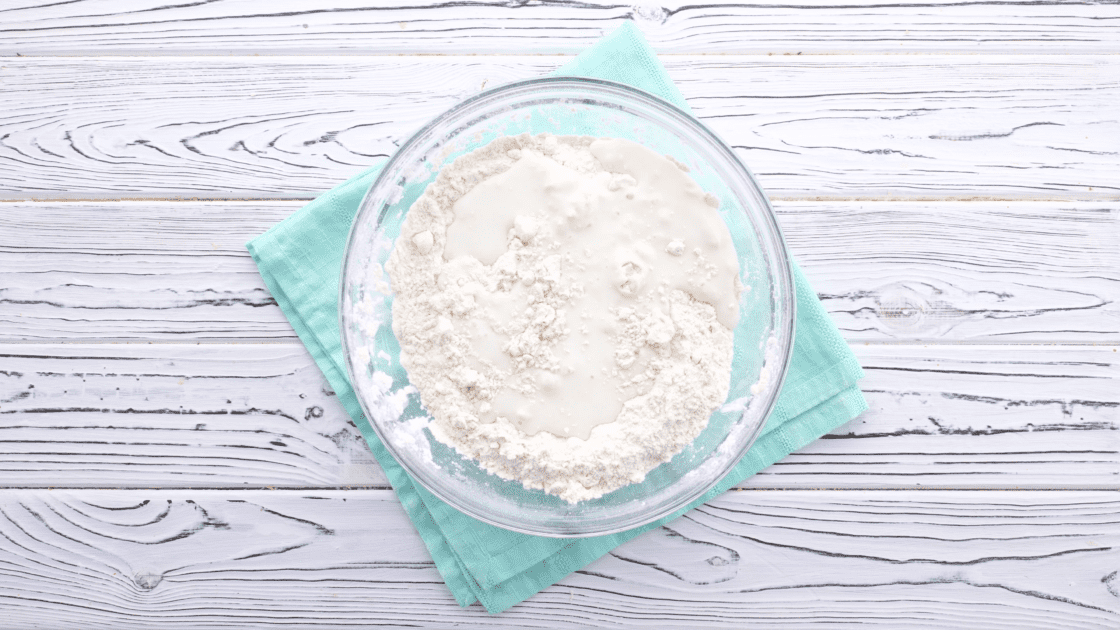
Now give that a stir with a fork until just moistened.
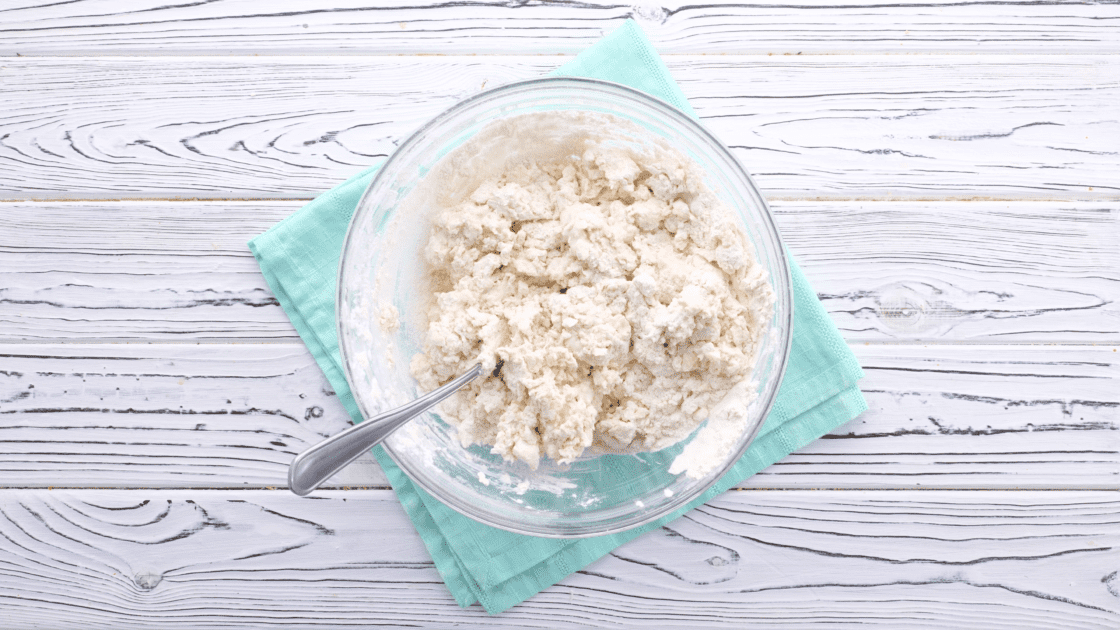
This is gonna be much looser than your typical biscuit dough, but it should look something like this.
Prepare the Dough
Now it’s time for a lil’ kneading.
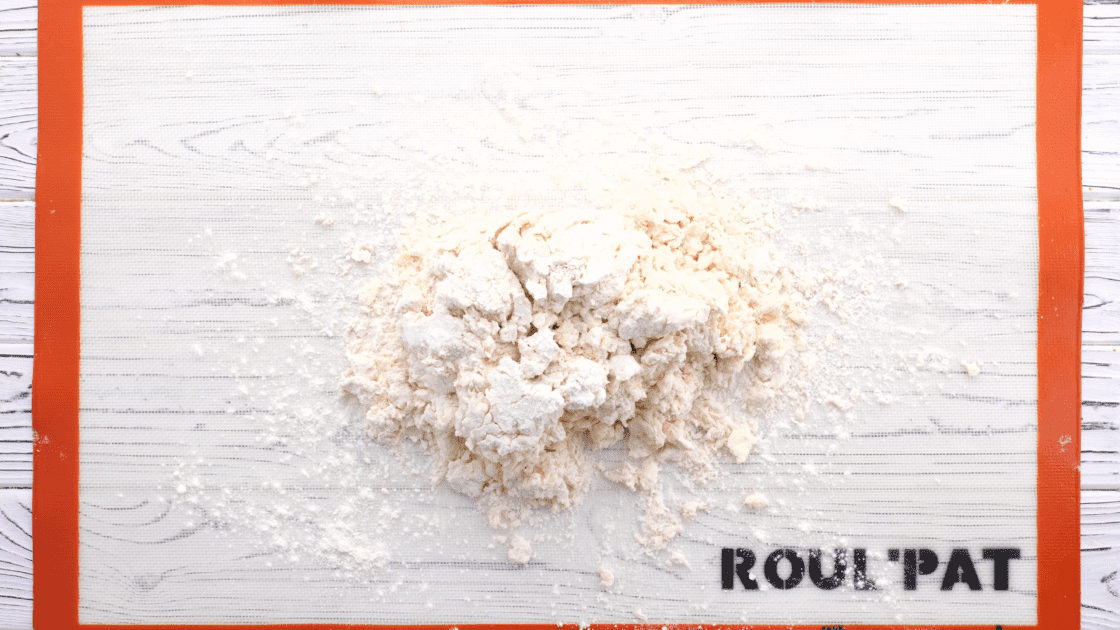
First, flour a surface.
I like to roll out waxed paper or do this on a large baking sheet so I don’t have such a hassle with the countertop.
Be generous with the flour, you’re going to need it.
Dump out your dough onto the floured surface and sprinkle more flour on top of it.
Then brush some extra flour on your hands.
To knead your biscuit dough, you’re going to place the dough ball on the floured surface and press down on it with the heel of your hand. Fold it over into a ball again and repeat with the heel of your hand. Voila, you’ve just kneaded your dough twice and that’s all it needs.
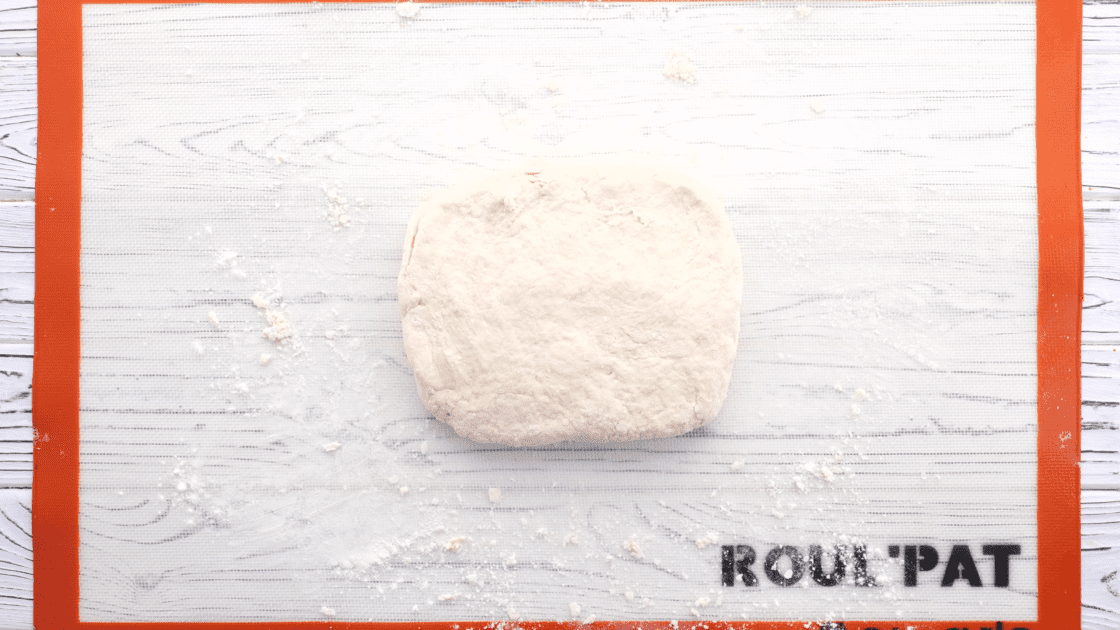
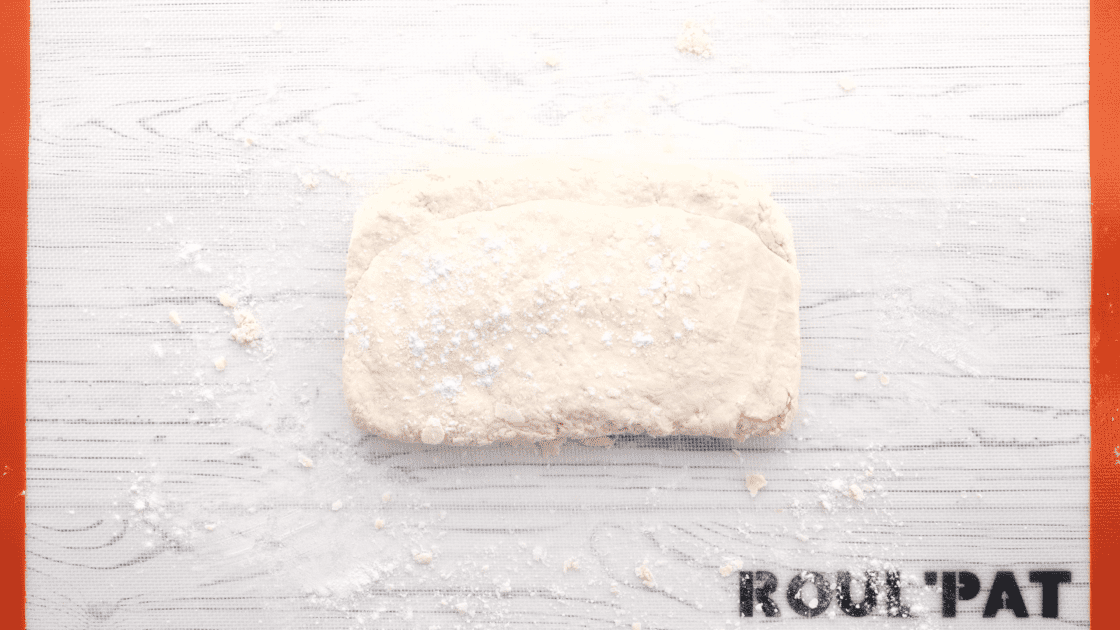
Now lightly square it off with your hands.
It should be about 9×5 inches and 3/4 of an inch right now.
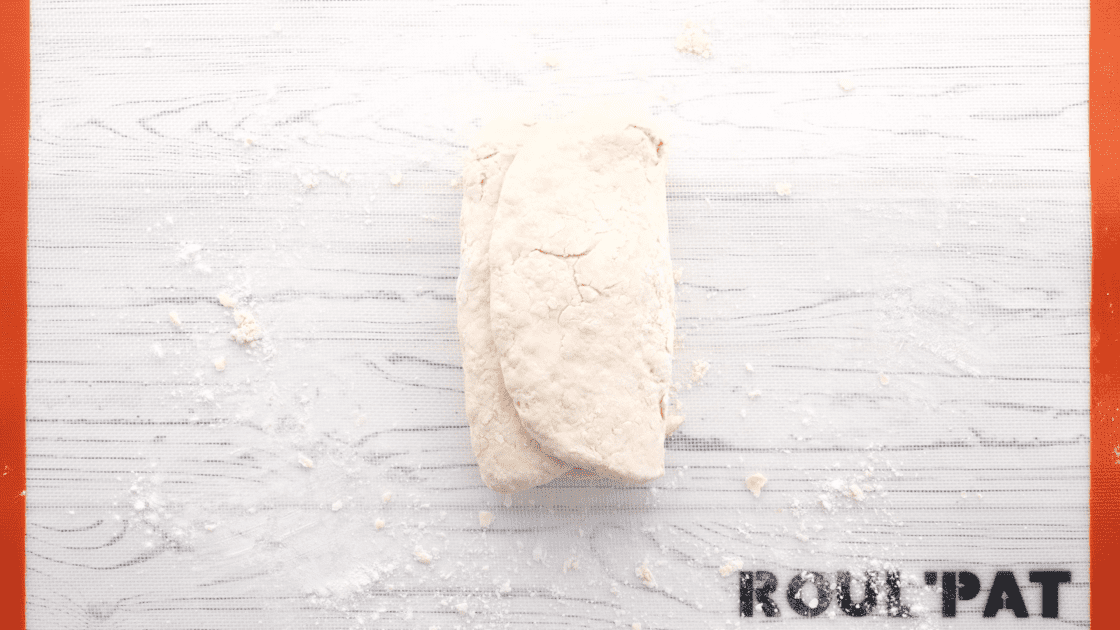
Next, take one side of the dough and fold it over to the middle.
Like you are folding a piece of paper into a letter.
Do the same with the other side until it looks like this.
Now pat the dough out with your hands until it’s back to its original 3/4-inch size and gently shape it into a rectangle again.
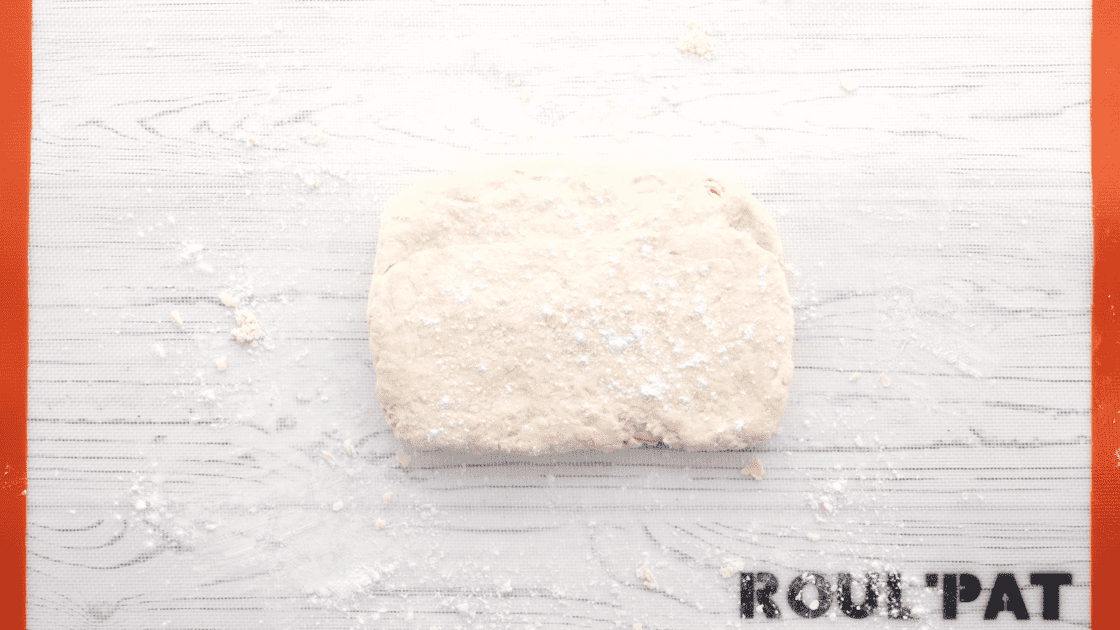
Repeat this process of folding over and patting out two more times.
Don’t be afraid to dust your surface and your dough with a little more flour if need be.
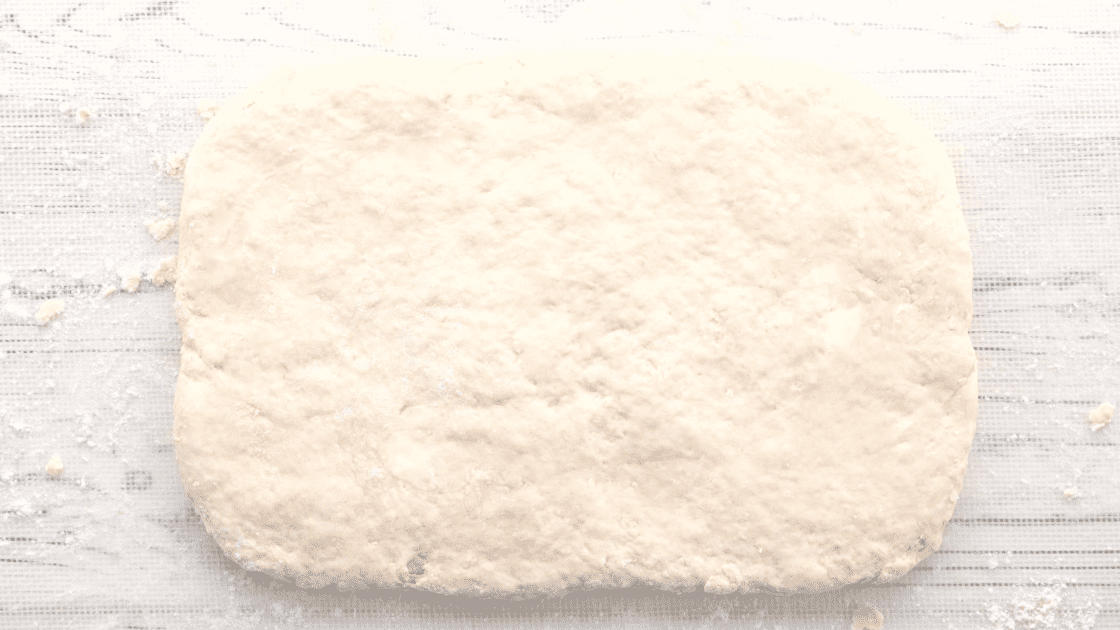
Here’s what the buttermilk biscuit dough looks like when it’s ready to be cut.
Cut the Biscuits
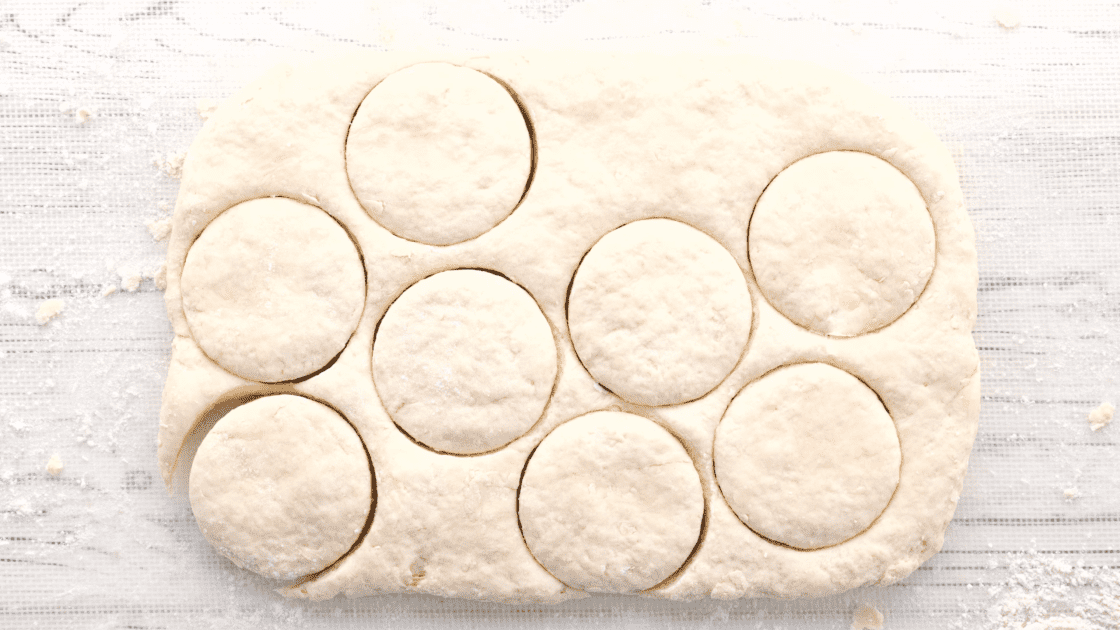
Now we’re ready to cut our biscuits. Most folks would use a biscuit cutter for this, but diehard Southerners know one of the best ways to do it is to use a swanky swig! A tin can is also acceptable, as is a drinking glass.
Cut out your biscuits by pushing straight down with your glass (don’t twist it).
Normally, we cut them suckers one right on top of the other, then wad up the leftovers, pat it out, and cut again.
A lot of readers have said that they cut their biscuits with pizza cutters and just do a grid pattern. This ends up with square biscuits but no wasted dough. I do this every now and then.

Place these on a well-greased baking sheet or baking sheet lined with waxed/parchment paper and make sure the sides of the biscuits touch.
This helps them rise evenly and higher.

Bake at 450 for 13 to 15 minutes.
Until they look like this.
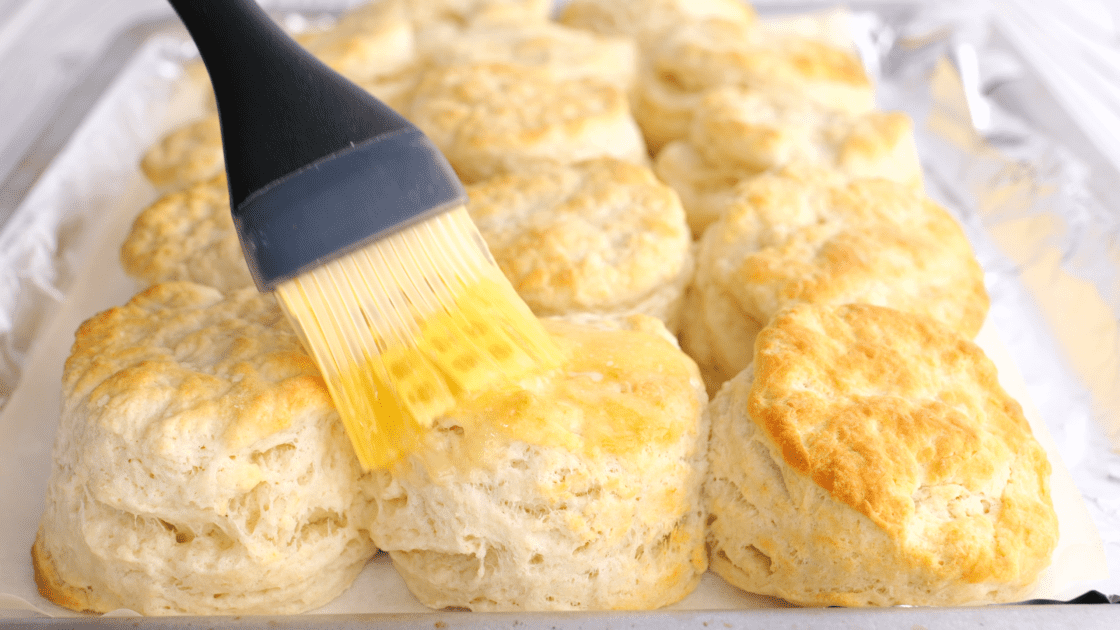
While still hot, brush your homemade biscuits with melted butter.
Alrighty then. Now you’re done!
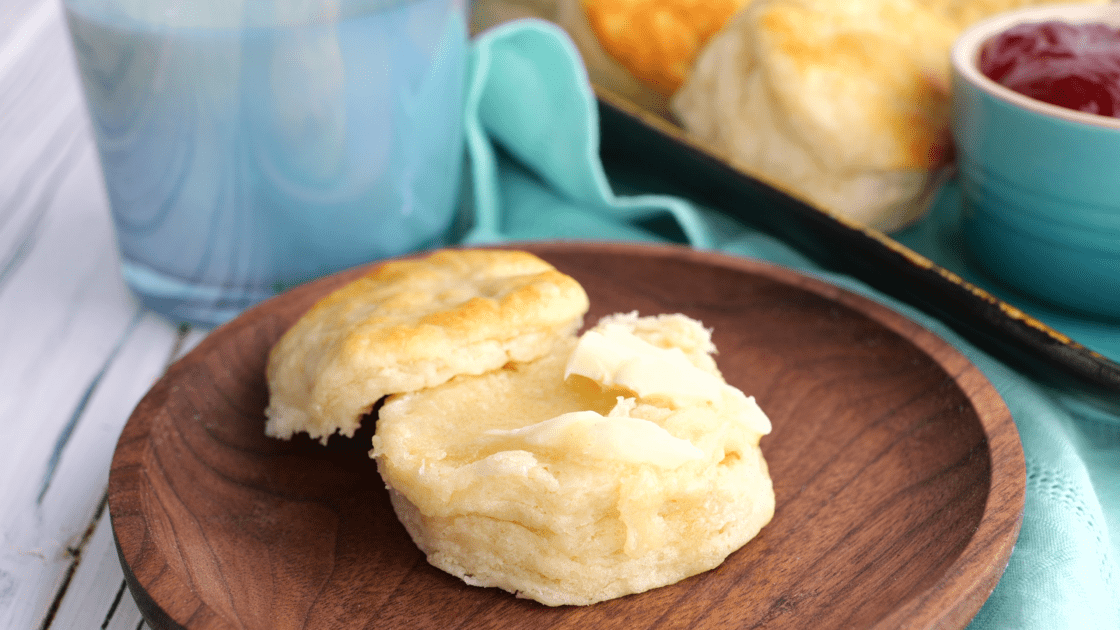
Keep scrolling for serving suggestions. But as a treat, I highly recommend a buttermilk biscuit fresh from the oven spread with butter and…
A dollop of jam. Enjoy!
Storage
- Store leftover biscuits in an airtight container at room temperature for up to 2 days. You can serve them as is or reheat them quickly in the air fryer.
- You can also freeze leftovers in a freezer-safe container or bag for up to 3 months. Thaw at room temperature before serving.
Recipe Notes
- To make your own self-rising flour, simply add 1.5 teaspoons of baking powder and half a teaspoon of salt for EACH cup of all-purpose flour. Sift ingredients well to make sure it is uniform.
- To make homemade buttermilk: add a tablespoon of lemon juice or white vinegar to milk and let it sit for a minute or two.
- You can use either salted butter or unsalted butter or margarine.
- You can also brush the biscuits with a combination of melted butter and a tablespoon of honey for a little sweetness.
- Want to add a mix-in to your buttermilk biscuit recipe? When you add the buttermilk, you can also mix in up to a cup of shredded cheddar cheese and freshly chopped chives, cooked and crumbled bacon bits, fresh herbs, or freshly grated parmesan cheese.
Recipe FAQs
What does buttermilk do to biscuits?
Buttermilk is used in biscuits for its acid and fat content. Its acidity works with the leavening agent to help the dough rise and produce only the fluffiest biscuits. It also gives the biscuits a slight tang.
What is the difference between buttermilk biscuits and regular biscuits?
It’s all in the name! Regular Southern biscuits are made with either water or milk, while buttermilk biscuits are made with buttermilk.
How do you make Paula Deen’s buttermilk biscuits?
Paula Deen’s buttermilk biscuit recipe is basically the same as mine. She uses self-rising flour, cold unsalted butter, kosher salt, buttermilk, and melted butter on top. The only difference is that she adds 2 teaspoons of granulated sugar to the flour mixture for a little touch of sweetness. You can do this as well if you like (or even add 2 teaspoons of honey).
What is the best flour for buttermilk biscuits?
Soft wheat flour is my go-to for buttermilk biscuits.
Why is baking soda used in buttermilk biscuits?
Buttermilk biscuits need a leavening agent to work with the buttermilk to rise, which is why we use baking soda (built into the self-rising flour).
Why are my buttermilk biscuits tough?
Biscuits are typically tough if you overwork the dough. Follow my step-by-step instructions and you’ll be all good!
Do you butter biscuits before or after baking?
You can butter biscuits before or after baking (or both), but I like to do it immediately afterward.
Can you make buttermilk biscuits ahead of time?
You can make the baked or unbaked biscuits ahead of time. Baked biscuits will keep at room temperature for up to 2 days or in the freezer for up to 3 months.
Unbaked biscuits can be frozen in a single layer in a freezer-safe bag for up to 1 month. You can bake them straight from the freezer, just add a few minutes to the cooking time.
How do you serve buttermilk biscuits?
There are so many ways to serve this 3 ingredient buttermilk biscuit recipe:
- Biscuits and gravy, like bacon gravy or sausage gravy.
- With scrambled eggs or a fried egg for breakfast.
- With a main dish like your favorite soup, stew, or chili.
- For breakfast or a snack with homemade preserves and butter. Here are some recipes: strawberry jam, peach freezer jam, apple butter, and spiced peach butter.
- With fried chicken.
Check out these other biscuit recipes:
Garlic Biscuits and Bacon Gravy
2-Ingredient Biscuits With Ice Cream
Chocolate Chip Biscuits, Southern-Style
Southern Biscuit Recipe (3 Ingredients Only)
Sausage Biscuits With Cheese & Chiles
Ingredients
- 1/2 cup cold butter or margarine
- 2.25 cups self-rising flour
- 1.25 cups buttermilk
- 2 tbsp melted butter for brushing baked biscuits
- flour for dusting
Instructions
- Cut the cold butter into 1/4-inch-thick slices.1/2 cup cold butter or margarine
- Put the butter slices on top of the flour in a large bowl. Cut the butter into the flour with a long-tined fork or pastry cutter until crumbly. Cover and chill for 10 to 15 minutes.1/2 cup cold butter or margarine, 2.25 cups self-rising flour
- Add buttermilk, stirring just until dry ingredients are moistened.1.25 cups buttermilk
- Turn the dough out onto a lightly floured surface. Knead 3 or 4 times, gradually dusting with additional flour as needed. With floured hands, press or pat dough into a 3/4-inch-thick rectangle (about 9x5). Sprinkle the top of the dough with additional flour.flour for dusting
- Fold the dough over into itself (like you are folding a piece of paper into a letter) in three sections. Repeat this process 2 more times, beginning with pressing it into a 3/4-inch-thick dough rectangle (about 9x5).
- Press or pat dough to a 1/2-inch thickness on a lightly floured surface. Cut with a 2-inch round biscuit cutter or glass and place the biscuits side-by-side on a parchment paper-lined or lightly greased cookie sheet. Try to make sure they touch because this will help them rise higher.
- Bake at 450 degrees for 13 to 15 minutes or until lightly browned. Remove from the oven and immediately brush them with melted butter.2 tbsp melted butter for brushing baked biscuits
Video
Nutrition
“Friends will come and go. But your Family will always be there. Make your family your best friends.”
~Submitted by Southern Plate Reader, Janice.


My Father loved biscuits. My husband is from Mississippi and loves biscuits. I have learned that our two boys love them to. This was a grief release project for me being that my father died this past June. I thought it was going to be a project. These biscuits were just plain easy to make. My husband did not know believe that these were the first time I made biscuits. Could not be any better tasting and fluffy !! Thank you for the smiles on my boys faces. Would of loved to have had my dad taste them !!
I made these this morning with sausage gravy and I think I fainted 4 times while eating. I’ve made drop biscuits before and although those are easy they’re certainly not the same as a kneaded and patted out biscuit. I’ve been scared of making biscuits for years, but I’ve overcome my fear! LOL The recipe was easy to follow and just to make sure I was doing it right the first time I had my hubby in there with a tape measure so I’d know how to eyeball the size next time! hehe If anyone has been scared of making biscuits or had them turn out bad try this recipe! I think for my first time I did pretty darn good. 🙂
The only thing I did different was use my pastry scraper to cut them into squares so I wouldn’t have to figure what to do with the excess. I put them about half an inch apart on the cookie sheet so they could spread just a little and then rise after they touched and it worked!
Did you ever post the other biscuit recipe you mentioned in some of your comments? I’d be really interested in that one too. 🙂
I haven’t posted that one yet, I’ll try to get to it soon. Thanks for reminding me!
I had to laugh at having your husband there with the tape measure! I always enjoy your comments, April!
lol
I’m so glad they turned out well!!!!!!!
Fainting FOUR TIMES? WOW, that must have been some sausage gravy, too!!
lol
you talk like me ~giggle~
I made these biscuits and I was so happy once I bit into them. They remind of Popeye’s biscuts if not better. My first attempt at this recipe turned out perfect in taste and texture. These were awesome! My friend took one bite out of them and he looked like he had fell for me all over again:)
Thank you so much for this recipe:) I attempted to make buiscuts before but failed each time. I think I will try shortening the next time to determine the difference in taste.
Thank you so much!! I feel like I have made it now:)
Hey AmiJane!! Thank you!! I am so thrilled to hear they worked out so well for you!!!
I LOVE LOVE LOVE it when folks have problems and I can somehow help them out a little to get over that hurdle!!!
You made my day!!!!!!!!!!!!
Gratefully,
Christy
I’m planning to try these this weekend. My grandmother’s and mother’s recipe was similar to this one but the prep was different. Everything was done in a bowl and they use shortening instead of butter. They both hated to roll out dough so they use the pinch and pat method.
I’m so glad I found your site.
PS. I grew up in Vincent, AL but live in North Alabama now after 12 years in Atlanta.
I hope they turned out well for you, Ginger!!
I’ve lived in North Alabama all my life, except for three months in the Atlanta Metro area (after about three months there, we high tailed it back to Bama!!)
So good to have you here and I am SO glad you found SP!!!
Gratefully,
Christy
I tried these last Saturday. To die for and well worth the effort.
~blushes~
THANKYOU!!!!
These biscuits were awesome!! I almost didn’t make them this morning after reading the ‘fold and pat 3 times’ portion of the instructions… sounded too time consuming. But, I really wanted to surprise my man with a plate full of biscuits and gravy (he’s been talking about them for a month)and we had our first snow of the year(absolutely gorgeous outside) so thought “Why not?” FYI… they are not nearly as difficult to make as they sound. I have been looking for a great biscuit recipe for years… this one exceeds my expectations by far. For folks you have never made true buttermilk biscuits before (I managed Hardee’s for years) the wetness is probably the most scary part, but if you’re not afraid to use generous amounts of flour (and don’t be) then they are very easy to work with. Thanks for the great recipe… I used real buttermilk (I keep on hand because I have the greatest pancake recipe that uses it)and Pillsbury’s Best All-Purpose Flour and added the baking powder and salt. I can’t imagine what they must be like with Whitelilly. Keep on cookin’…
Hey JJ!!! Thank you for the AWESOMELY informative Comment!!!
they do seem more time consuming than they are, don’t they?
Okay….now I need your pancake recipe!!!!
Gratefully,
Christy
I never thought that with your dough being that wet that it would turn out to be so great. Mine have been turning out too floury. I know that i wasn’t going something right. I”m going to try your recipe and see what I come up with.
The very FIRST time I made homemade biscuits they turned out great but every since then my biscuit making has really sucked. =) Usually when I put something down for a while and then go back to it, I do much better.
I understand exactly what you are saying about coming back to something! I tend to get frustrated after a failed effort or two and just need to walk away from it and come back when I can start fresh!
I sure do hope these turned out well for you!
Gratefully,
Christy 🙂